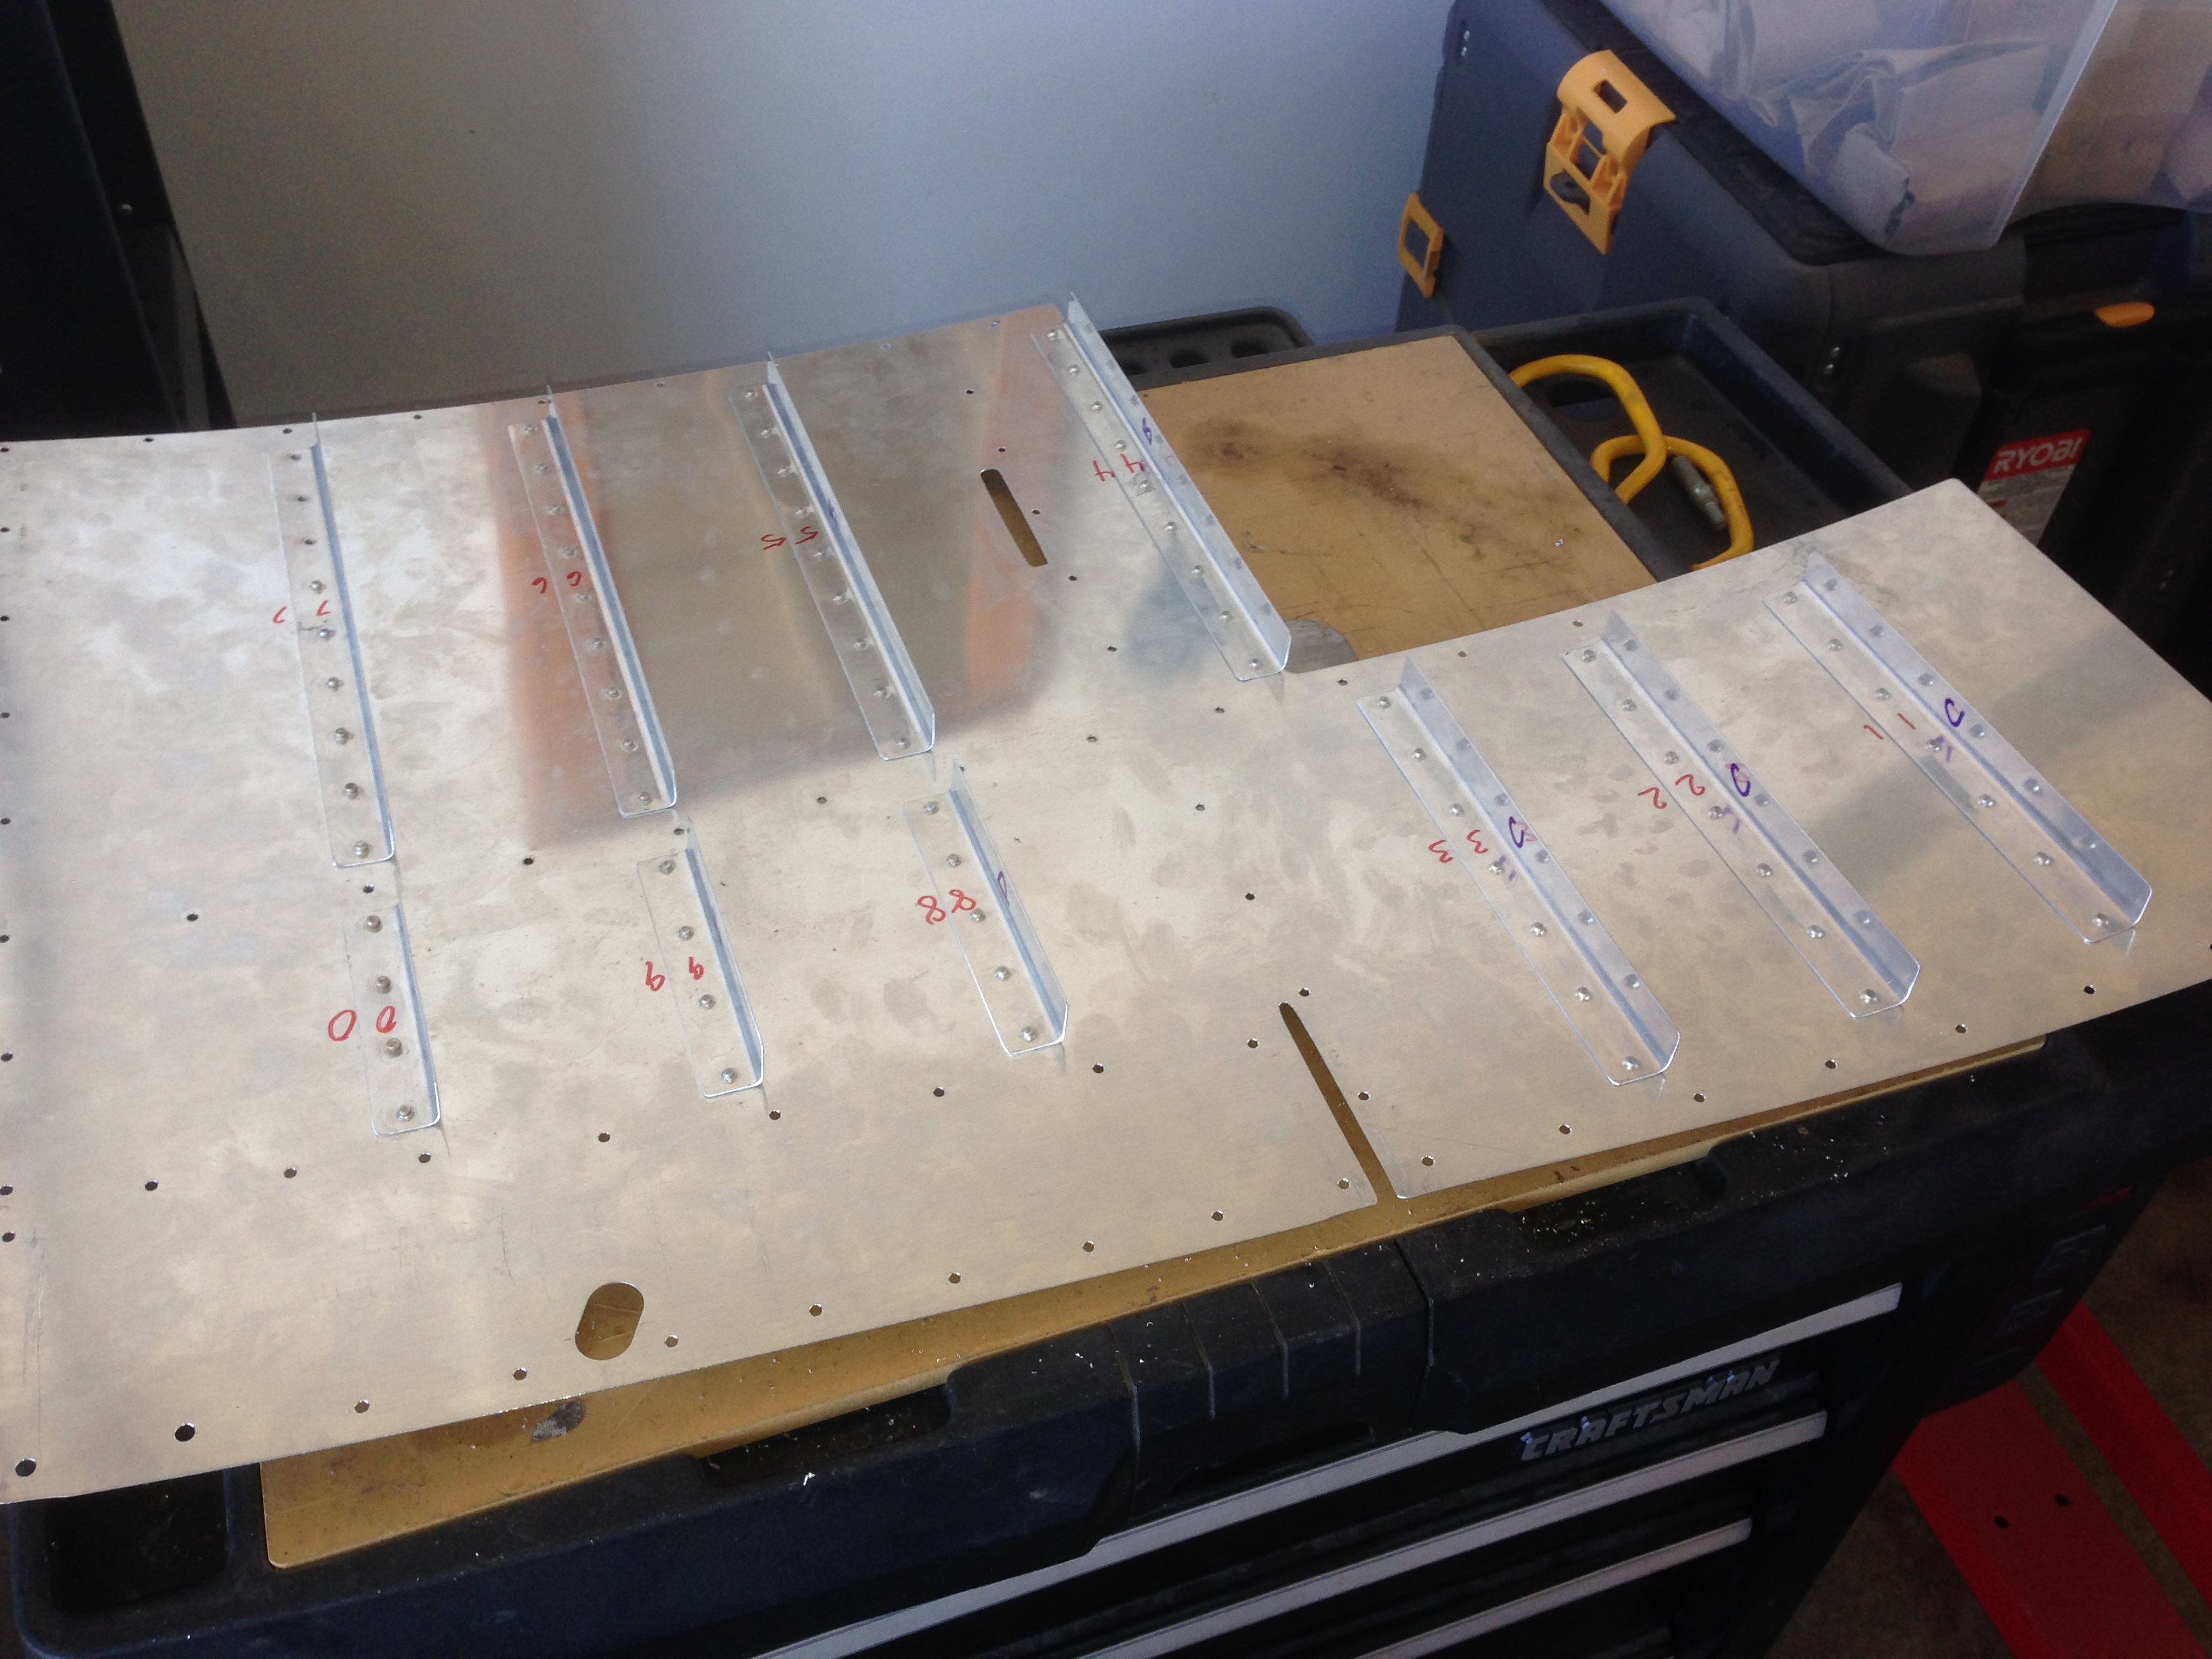
Spent this weekend trimming the floors, drilling them to the ribs, attaching floor stiffeners and lots of other little things.
Sliding the floor panels in is very easy once you know how to do it. Bend the front half of either left or right floor upwards about 50+ degrees. Slide the aft half of the floor into place. Now bend the front half into an S shape and tip the leading edge downwards into the slot it belongs. All the bending should be parallel to the stiffeners.
This seat hinge gets the remainder of the holes filled with pop rivets when the floor is finally attached. I’m not going to permanently attach the floors until the last minute.
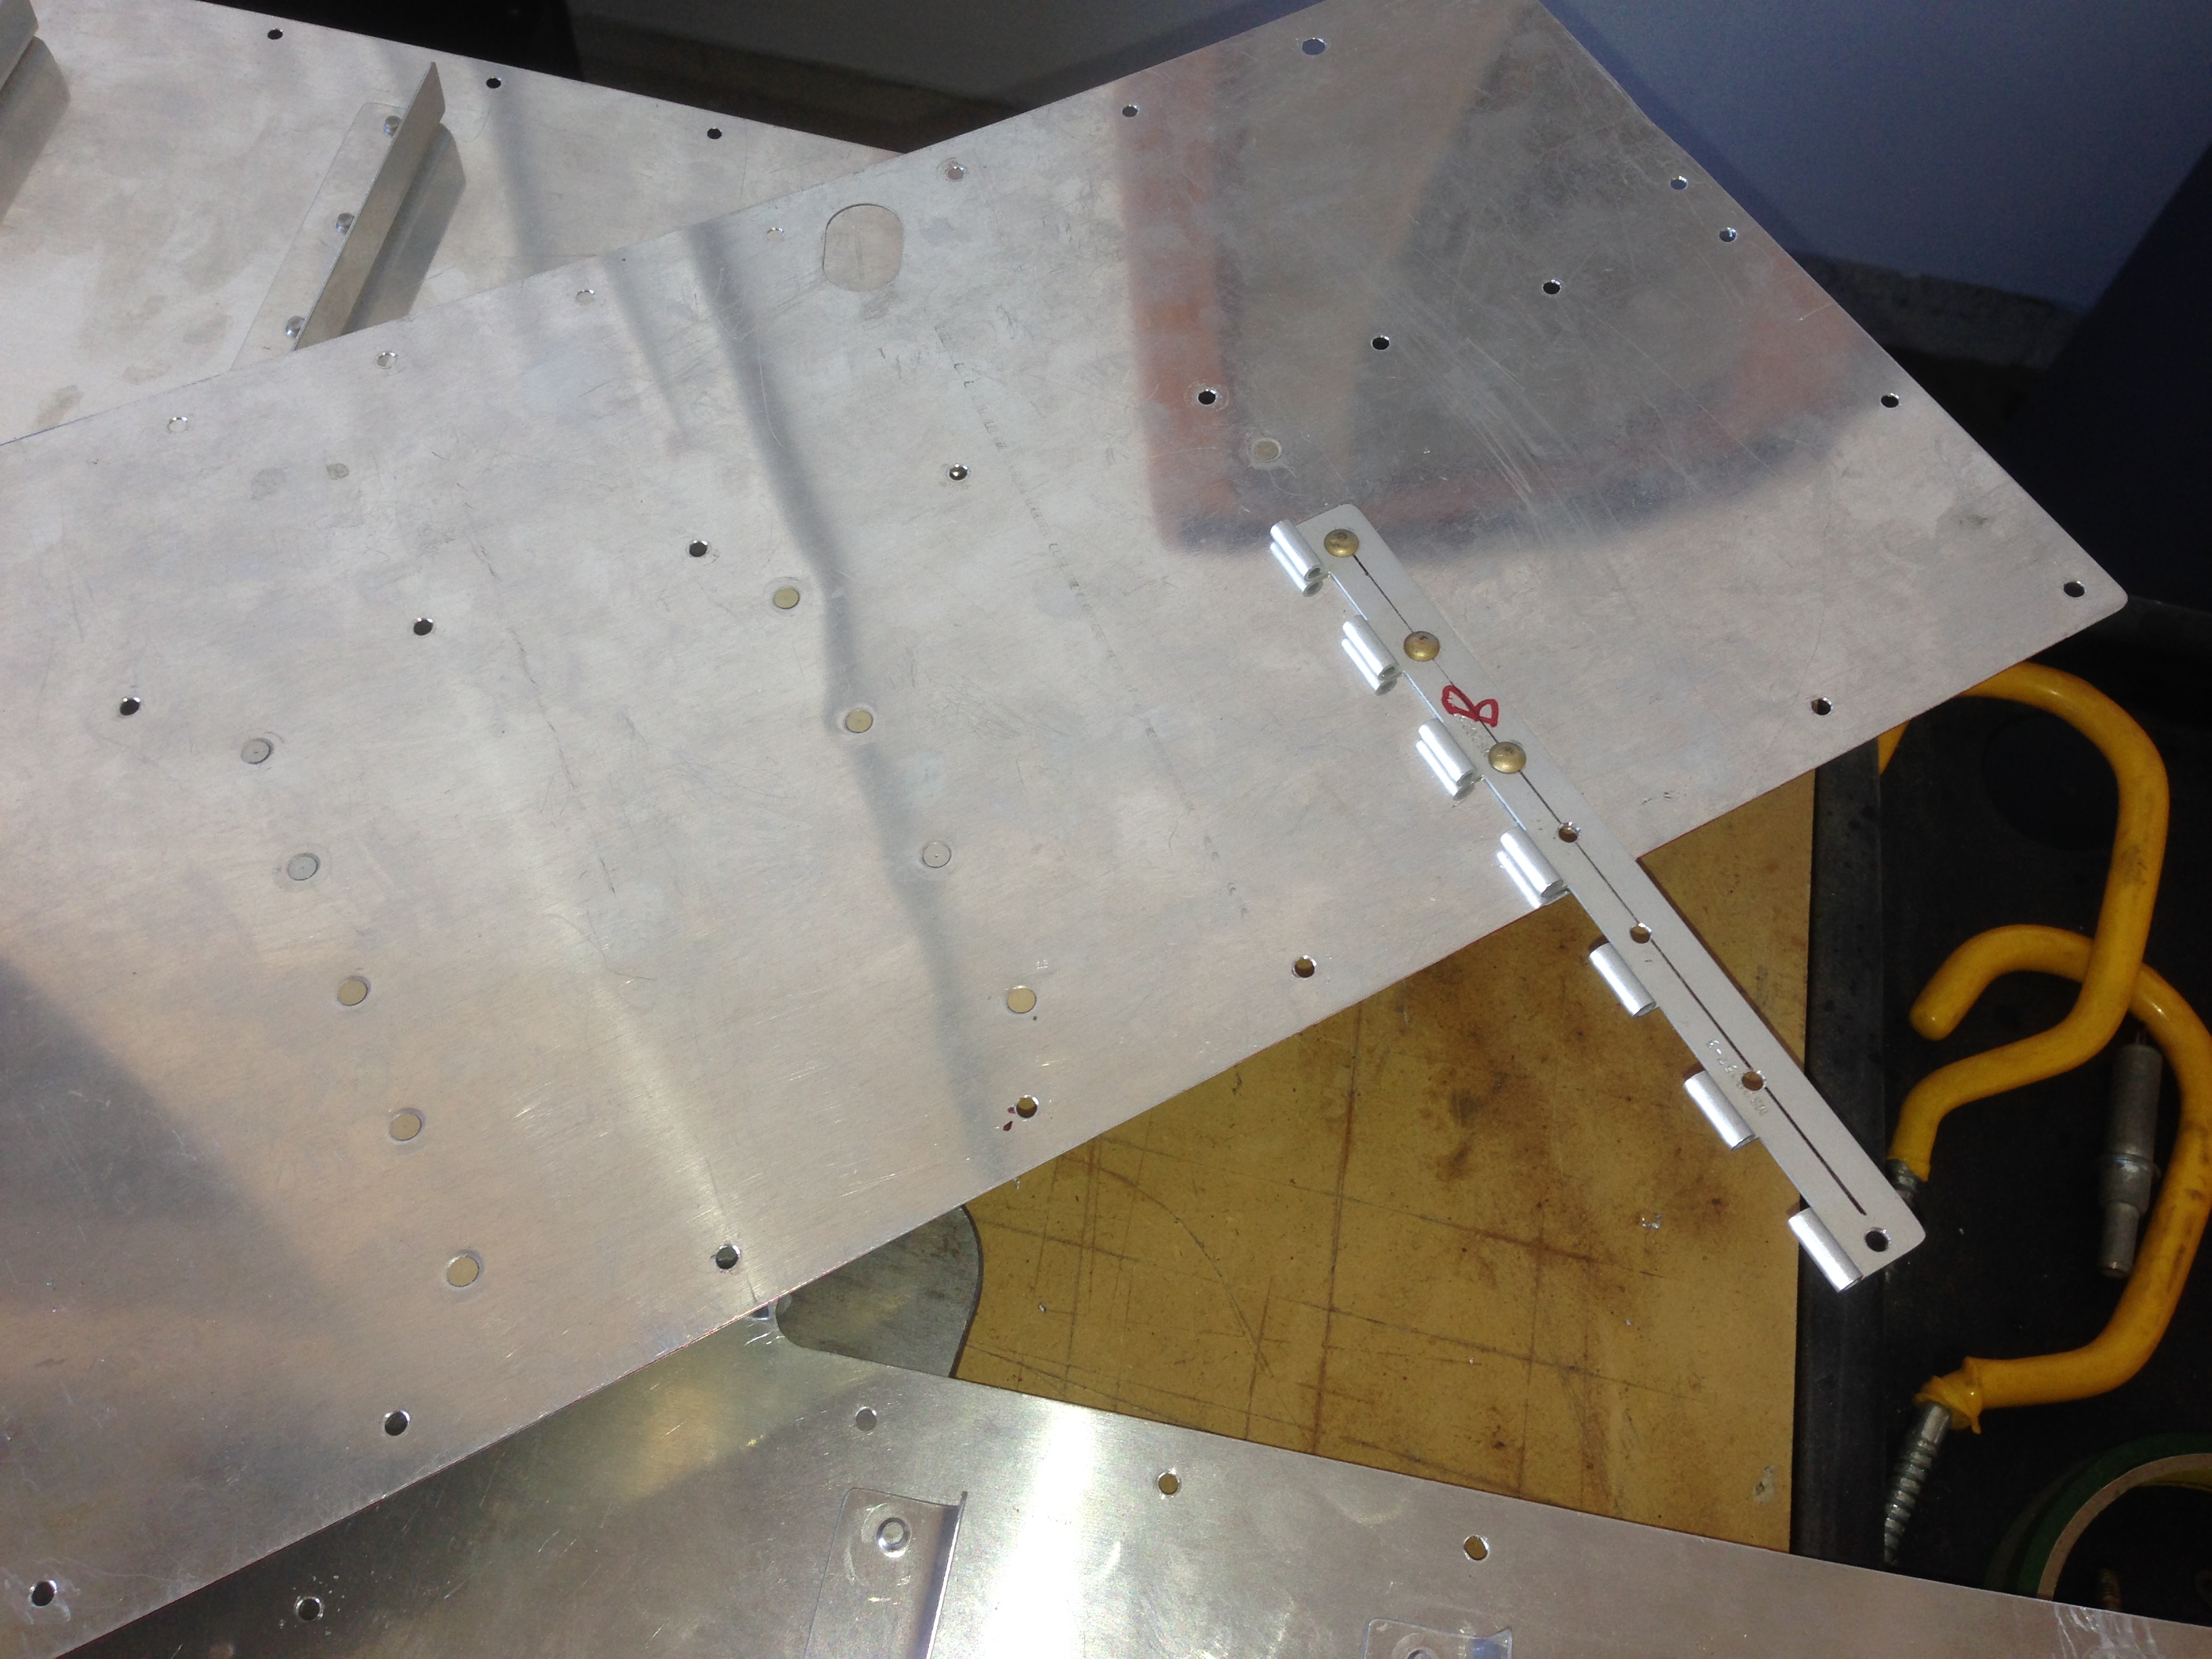
This is the front floor. The recesses are for Michelle’s little feet.
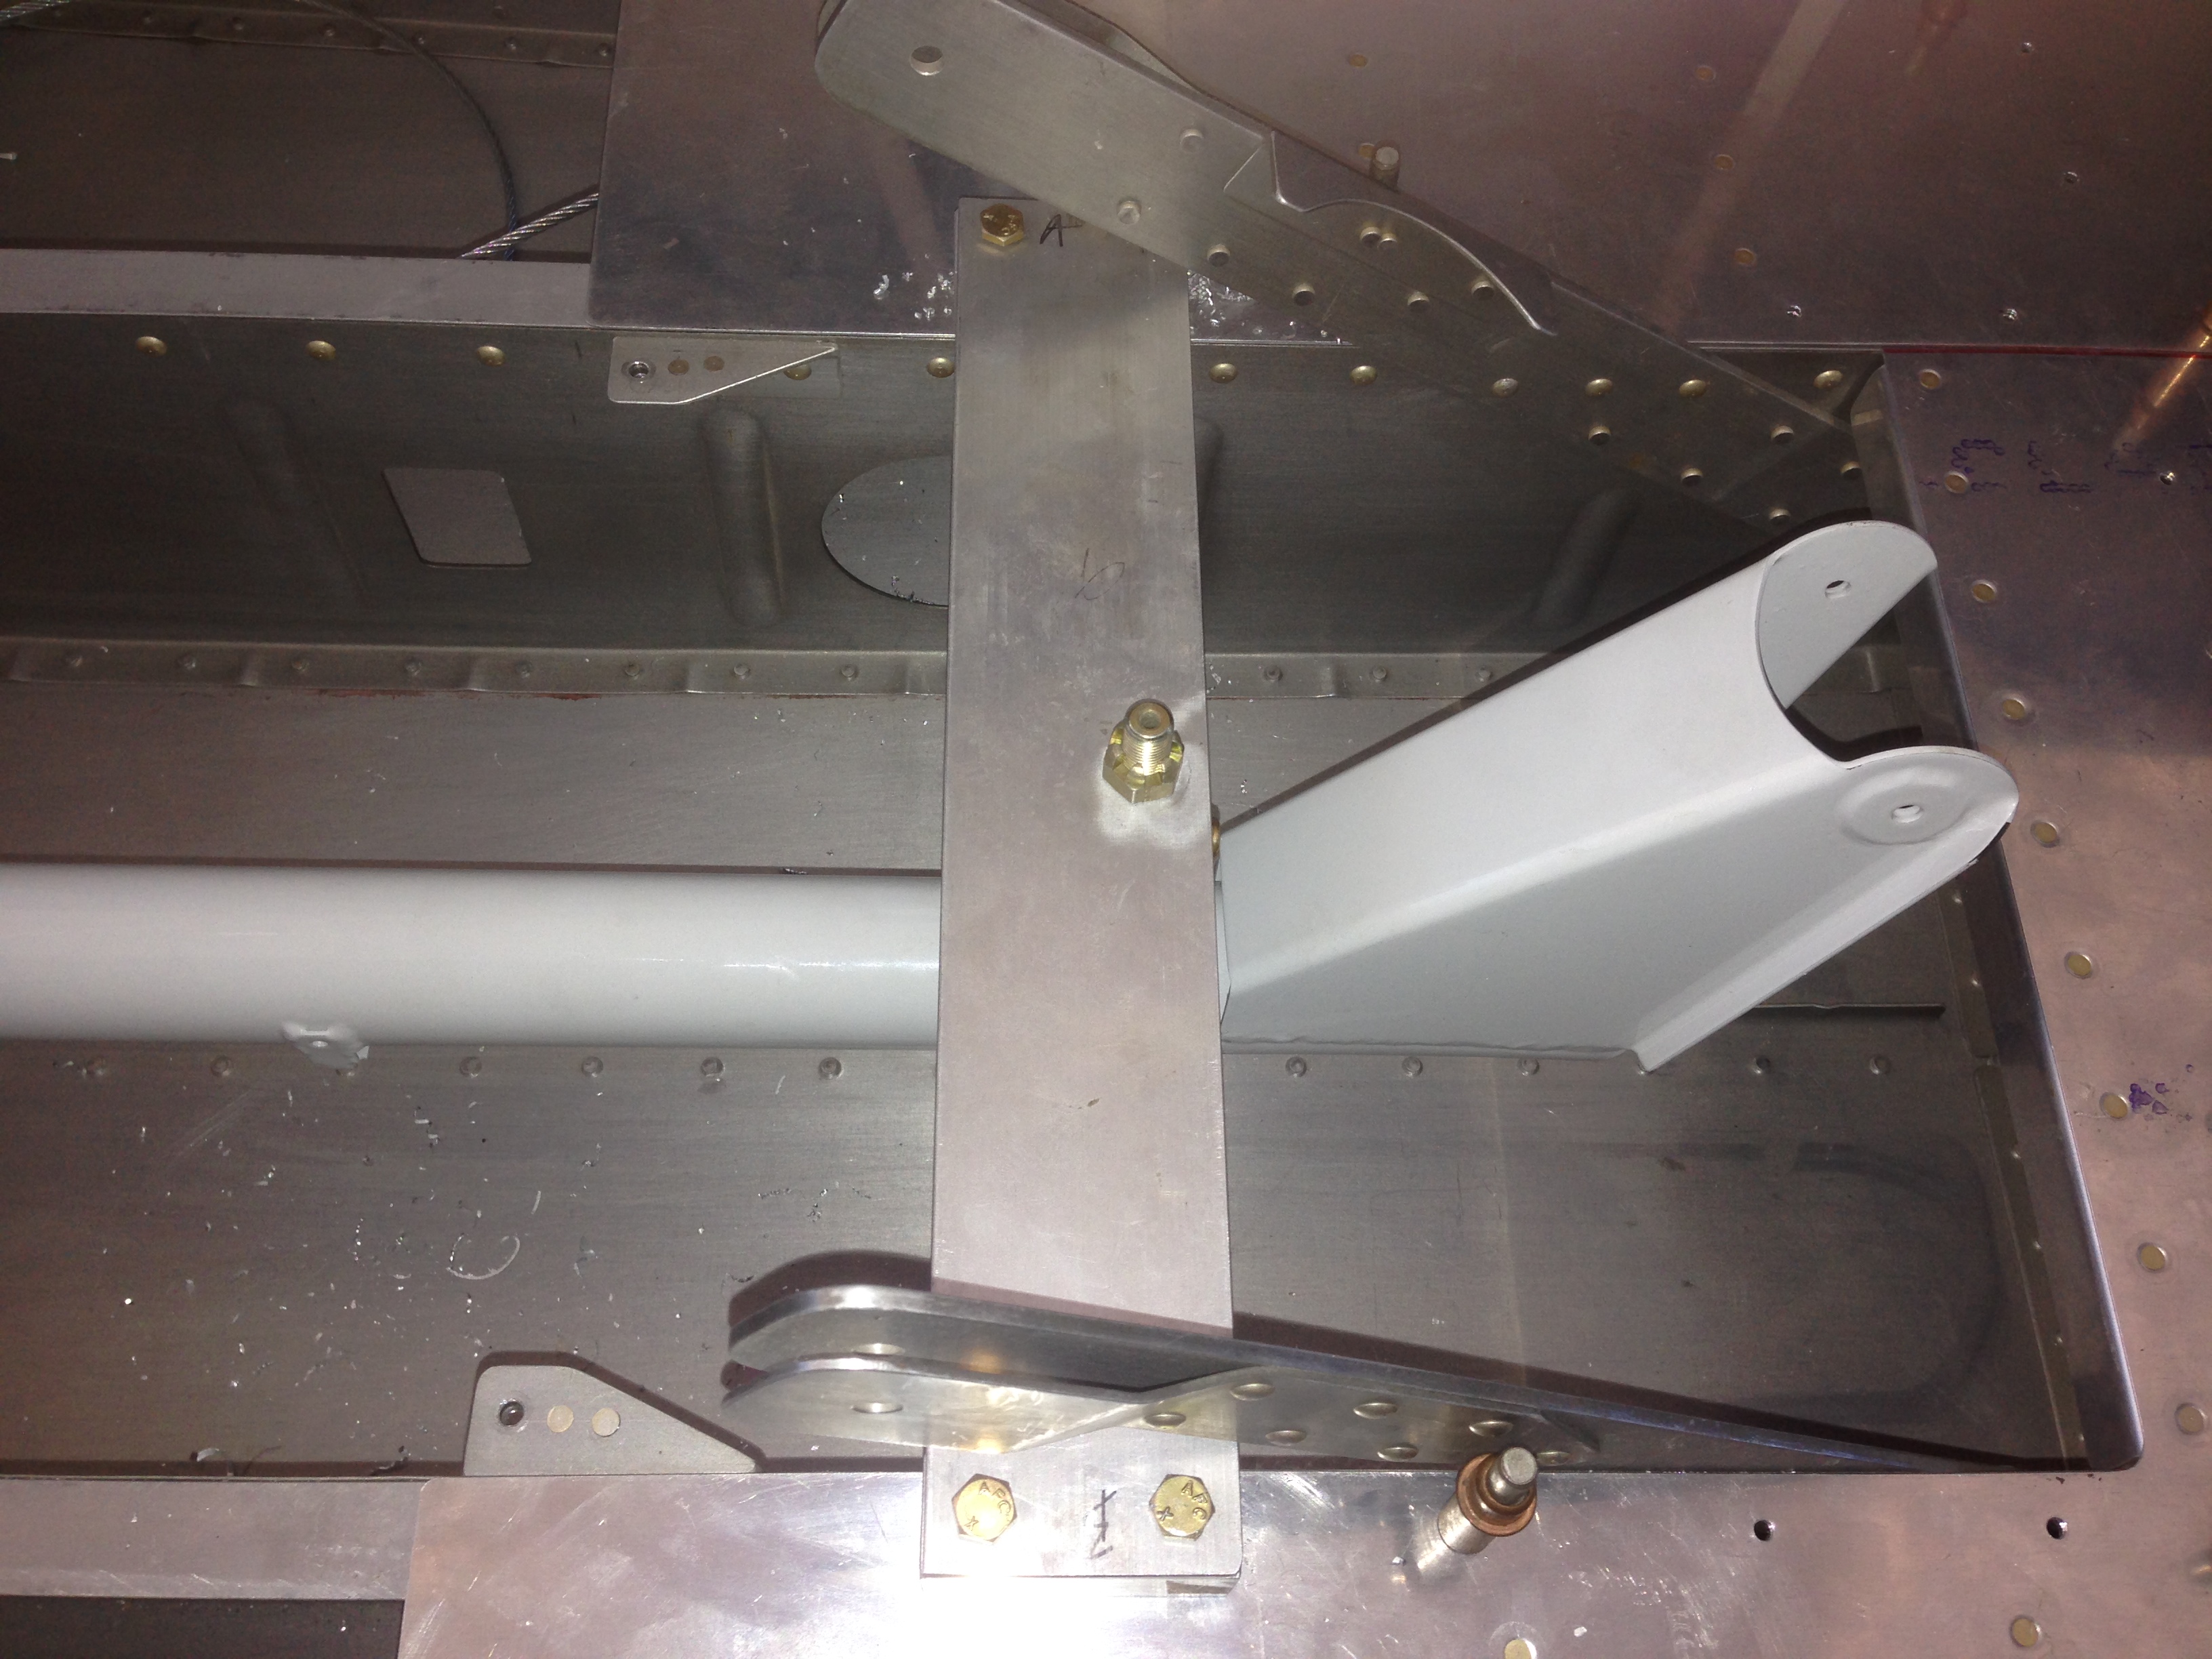
I had to trim the flap blocks a bit to get it to fit.
This is the area that the flap block sits into. The right side stuck out a bit more than the left. In the photo below you can see the last two 3/16th holes. The second to last gets drilled in place with the flap pushrod and flap blocks in place.

Fabricated the required parts F-837 and F-838 and temporarily attached the WD-807 control rod for the first time. Don’t forget to place the floors back in before you drill the F-837, F-838 to the ribs. Ask me how I know.
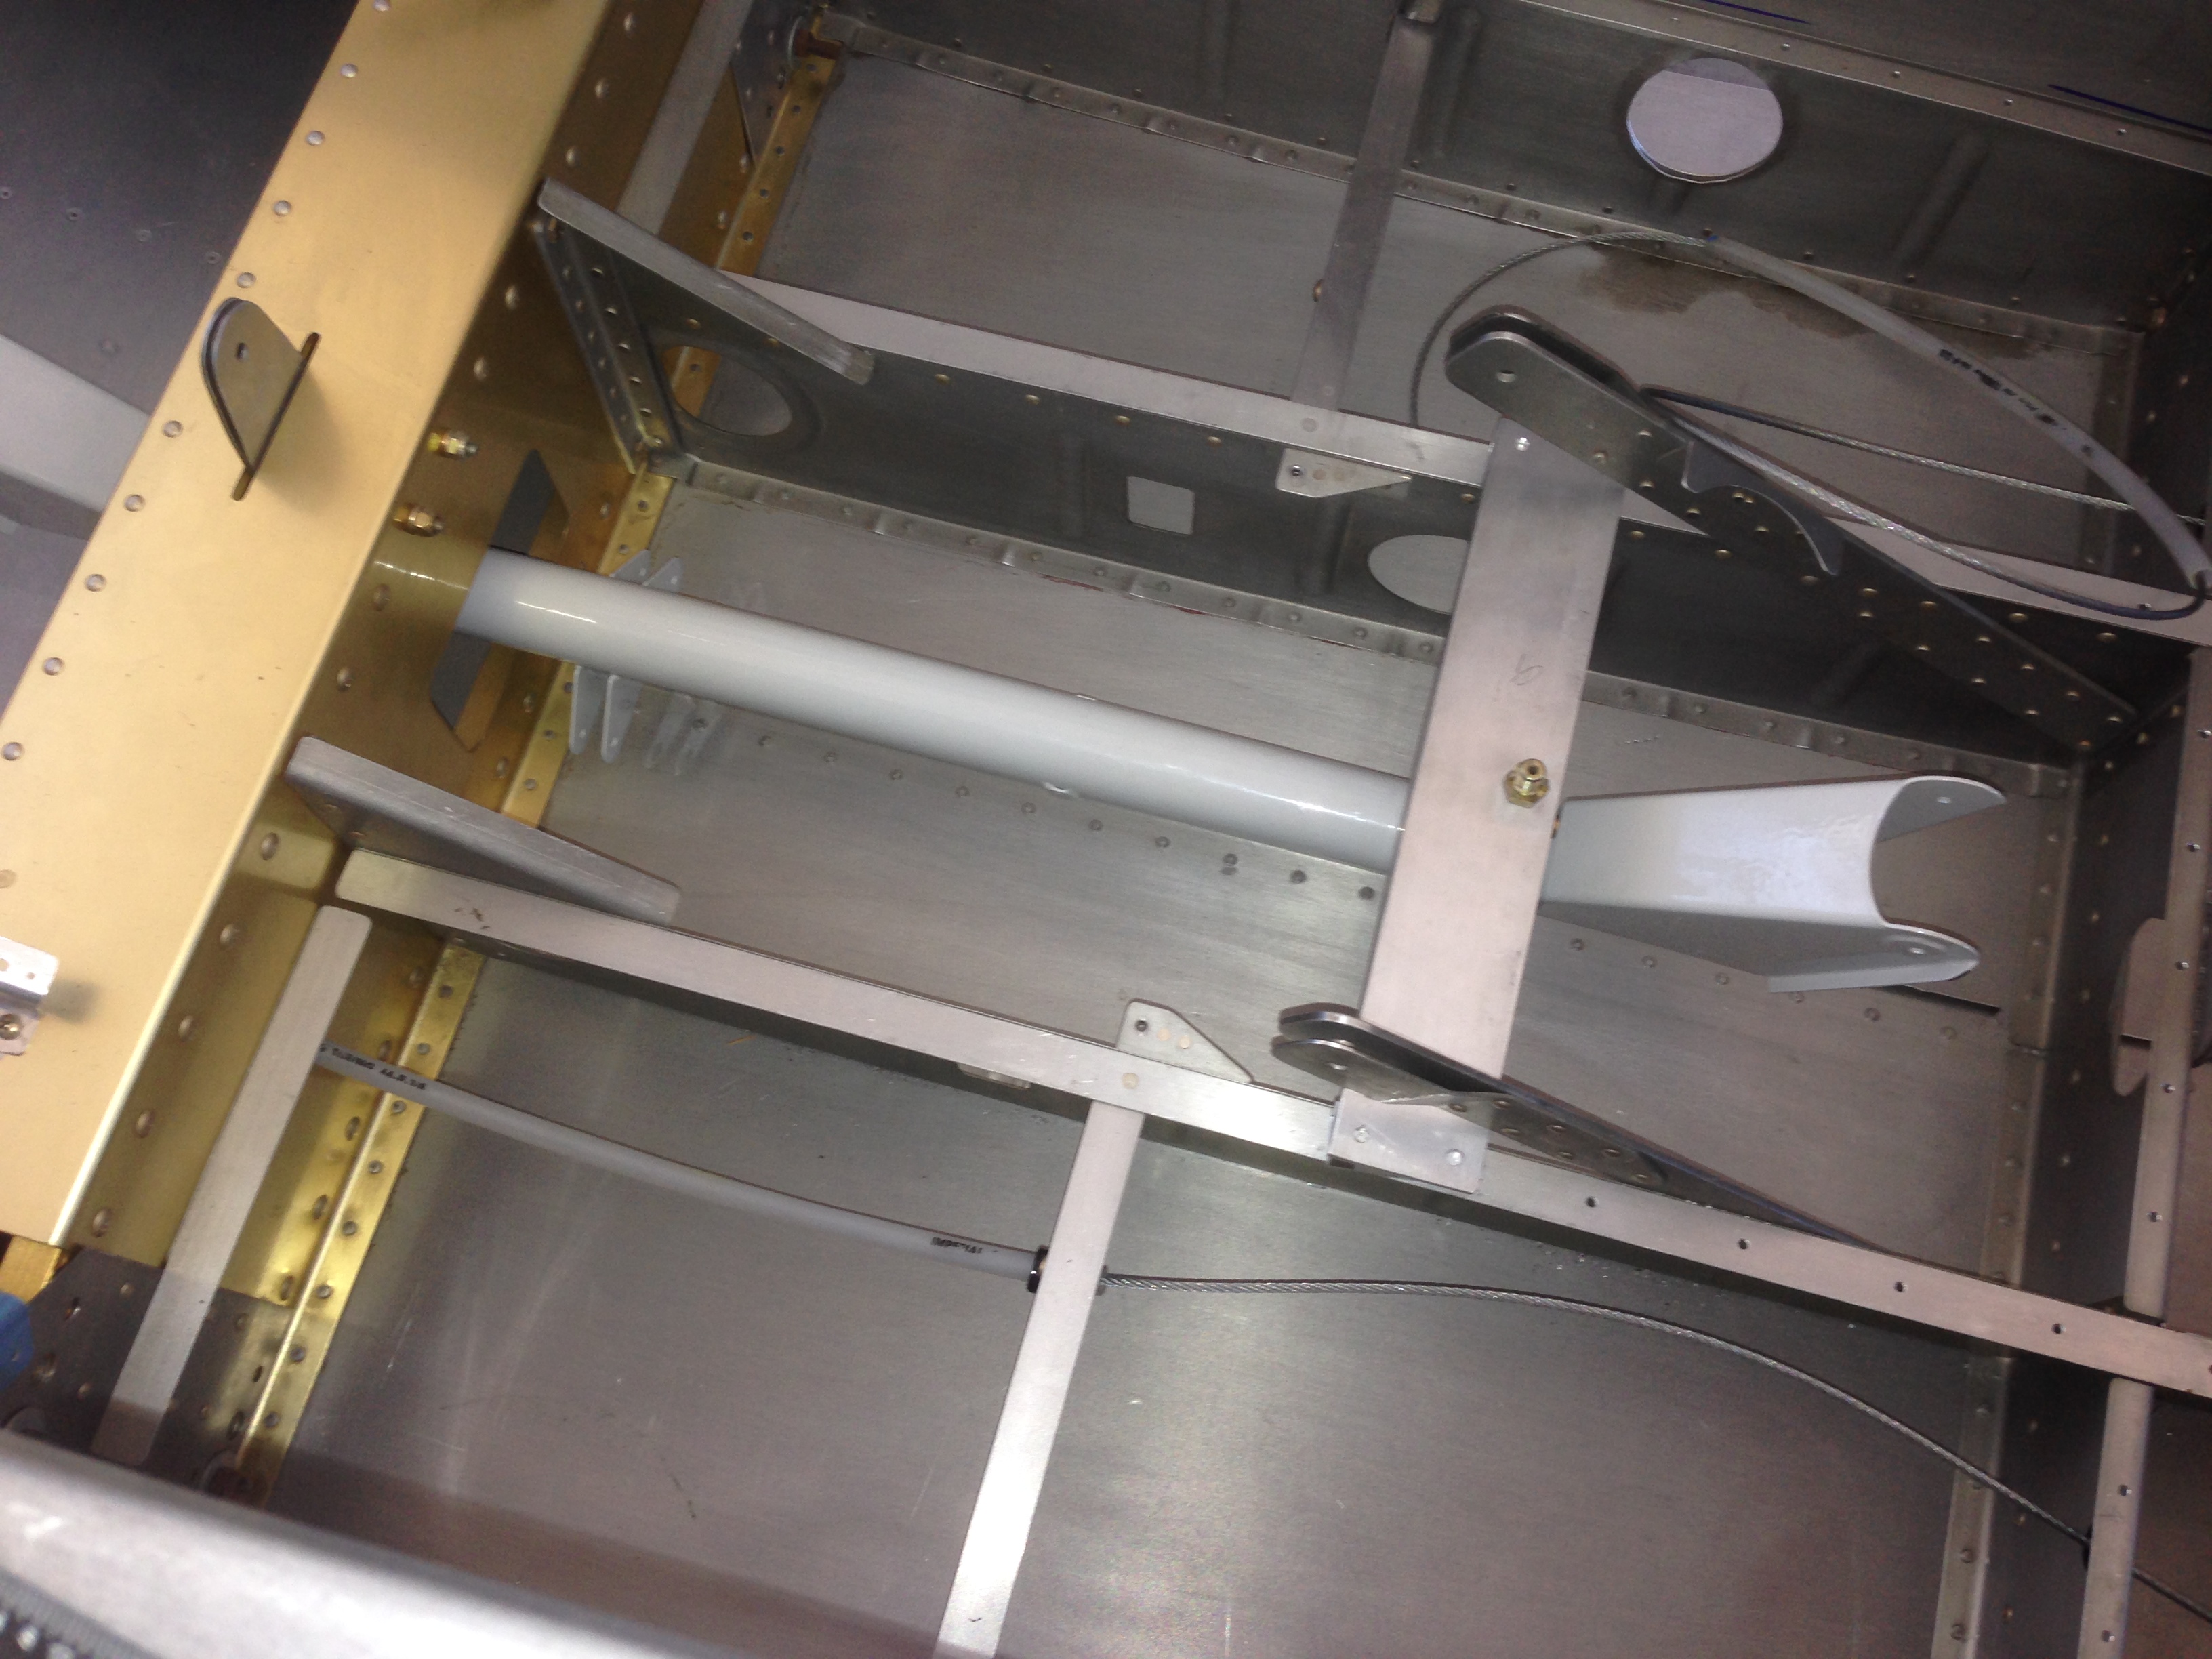
Read the instructions and did it right. Temporarily attaching the control rod to the bearings with regular nuts while drilling. These will get replaced for final installation with lock nuts.