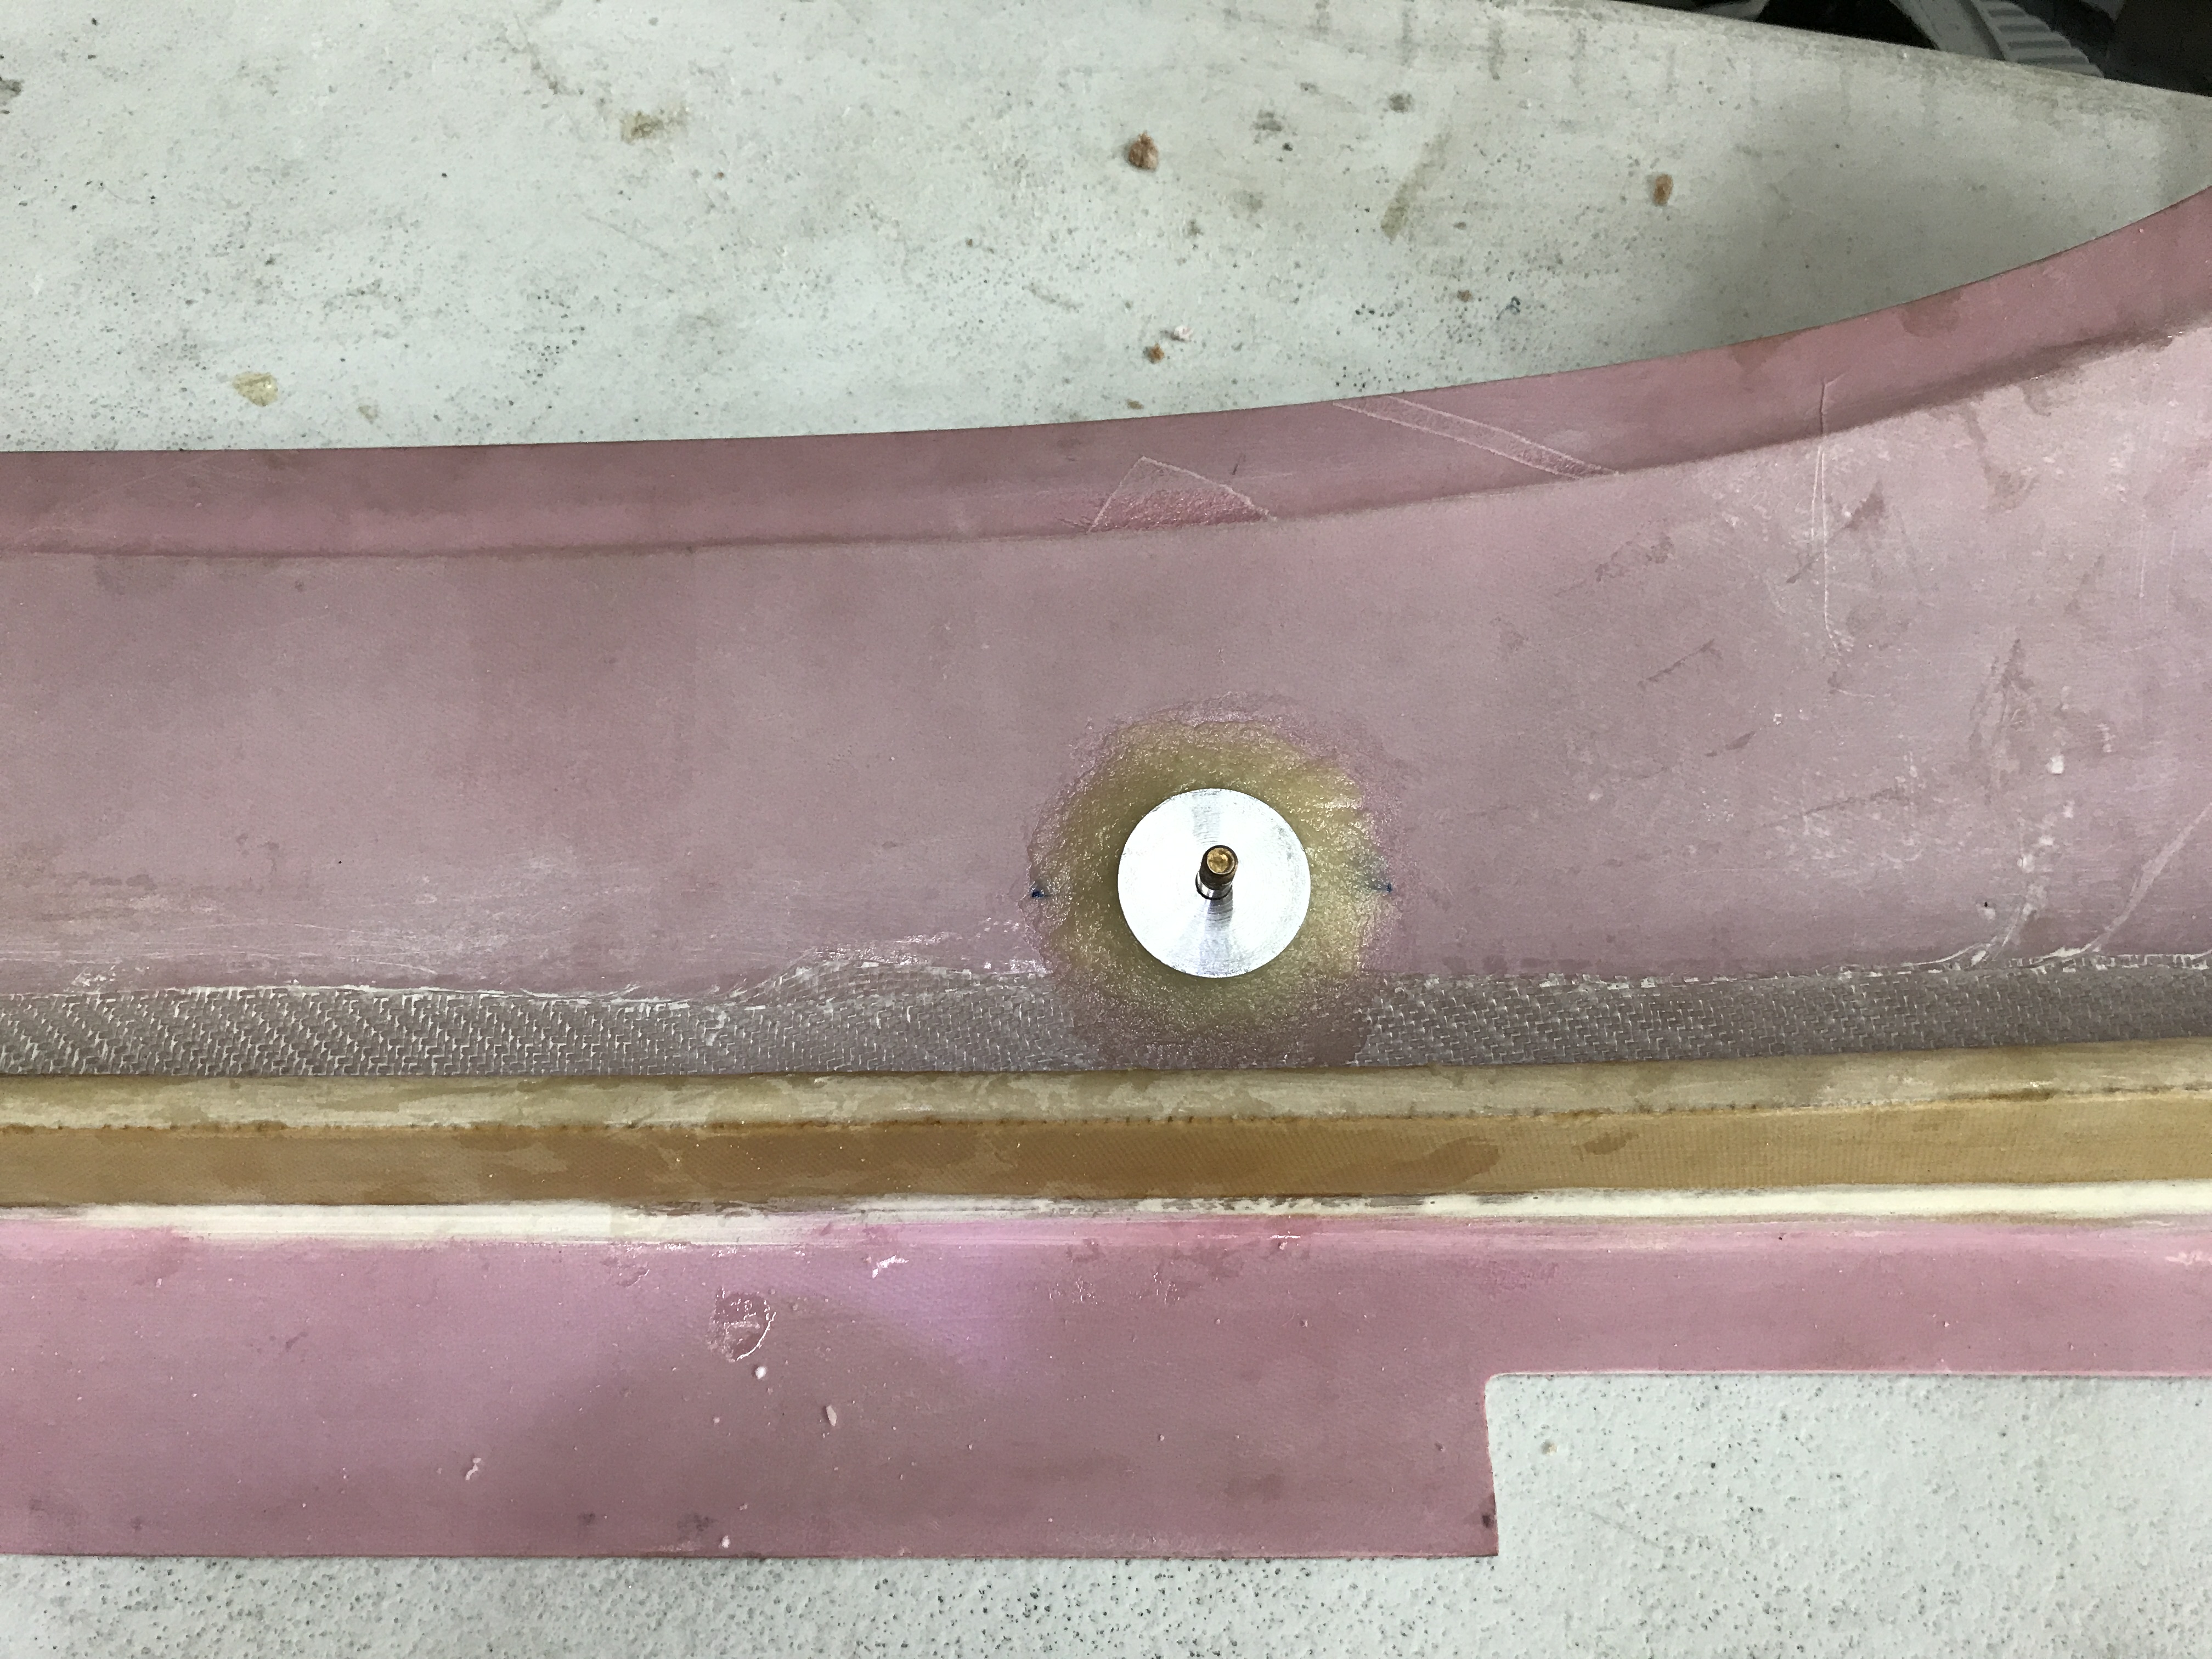
Managed to get a bit of work done on the Showplanes canopy. Bonded in the lock and latch. Taped the handle on the other side in place and set some dive weights to keep it held to the table.
Did the same with the forward handle. Laid a fillet of flox around the three pieces.
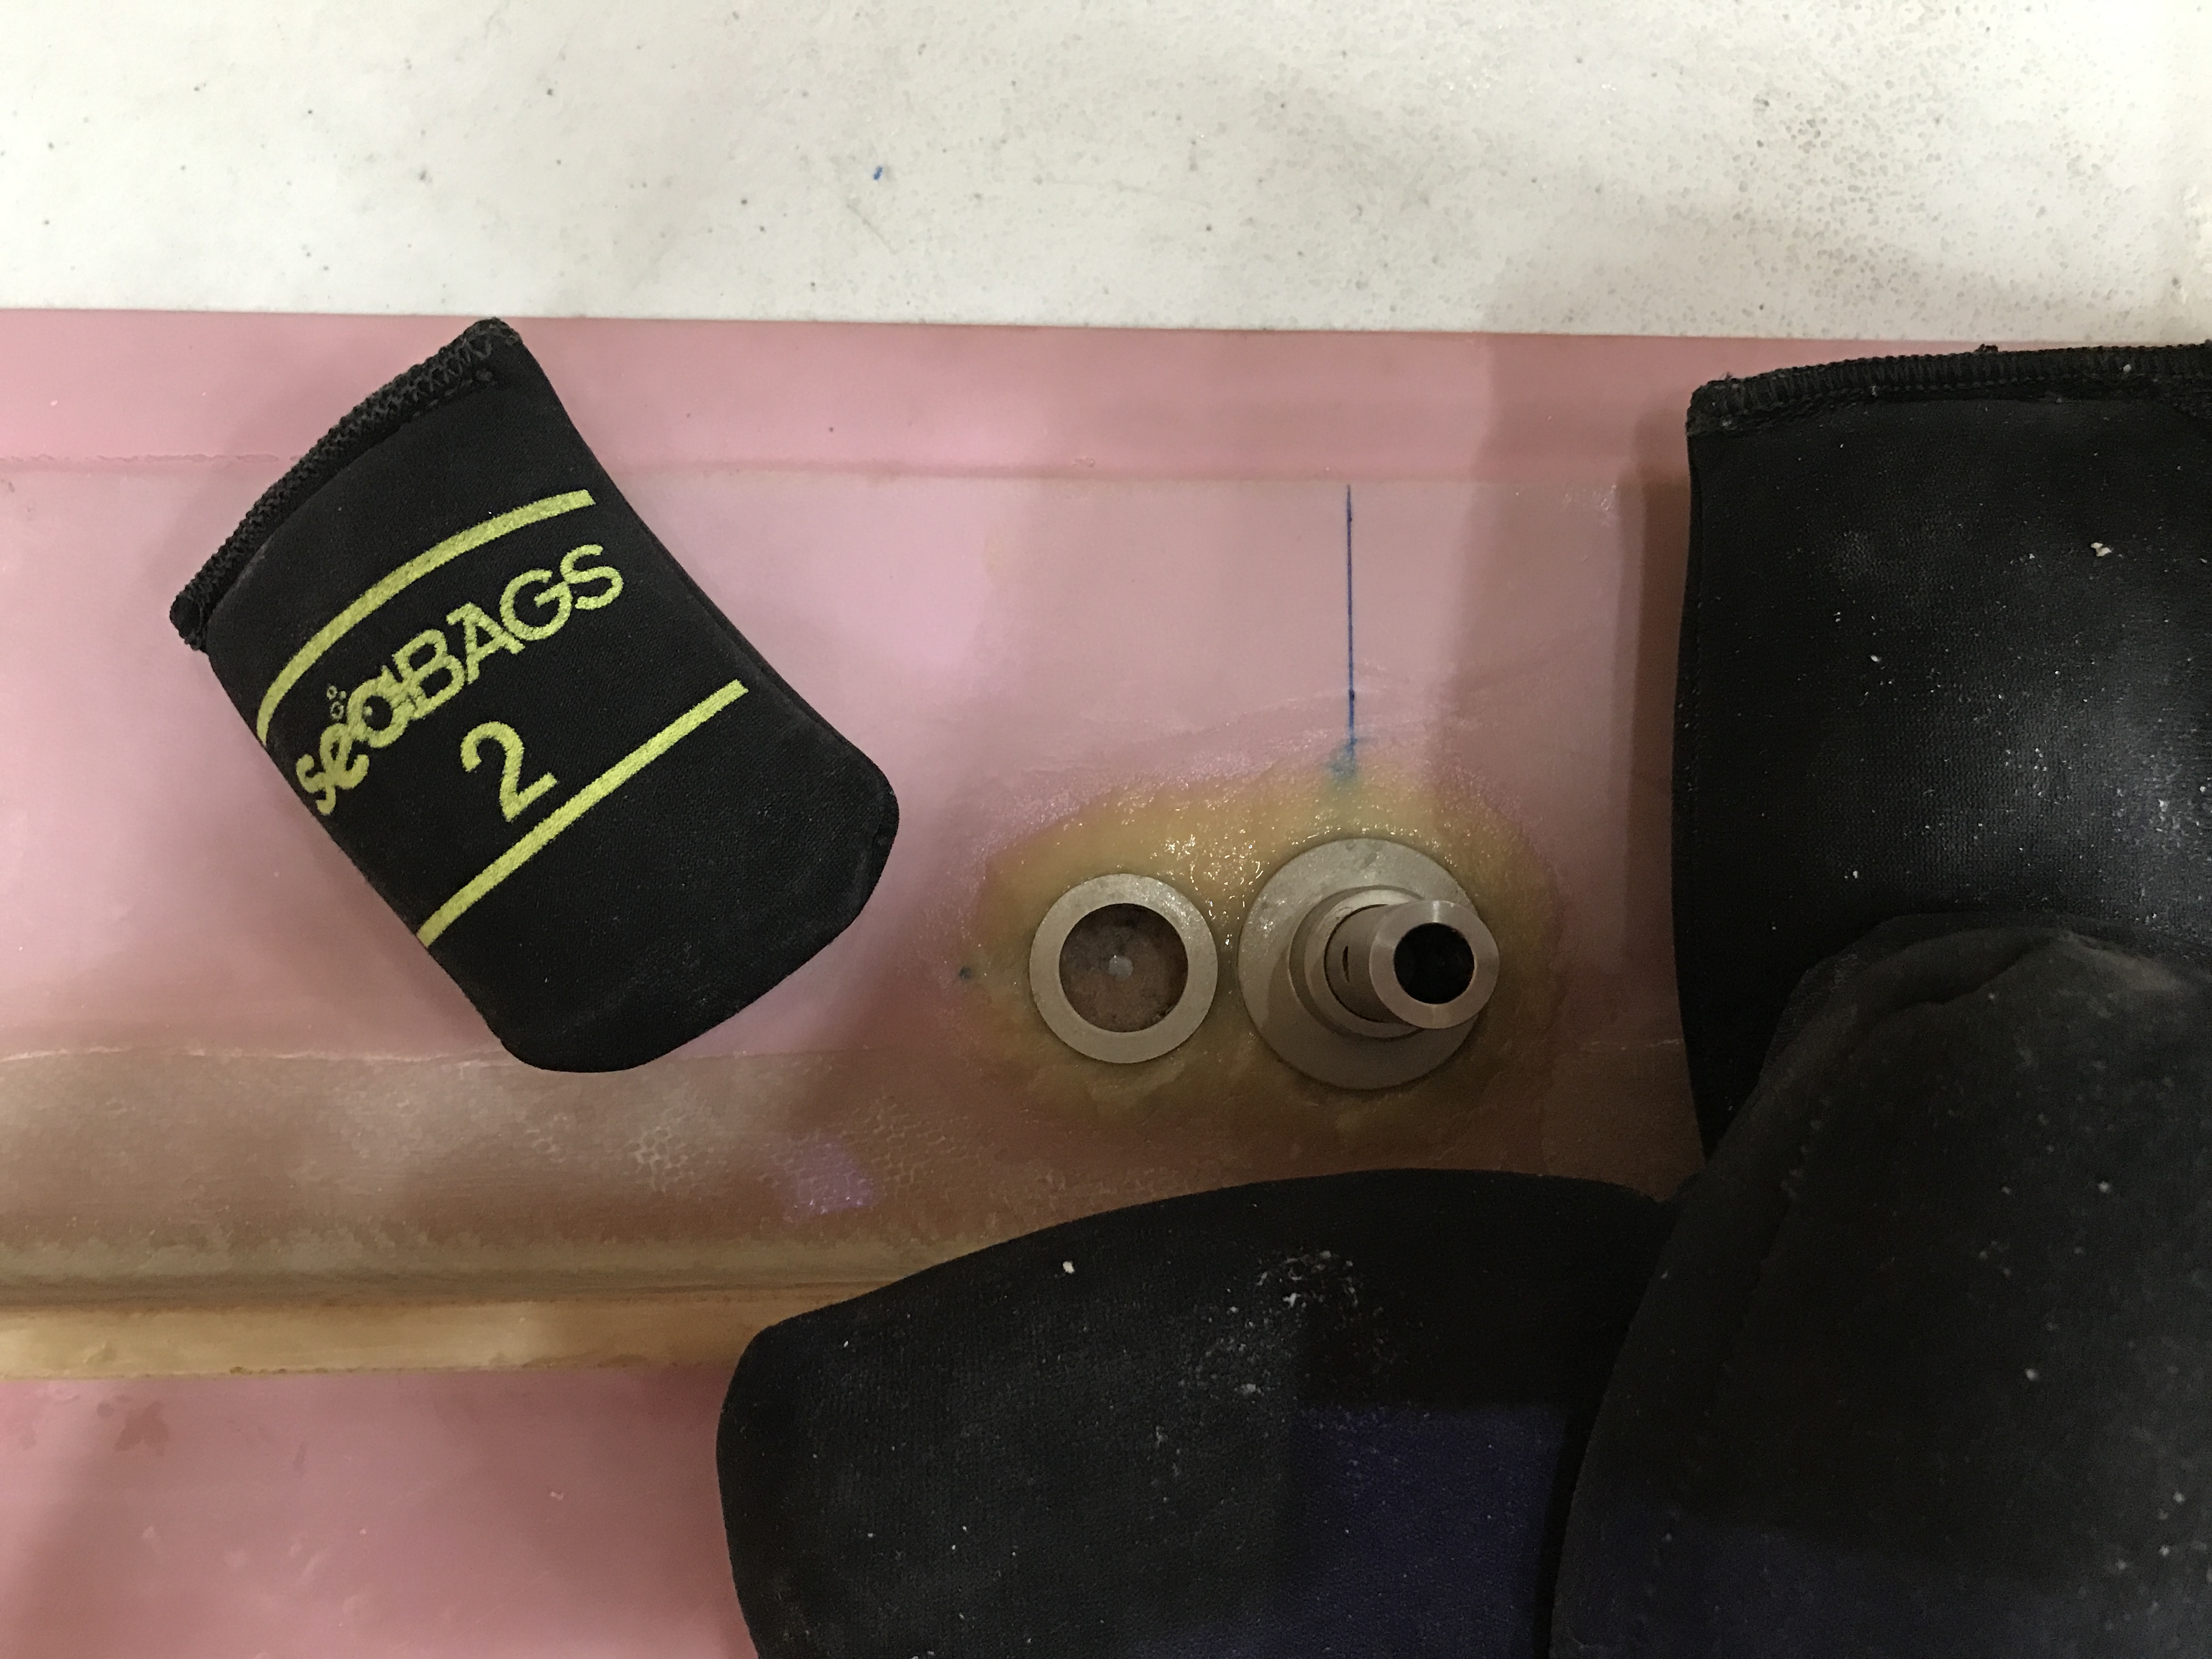
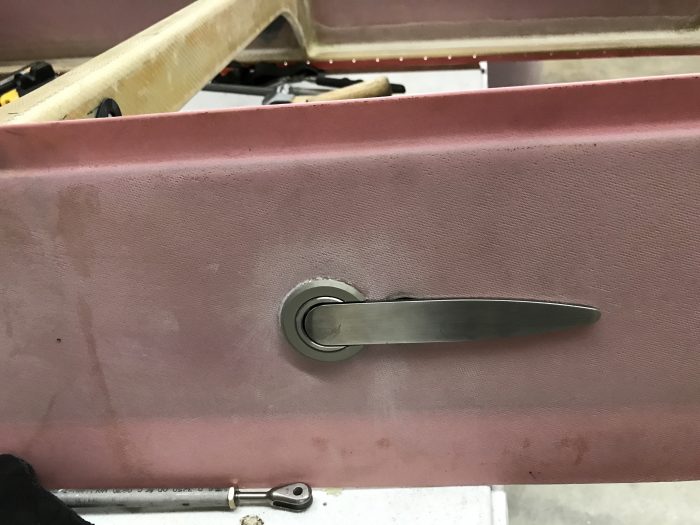
You are not supposed to drill through the outer skin for the lock. I barely grazed through on the left side. No problem as it “healed” itself when the lock casing was bonded in. You can see the dark ring just around the left side of the lock. After it was dry I used a step bit to clear out just enough to get the lock in from the outside. I suppose you could bond the lock entirely in place. But, if your lock ever kicked the bucket you will not be a happy person trying to get it out.
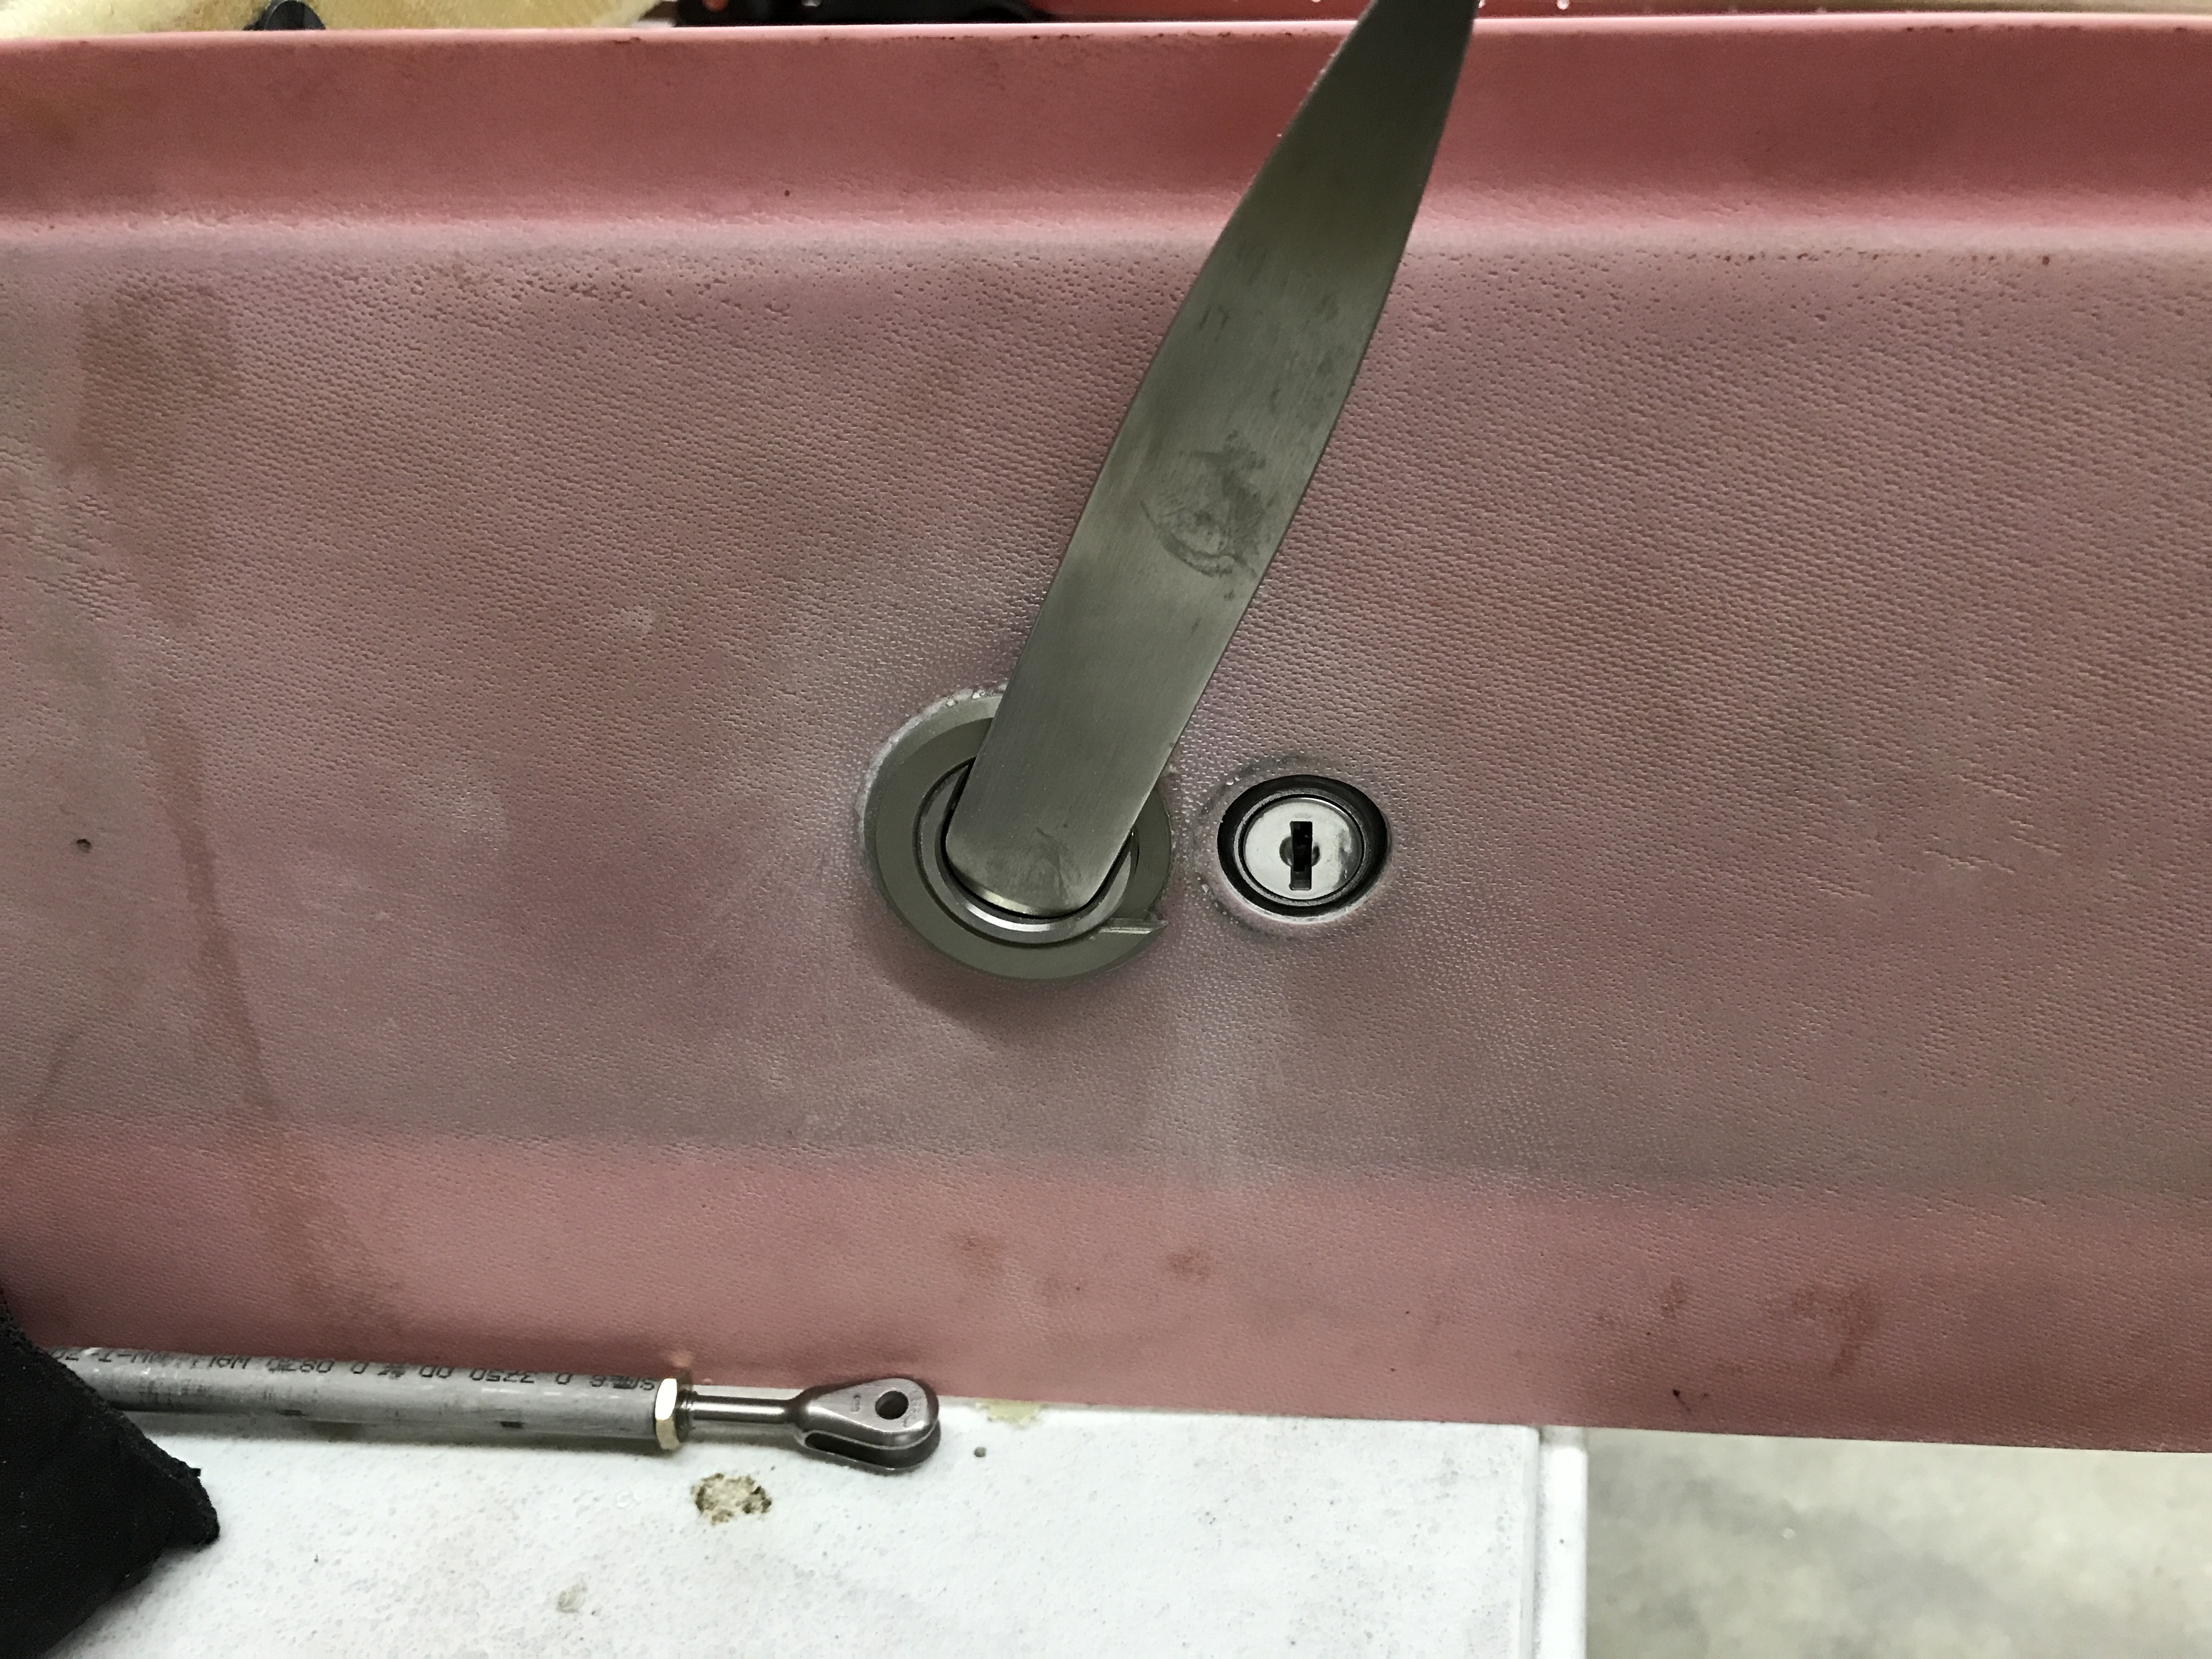
It just barely shows with the handle in place. Looks nice. This is a wonderful kit.
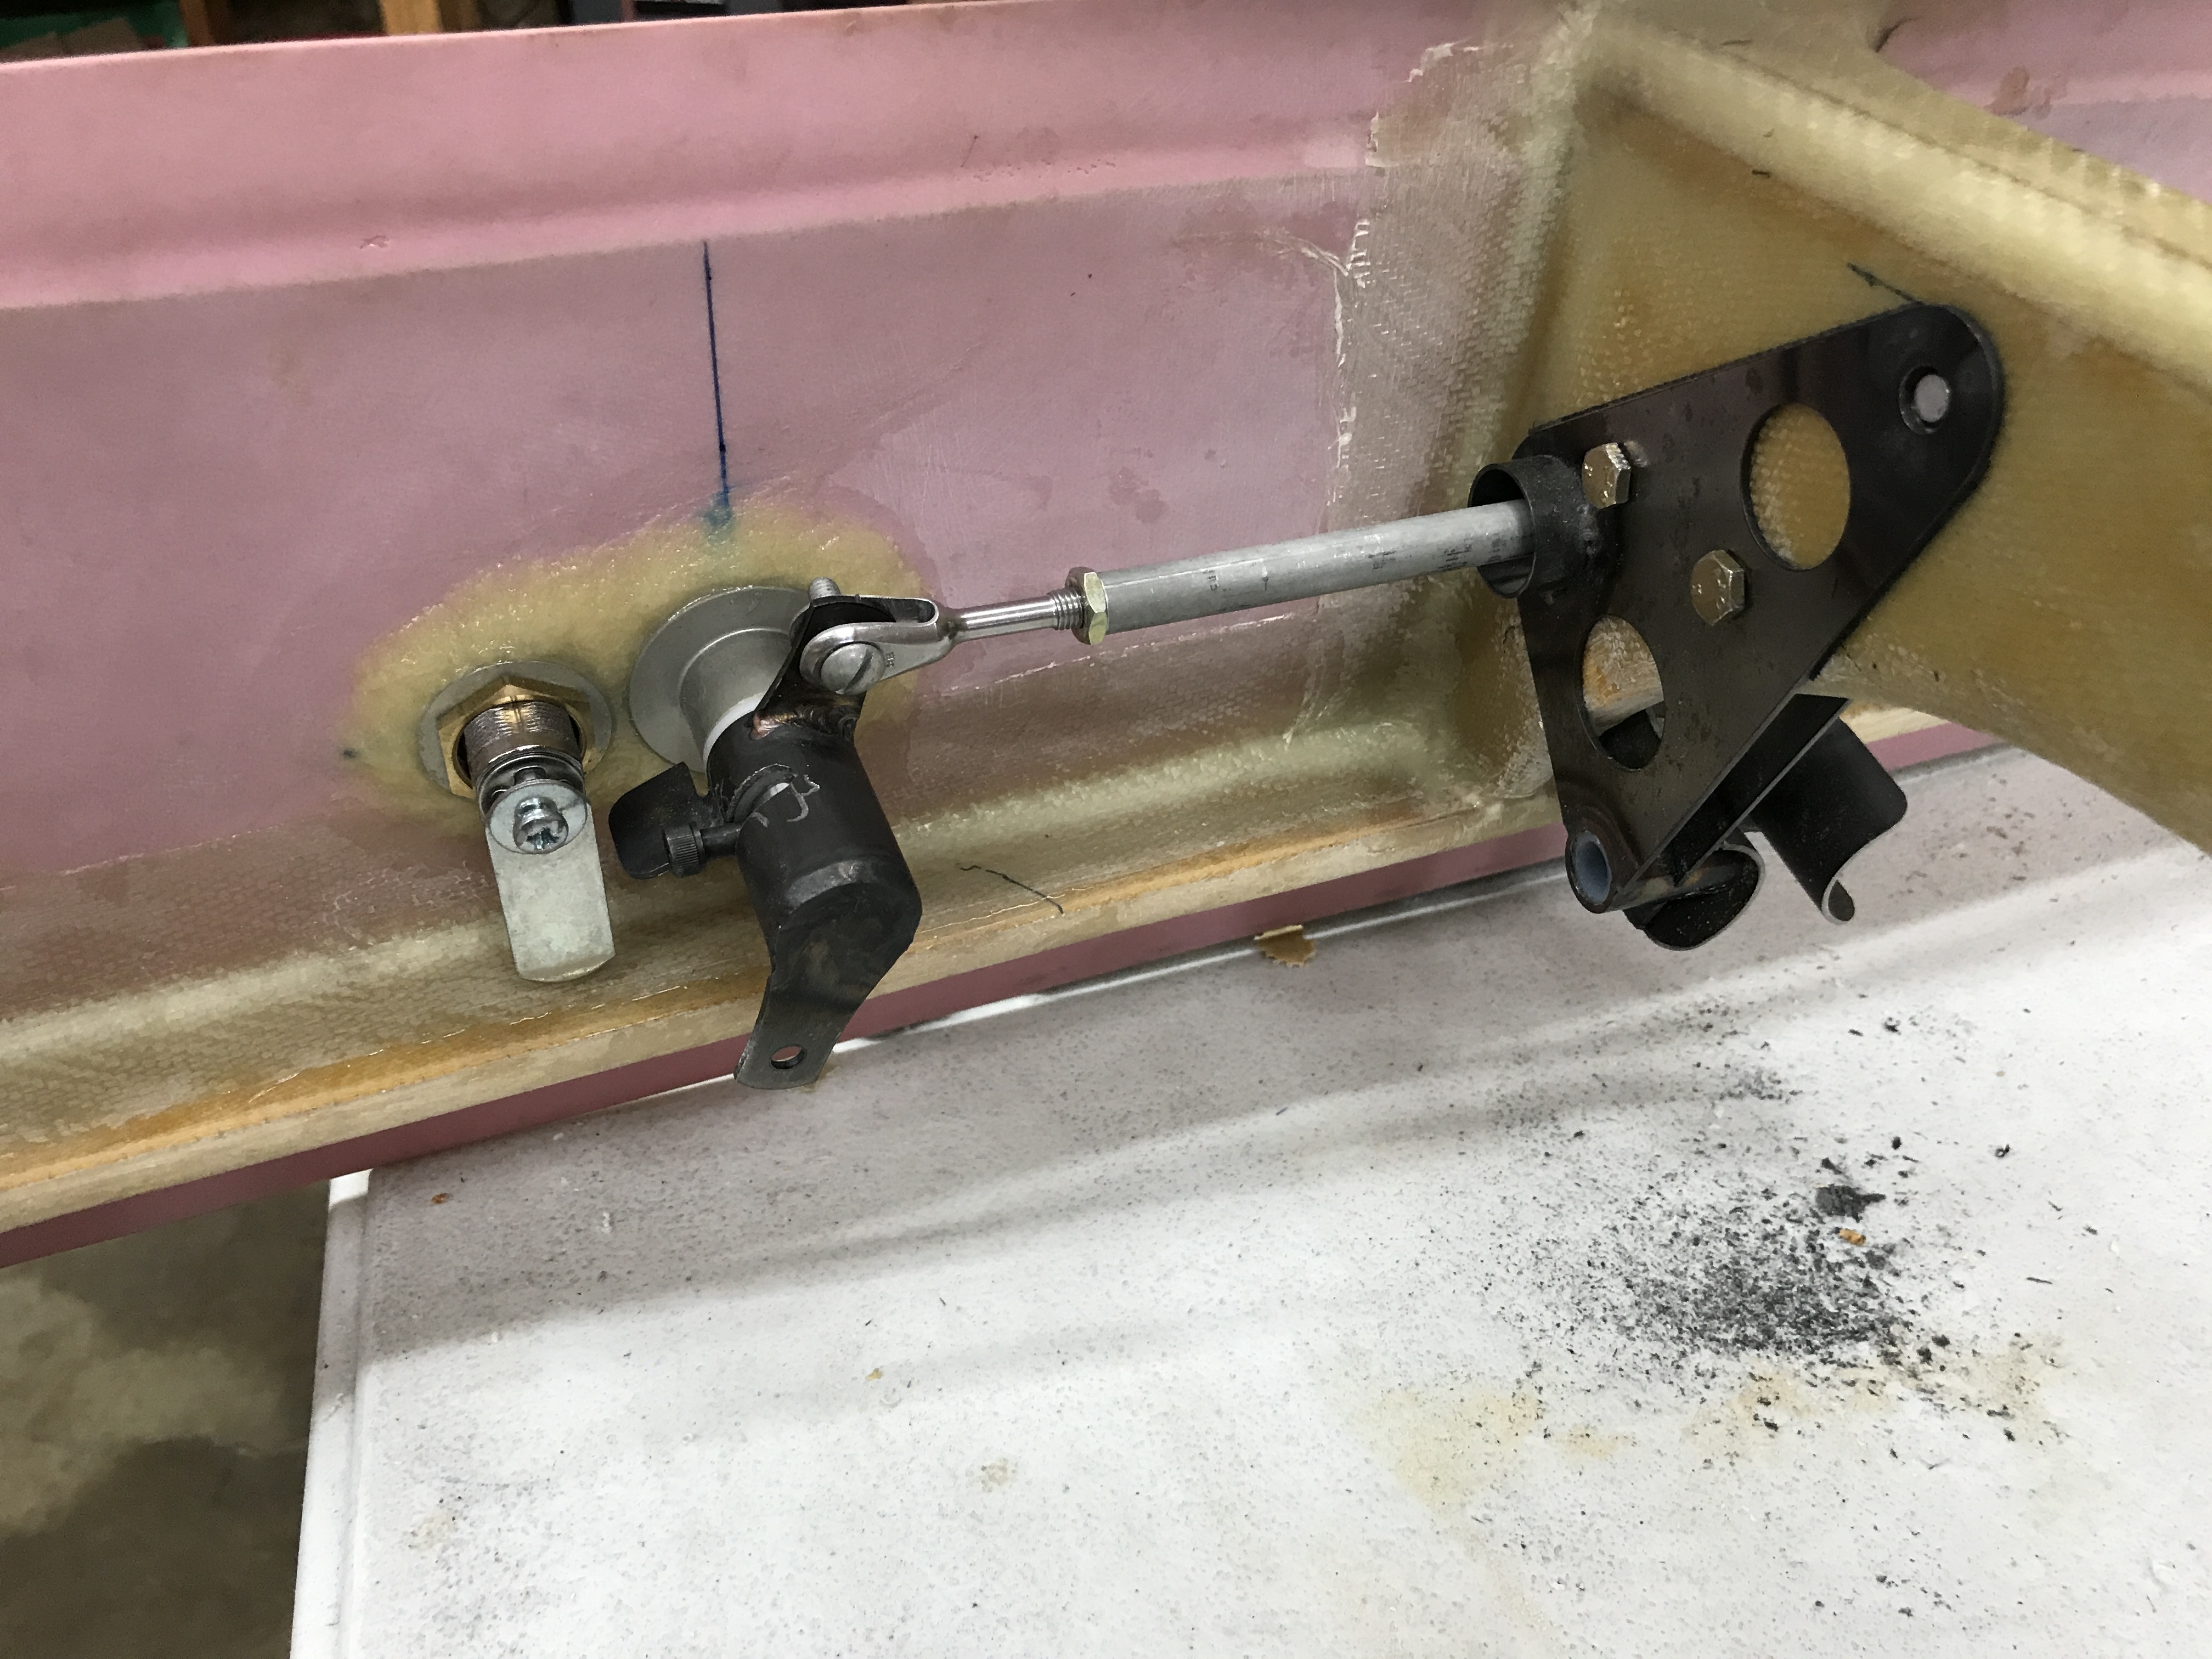
Spent a lot of time making sure the hole I drilled for the rod between the front handle and the aft lock mechanism was in the right place. You should be aware that your hole should be at least 1/8″ to 3/16″ lower than the the height when the lock and handle are at midpoint or 12 o’clock because as they rotate they move downwards. Install the weldment.
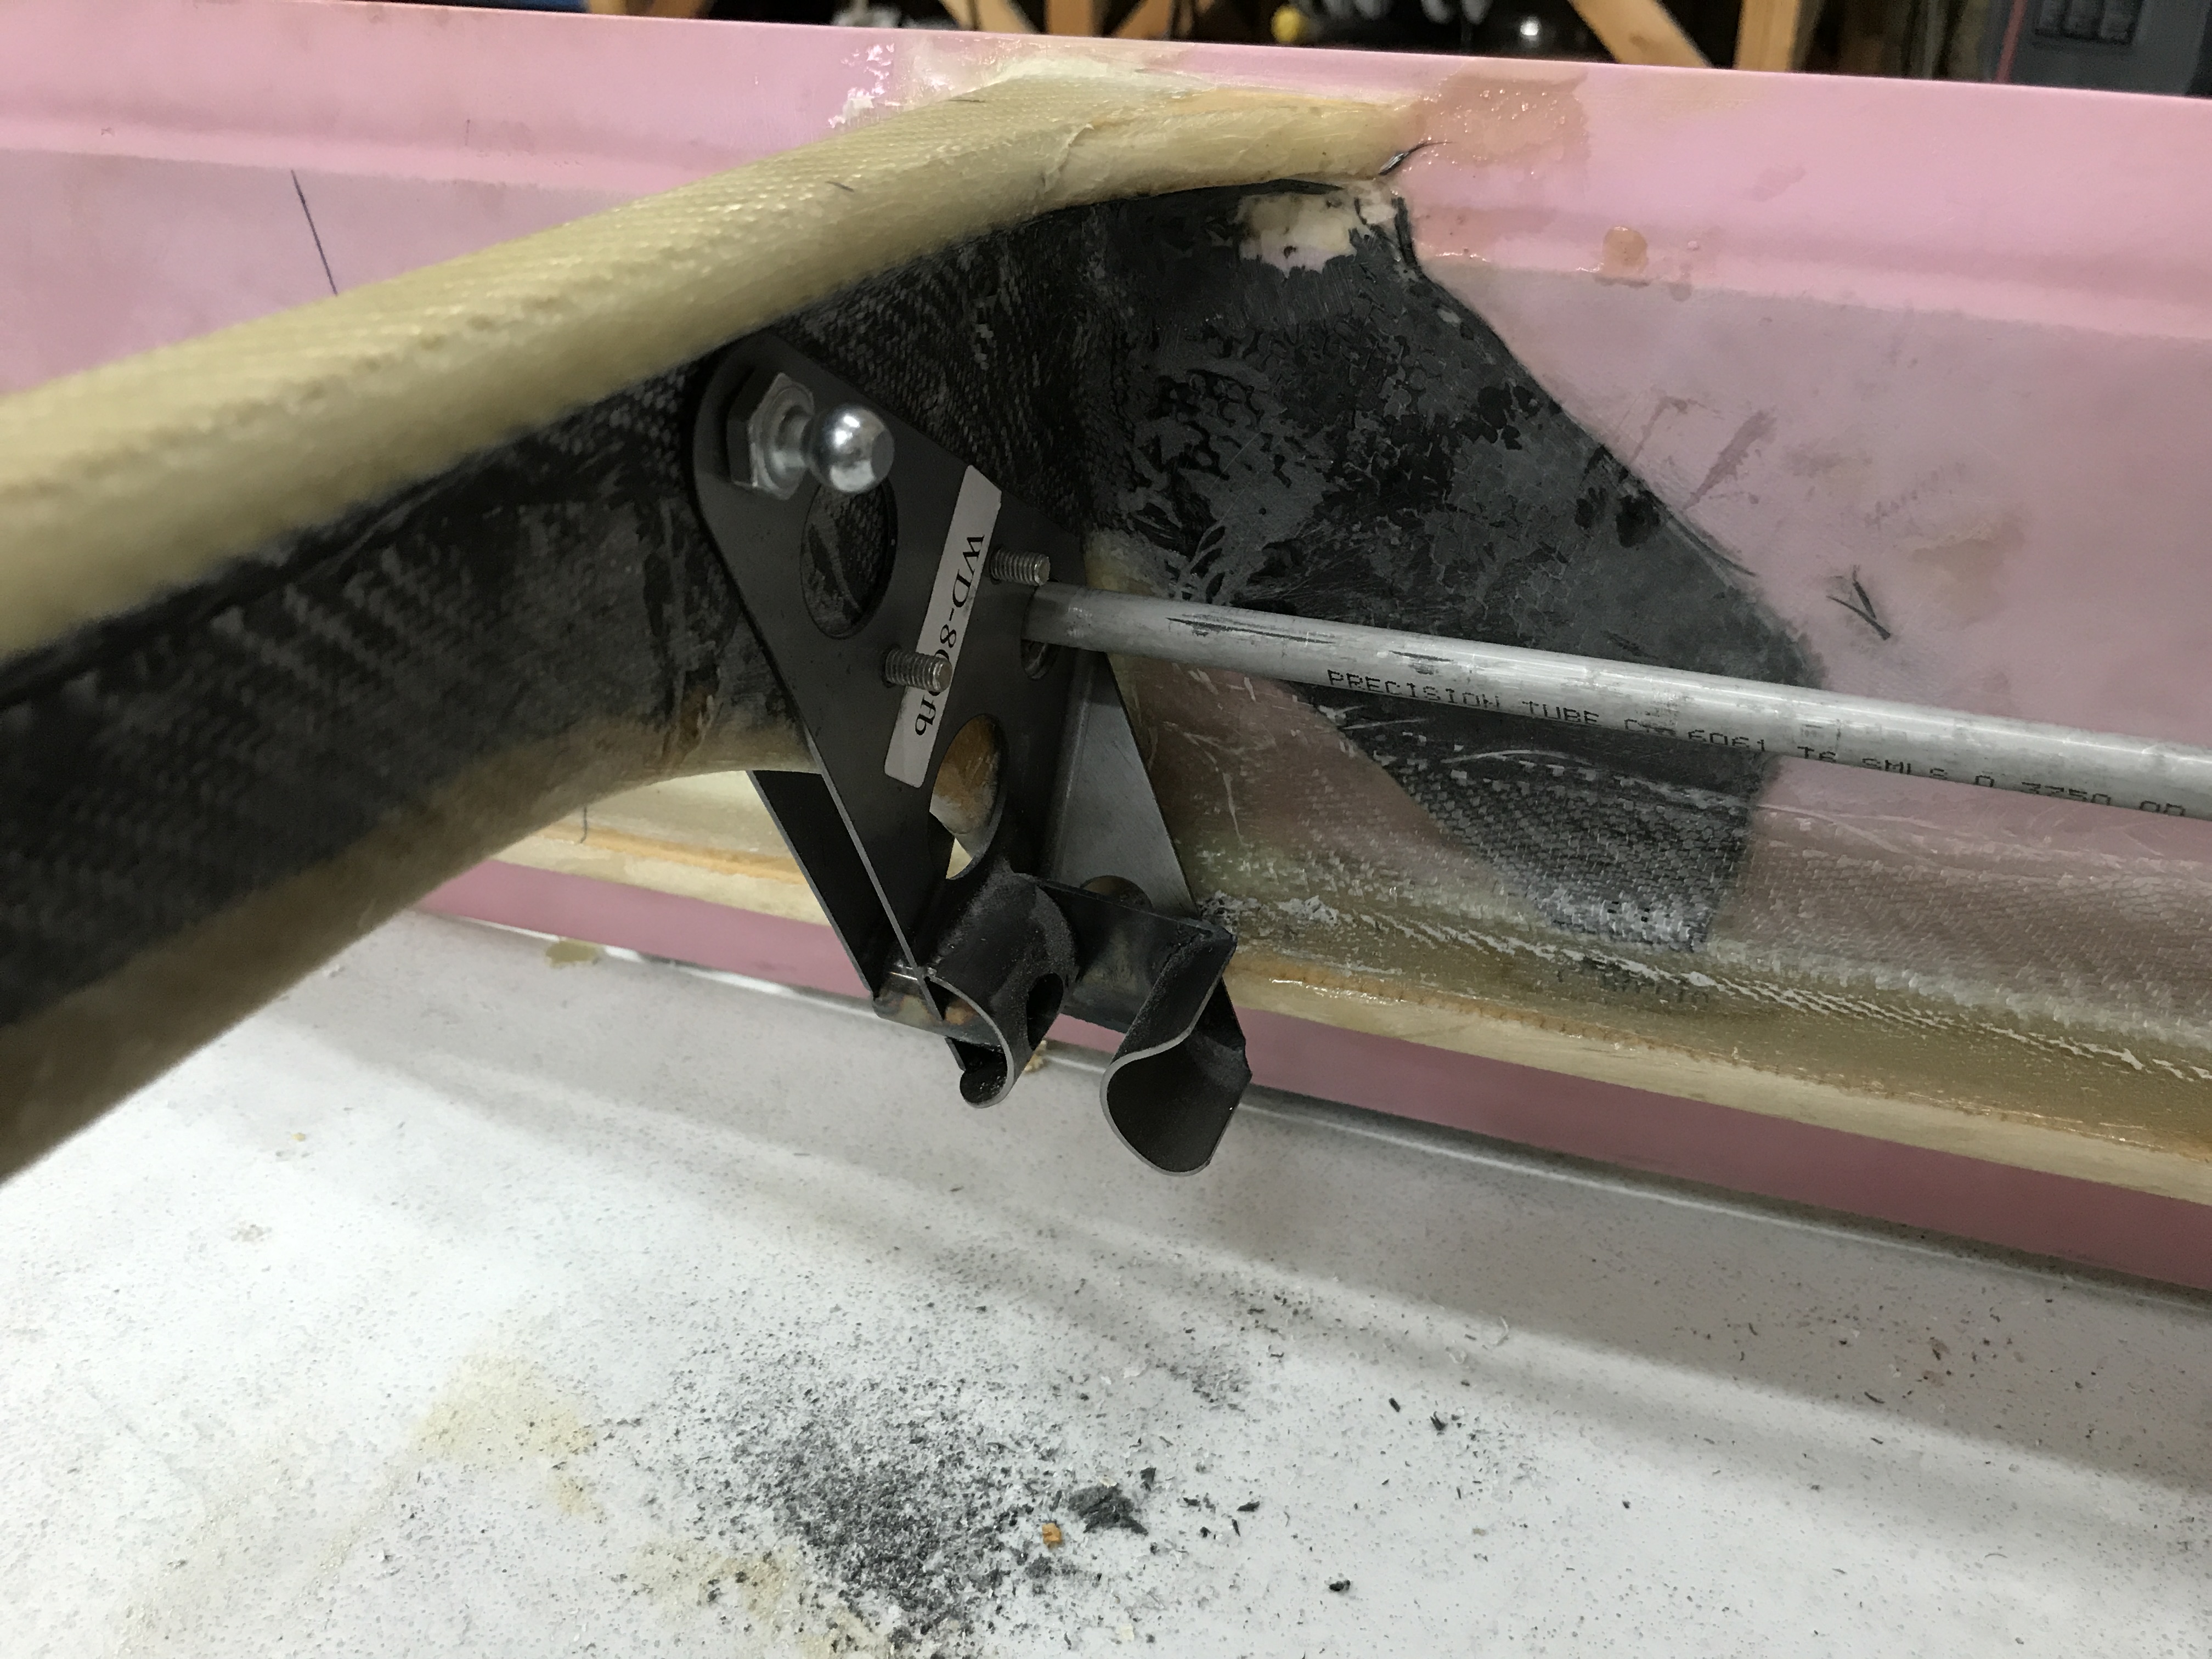
Front handle which will get it’s little yellow ball like all other RV’s at the top.

So far everything works without binding. I may build another longer arm for the lock. This provided arm is about 3/16″ to 1/4″ short and so there is some slop in the handle mechanism when the canopy is locked.