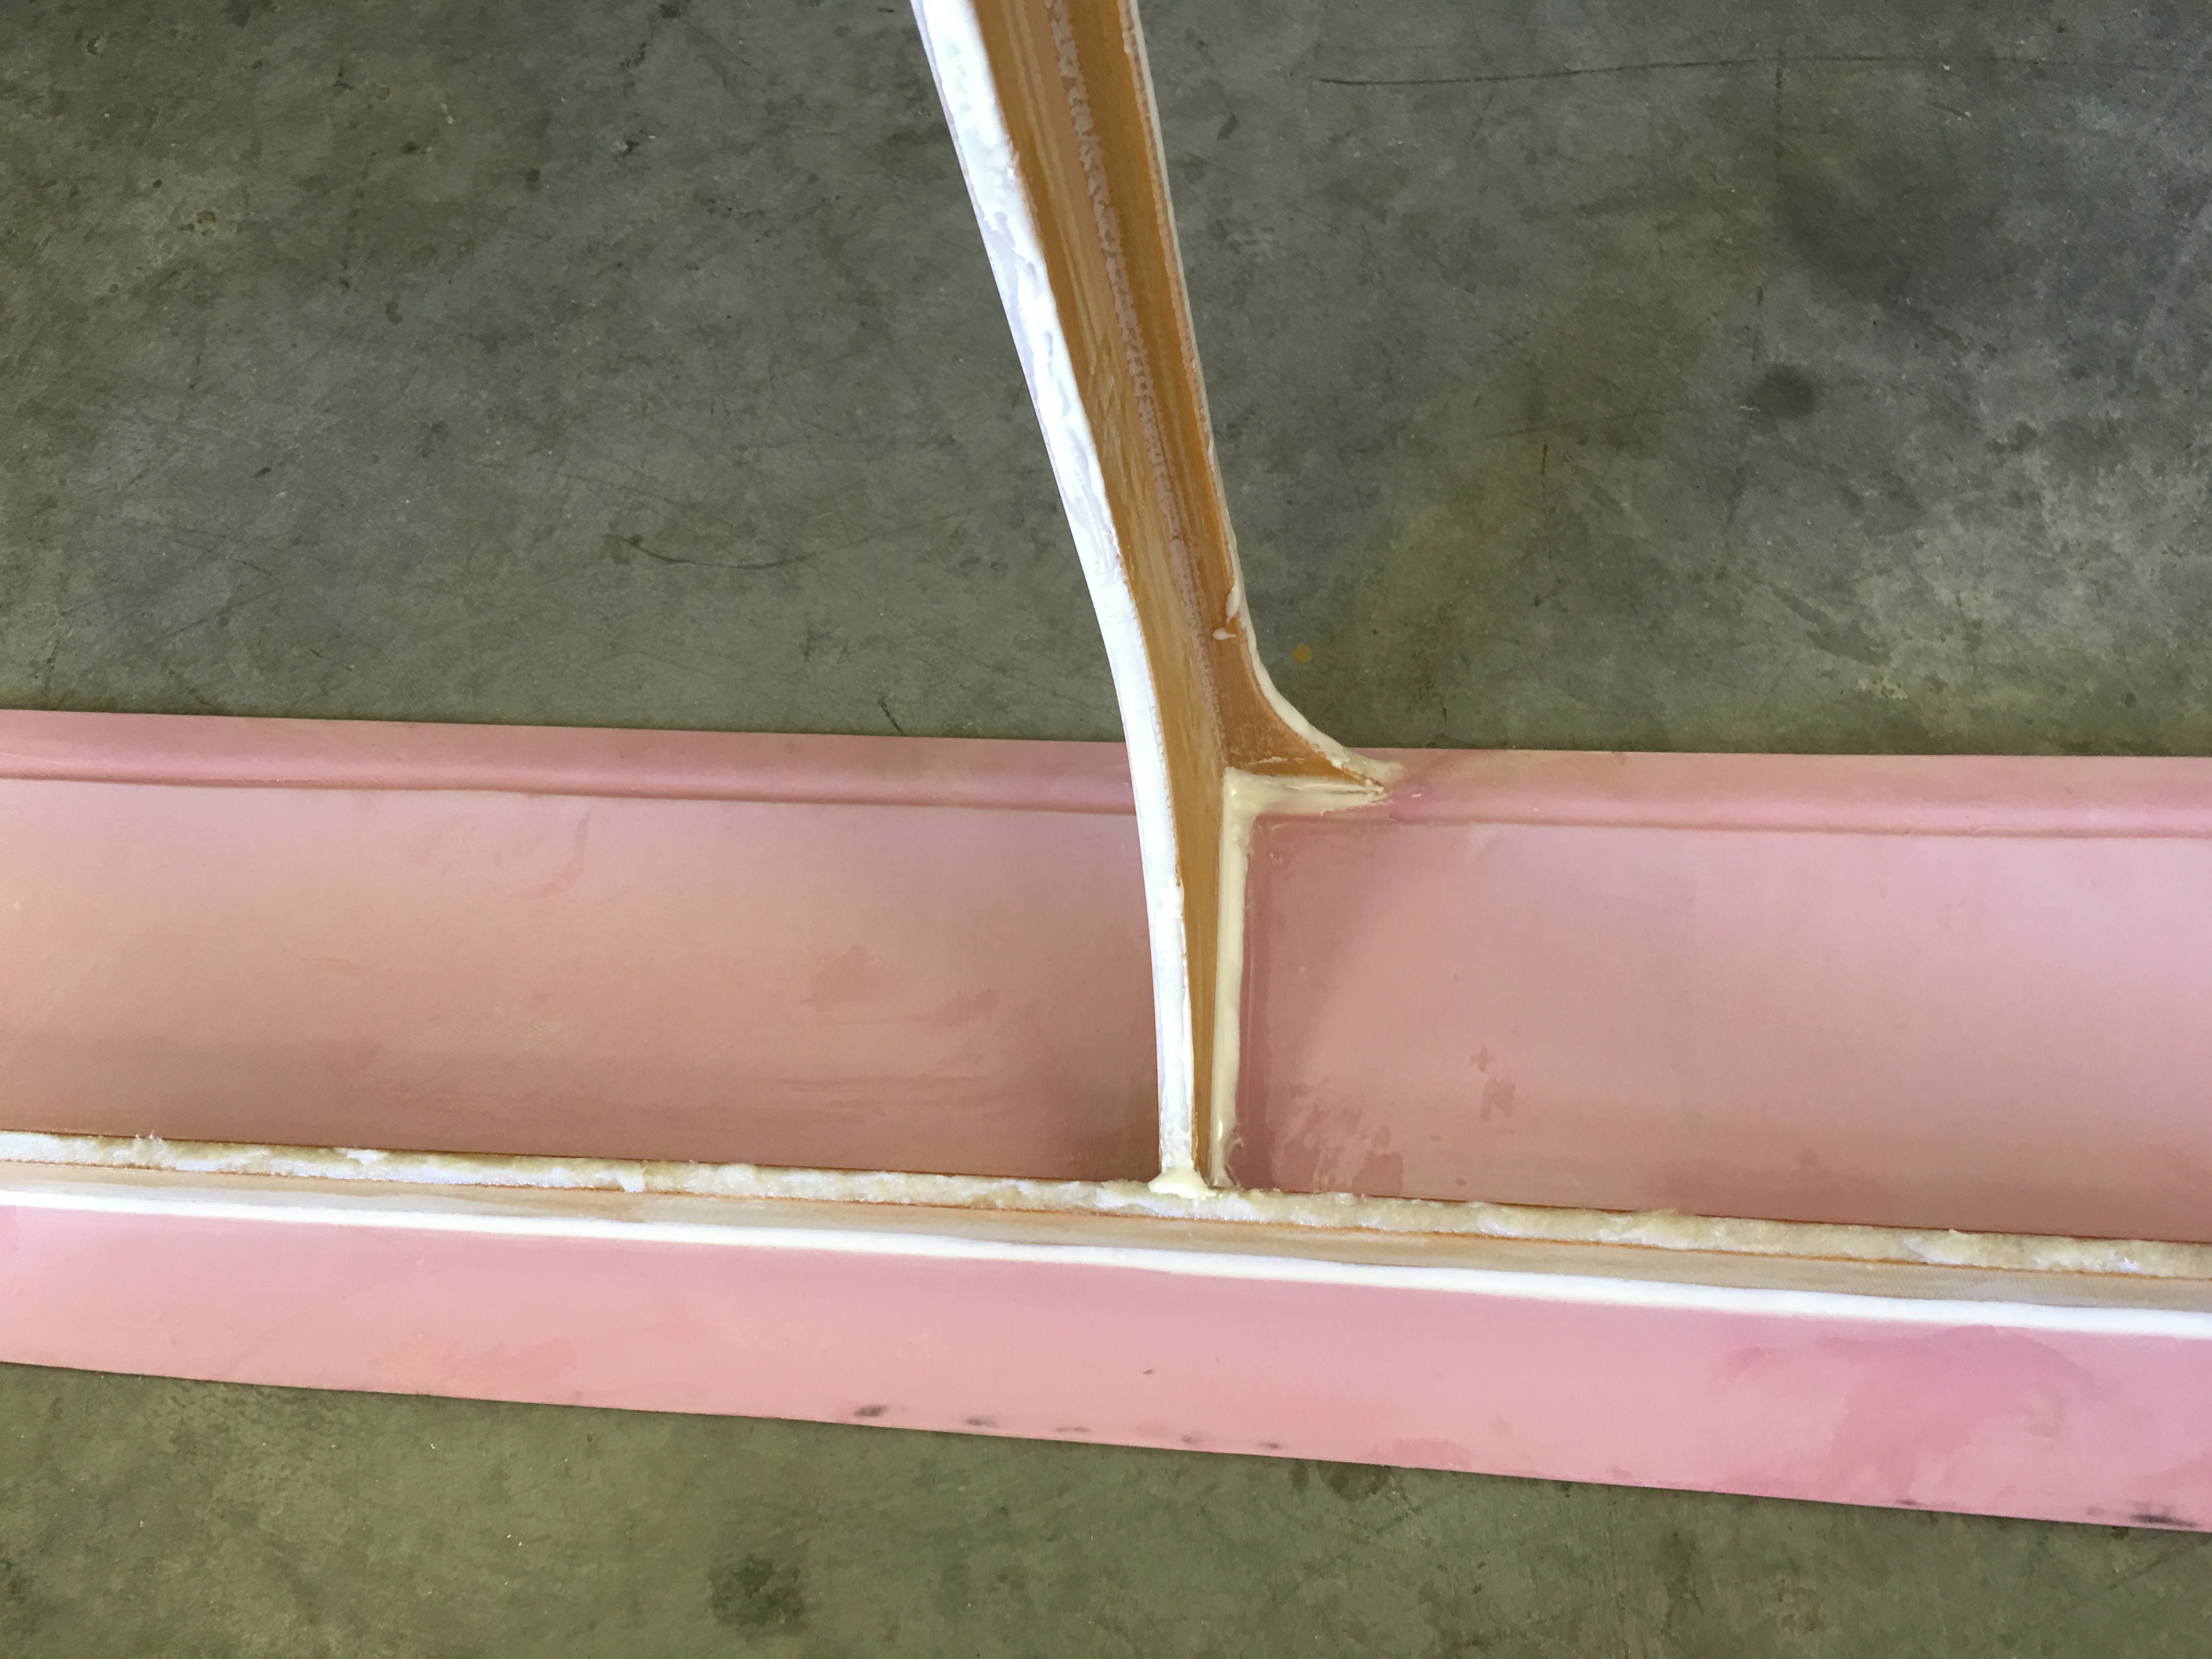
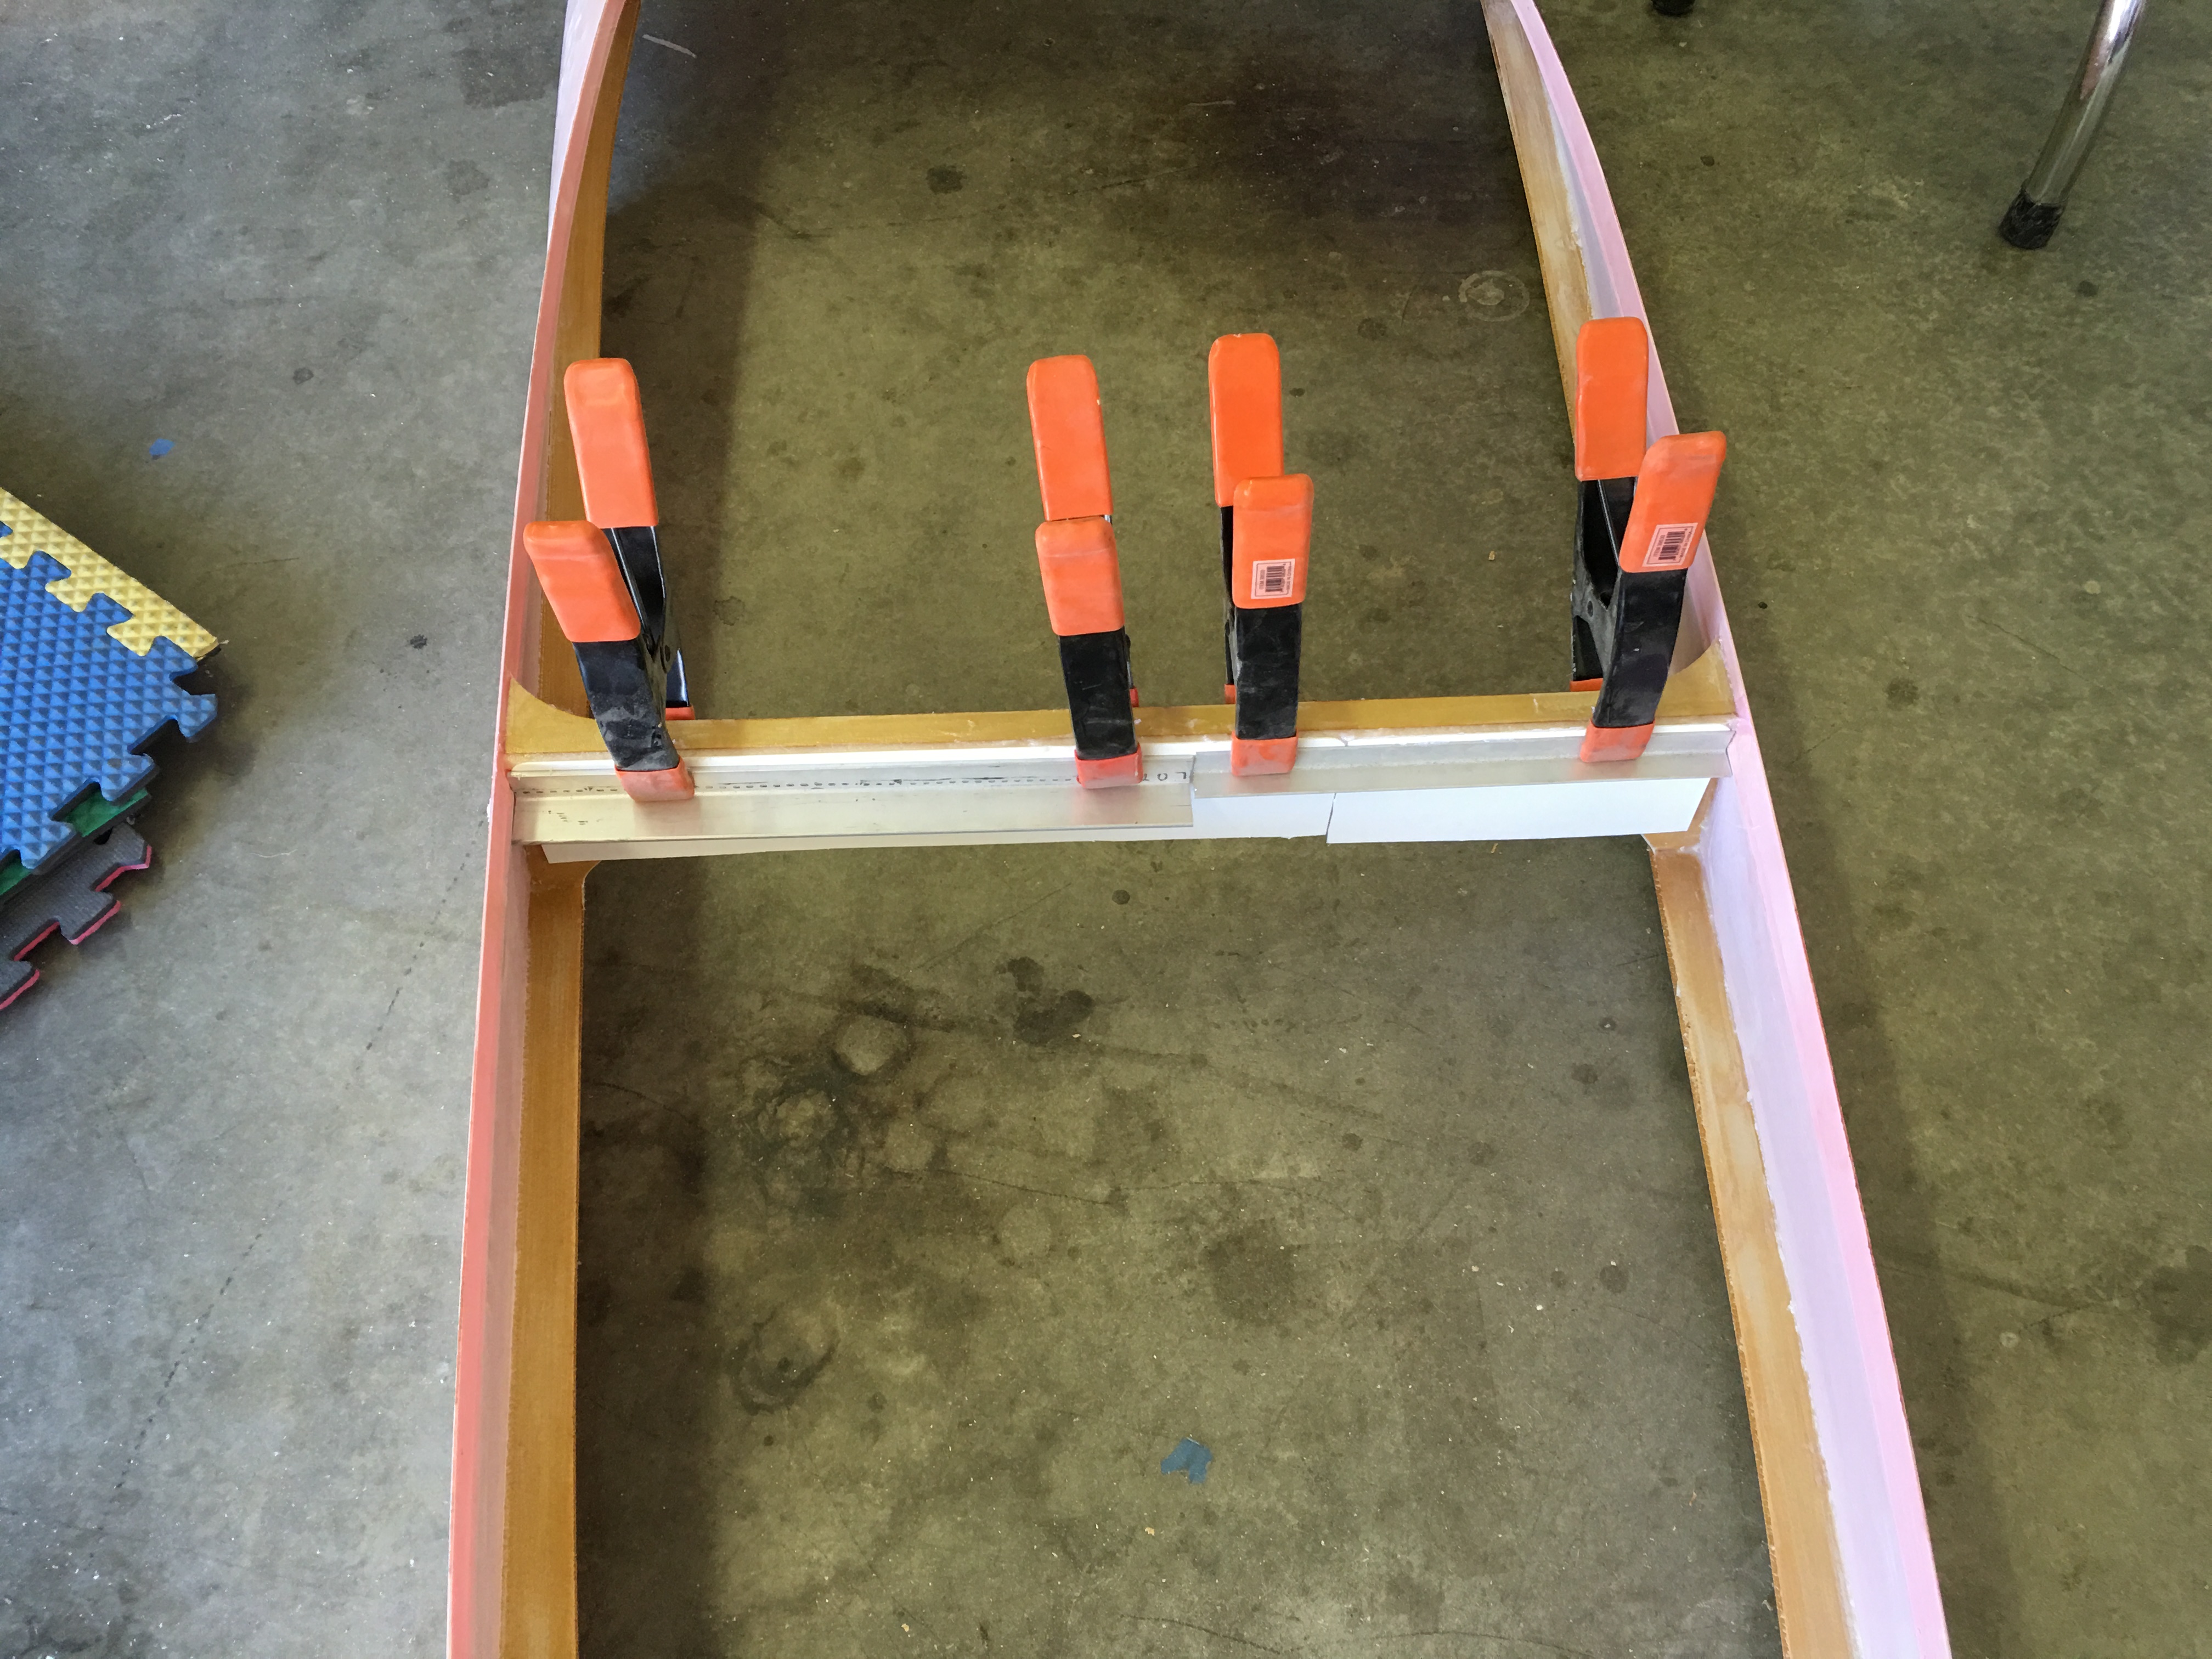
Sanded some of the honeycomb edges which have already been floxed. It turns out it’s pretty easy to get a nice radius so I’ve decided not to use the half-round dowels I purchased. Anybody building a doll house? Sanded more, added more flox in other areas and micro in others.
Created my own restrictor port by inserting a pop rivet, popping it, punching out the pin and grinding the very tip. You can see where the beveled edge seats on the mating surface; it’s a thin silver line between the rivet and the end of the radius. The rivet does not interfere with the mating surfaces.

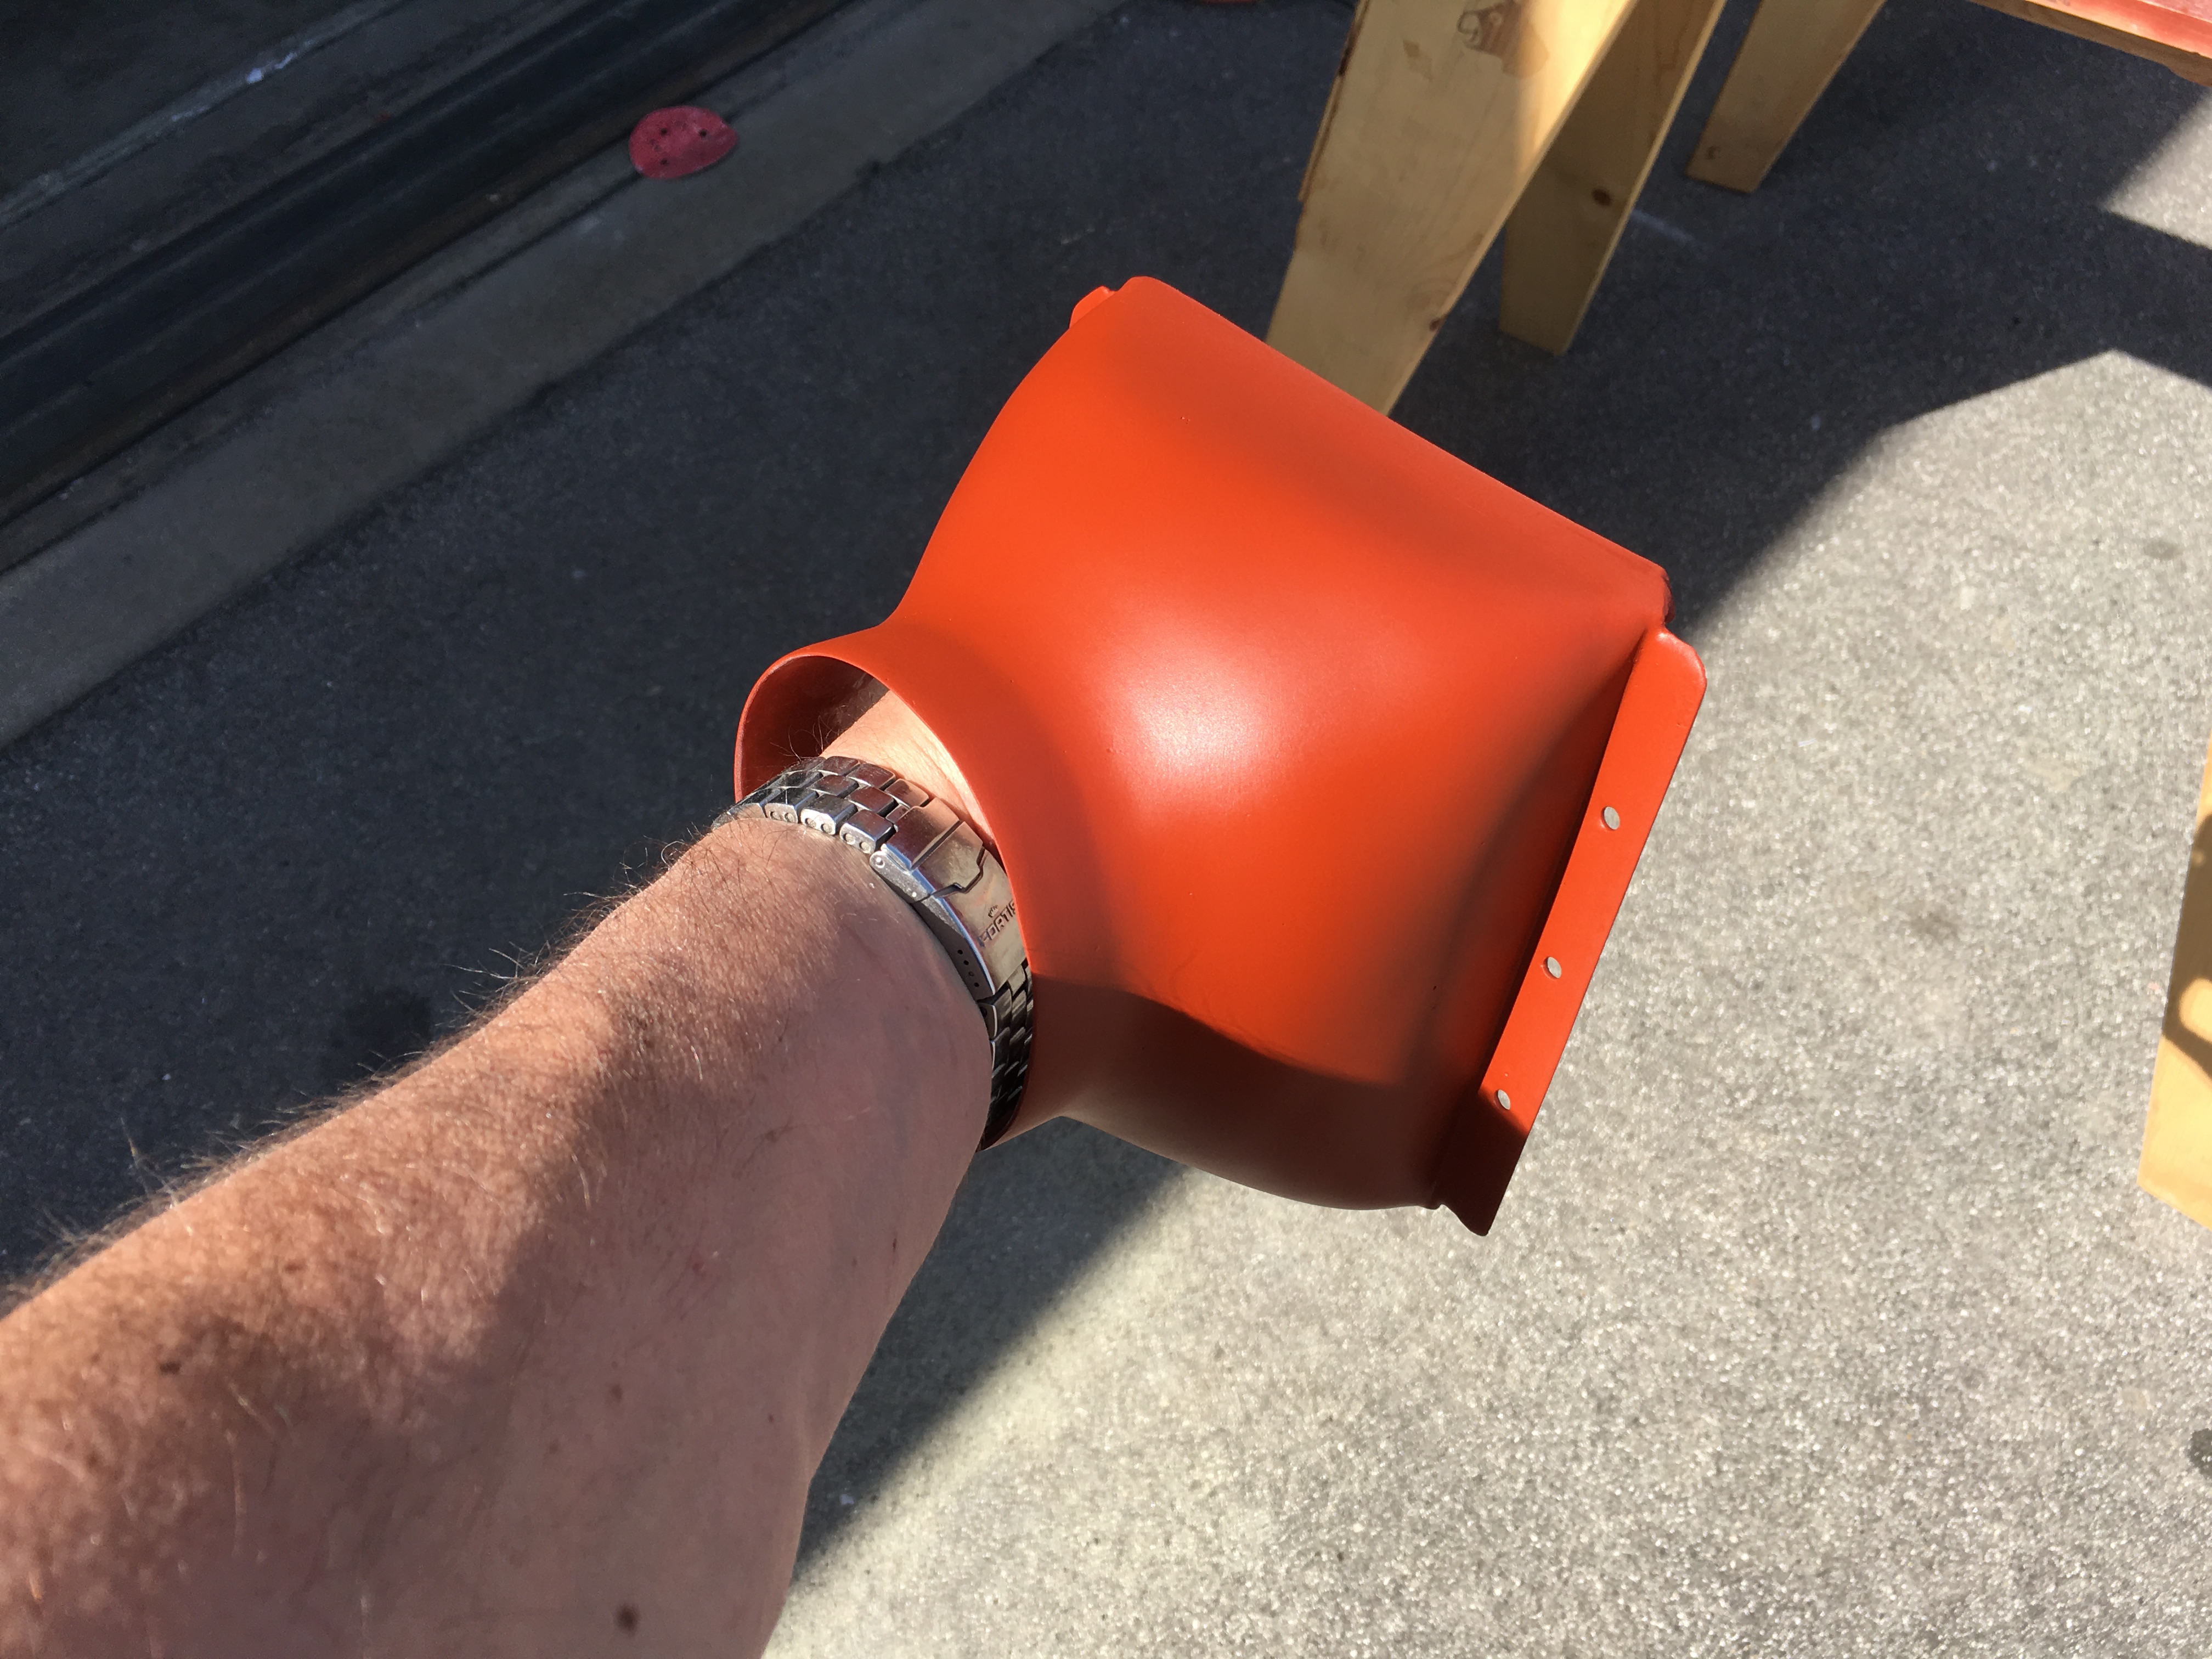
Primed the oil cooler duct. Next will be some high heat paint and I’m calling it done. It actually looks very nice.
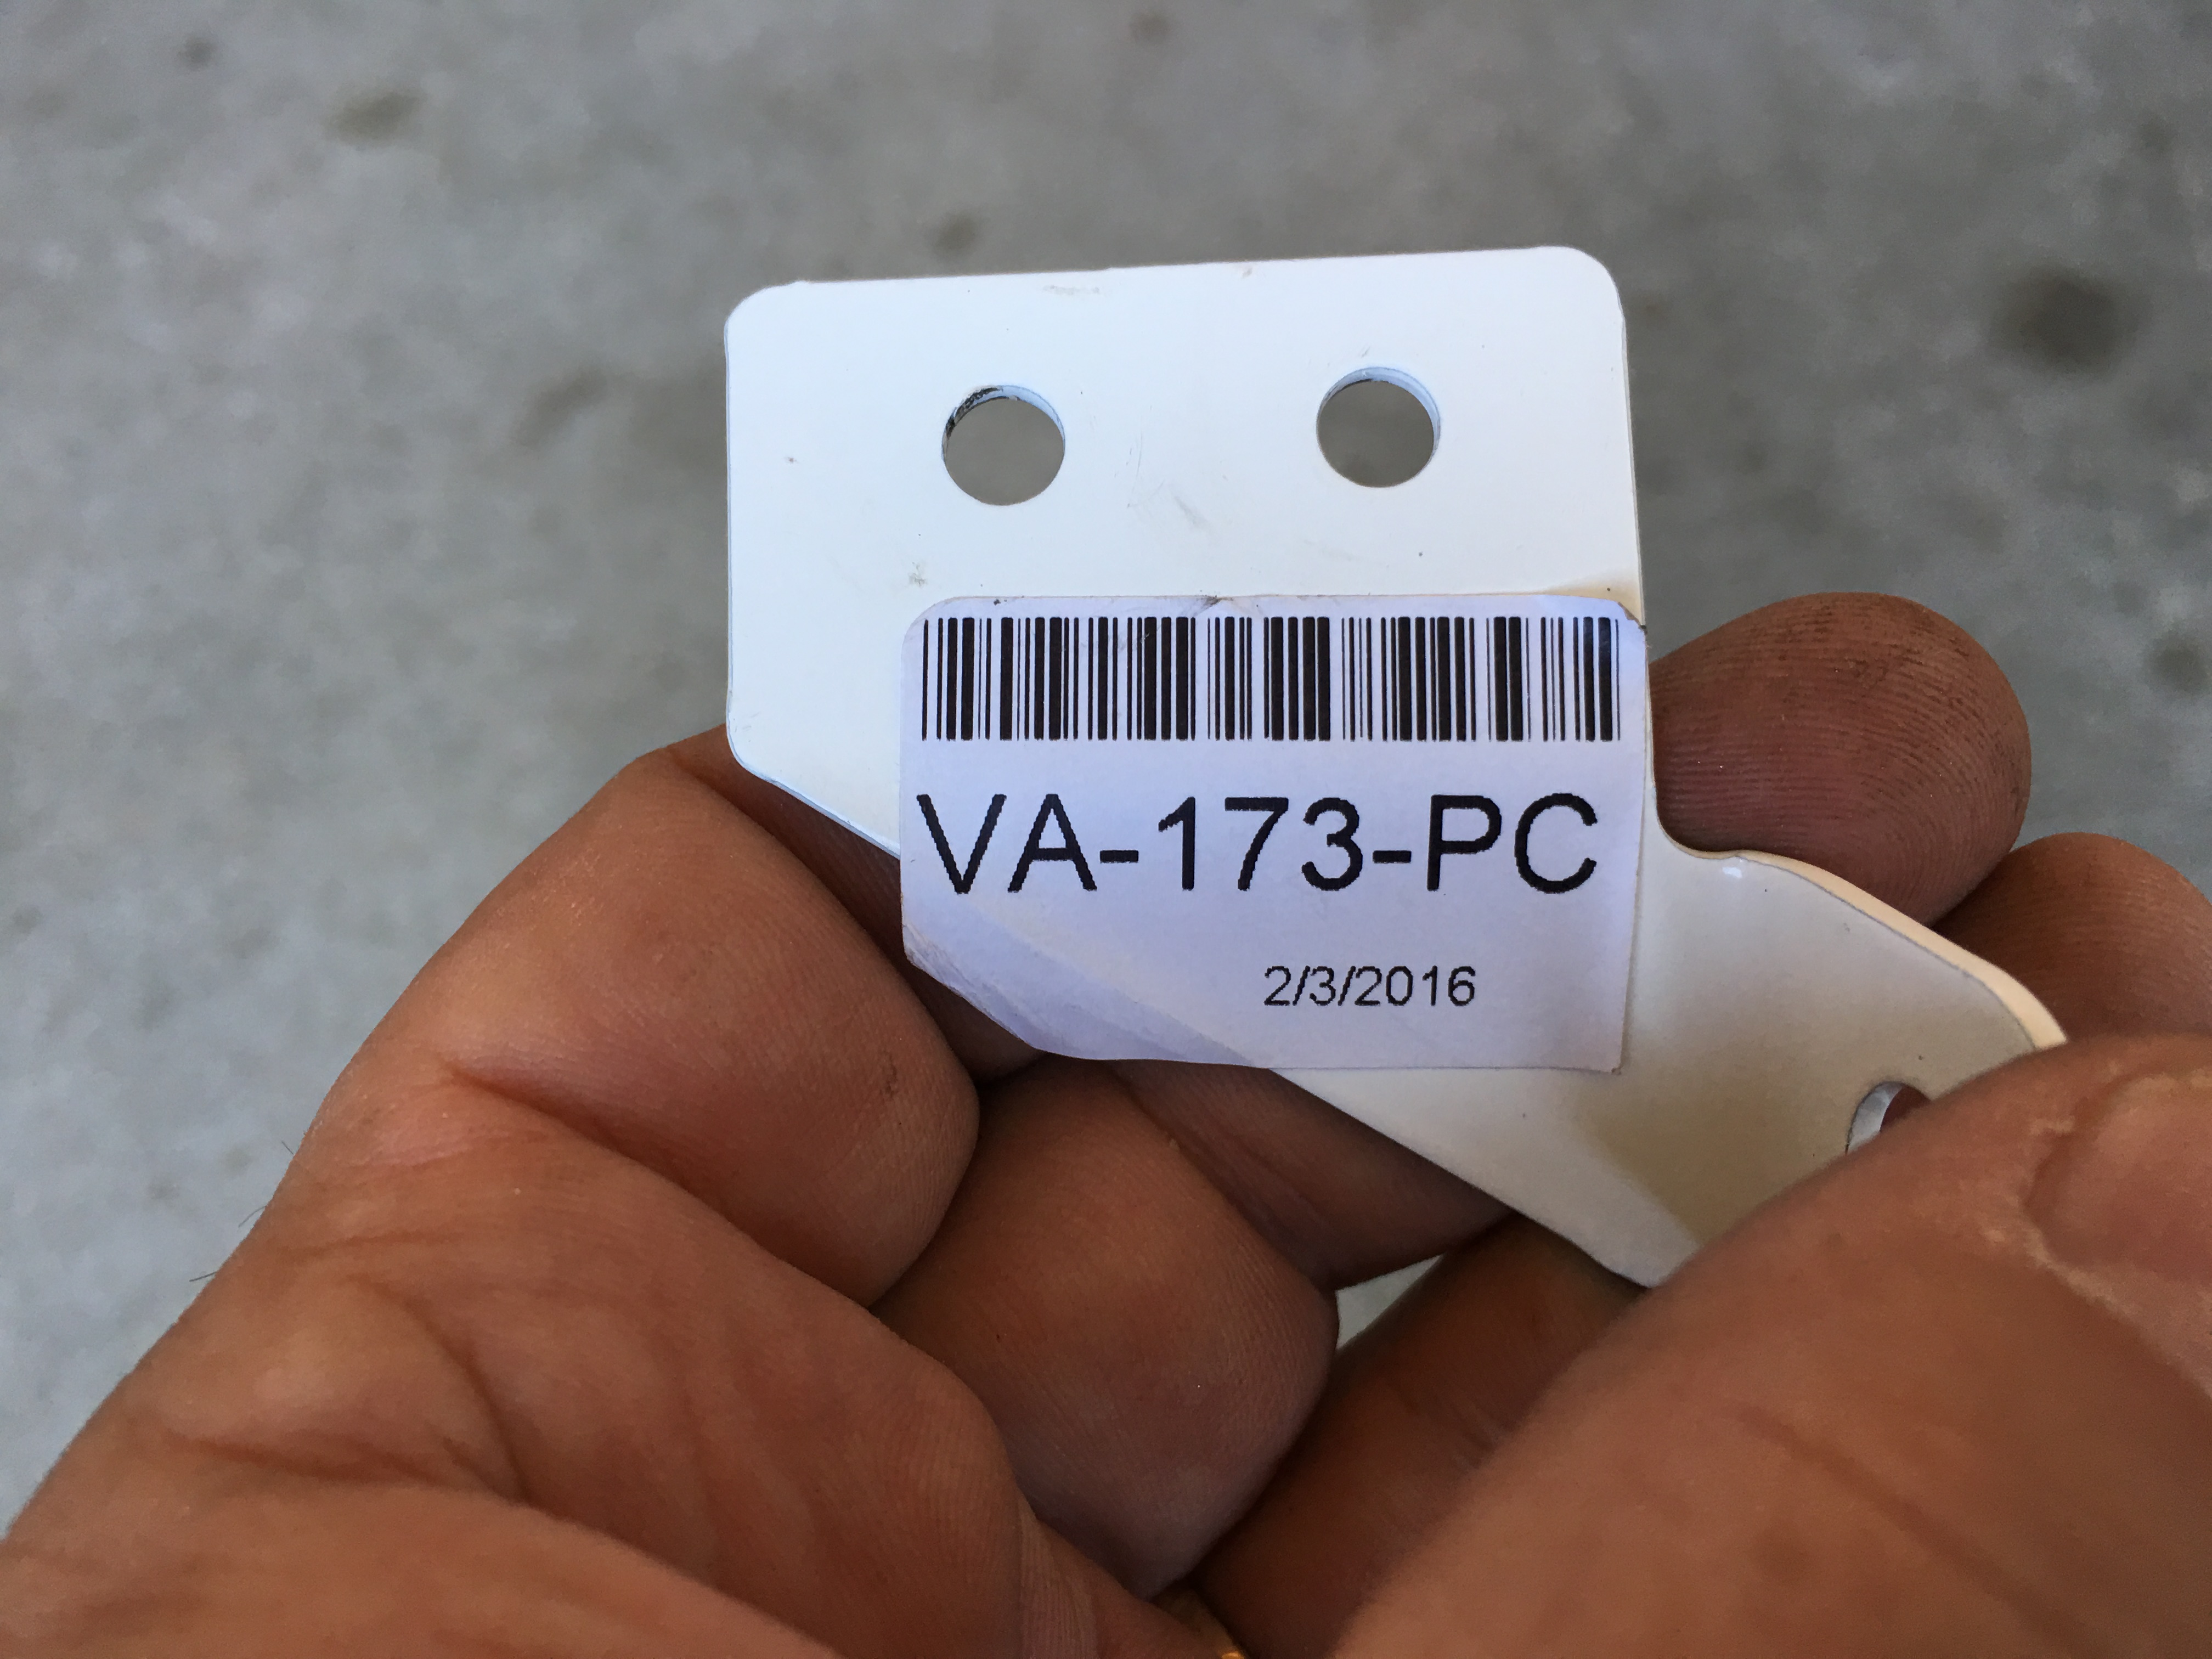
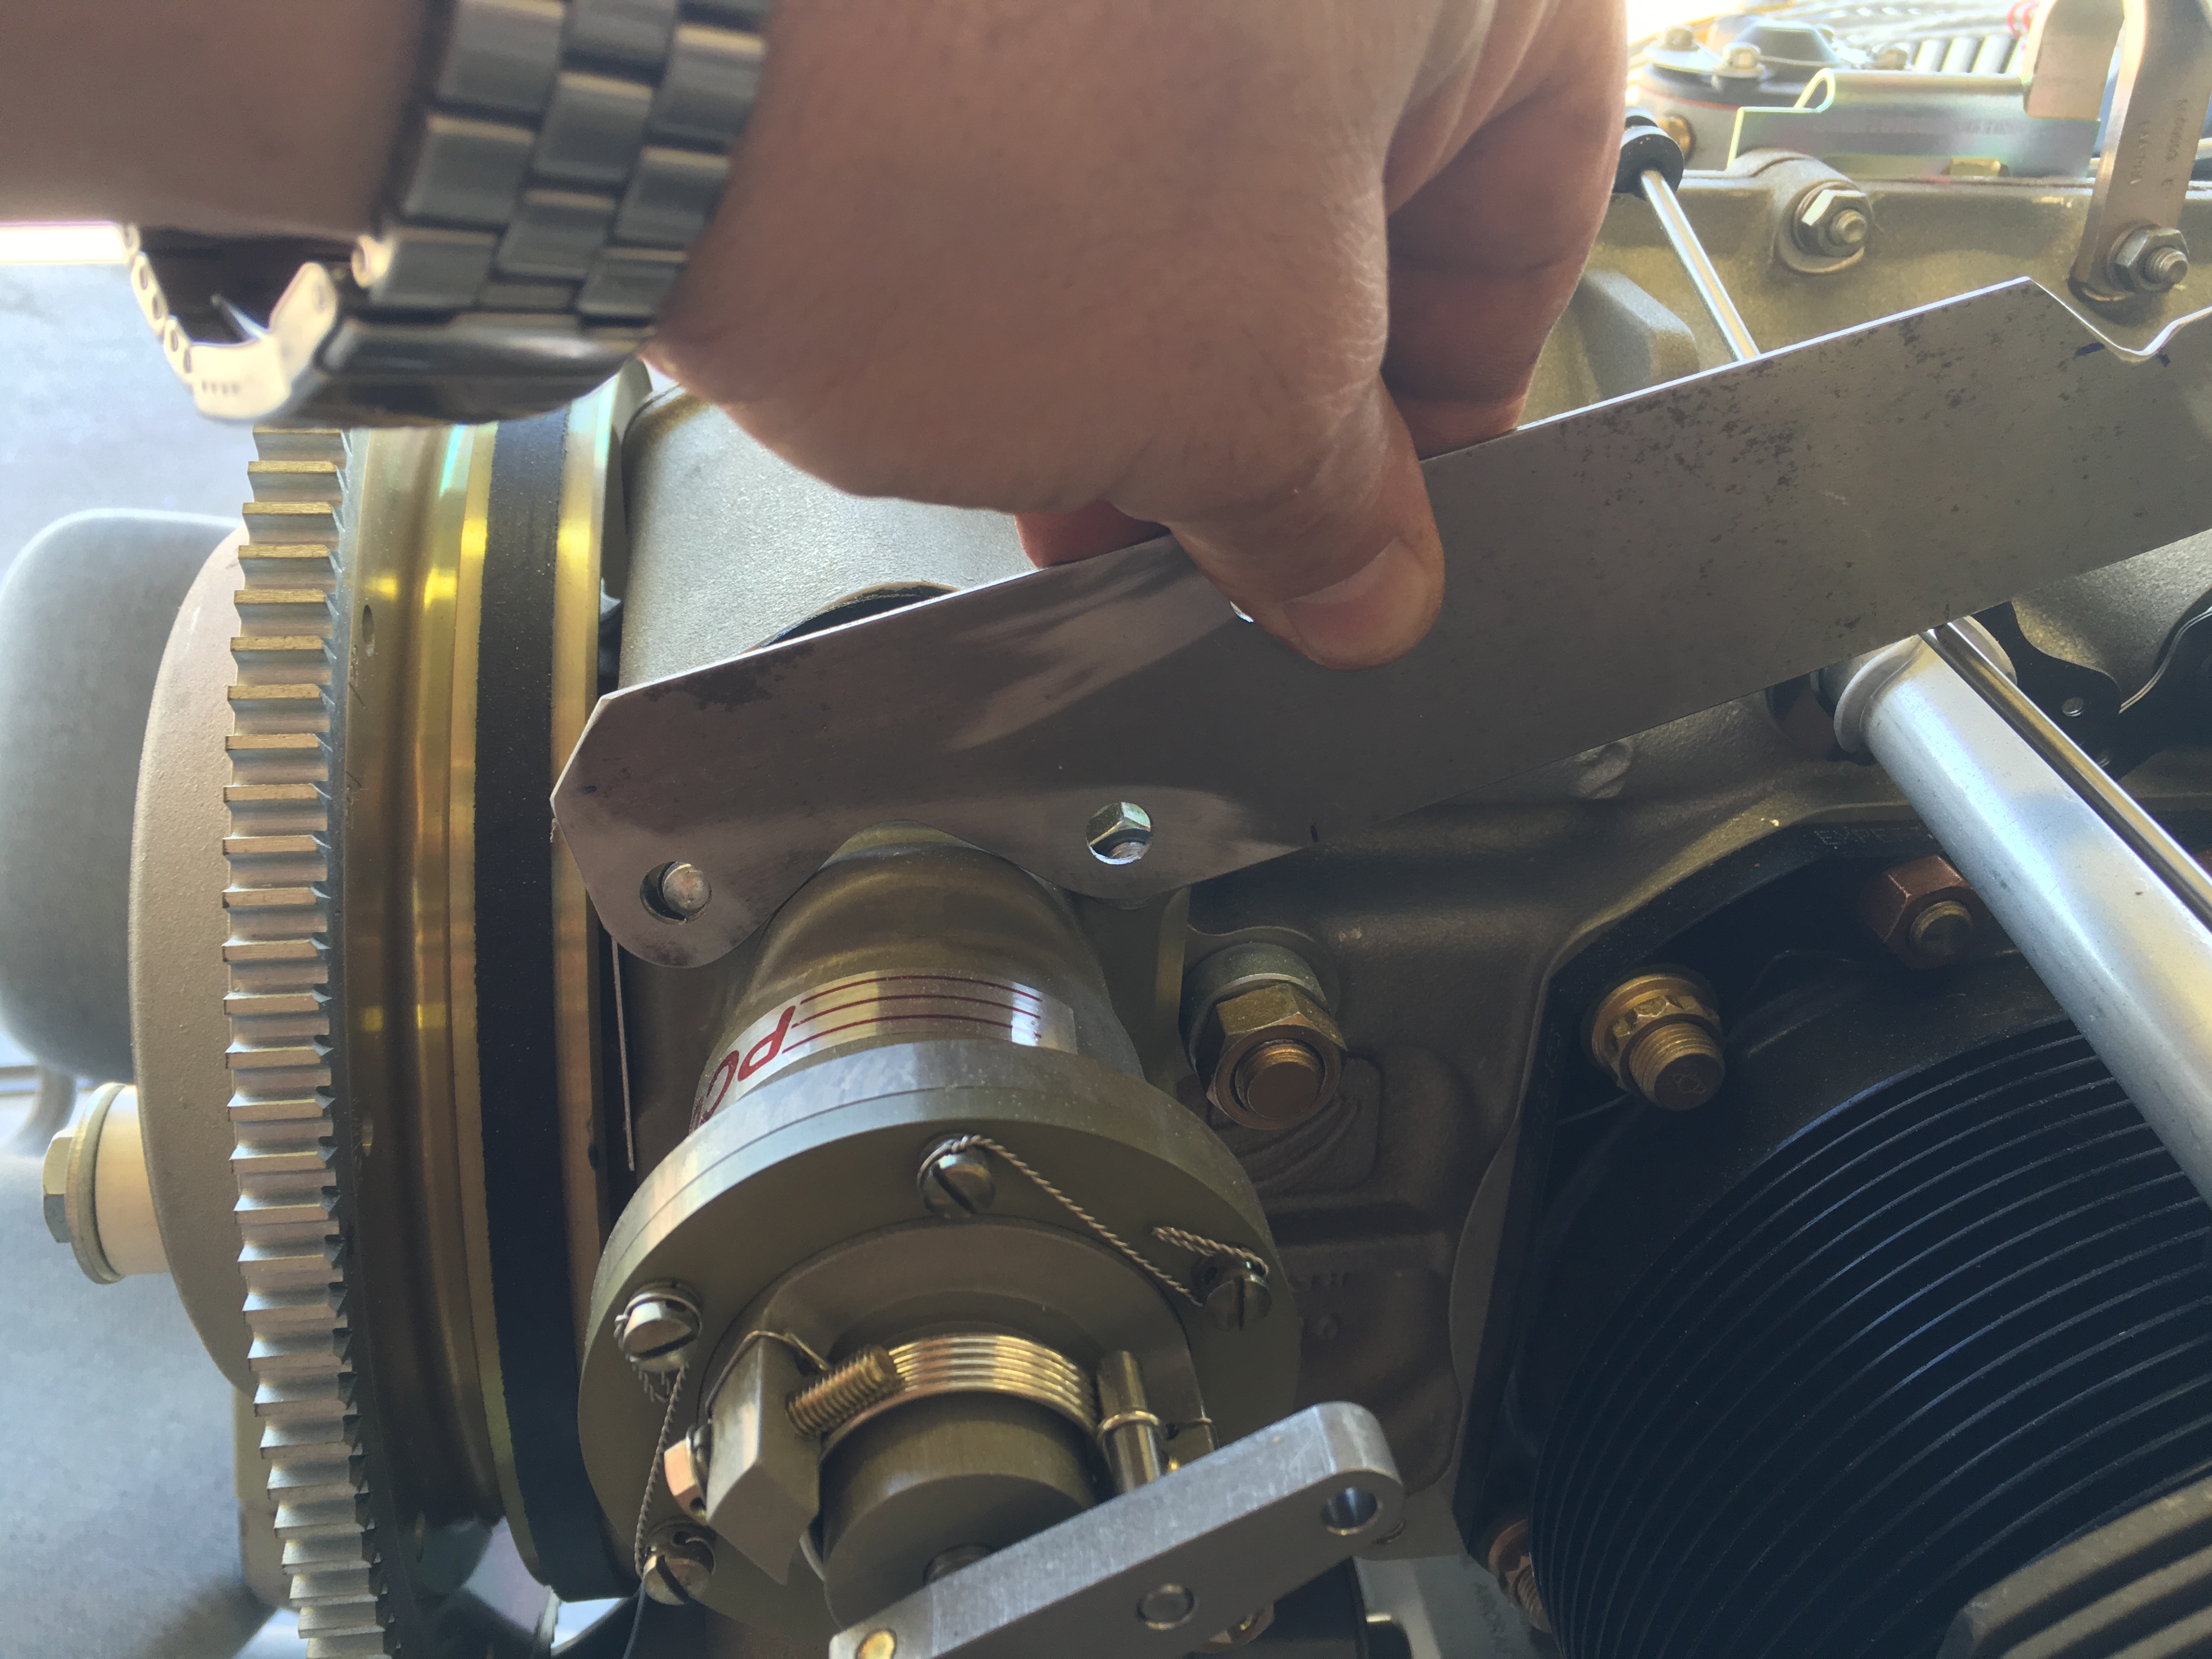
Does not fit. This part may have been designed for the rear mounted MT governor. Oh well, I’ll just order the part from Vans. I want to fly and little things like this are taking up too much time.
Test fit of the pressure transducers. From left to right; oil, fuel, mp.

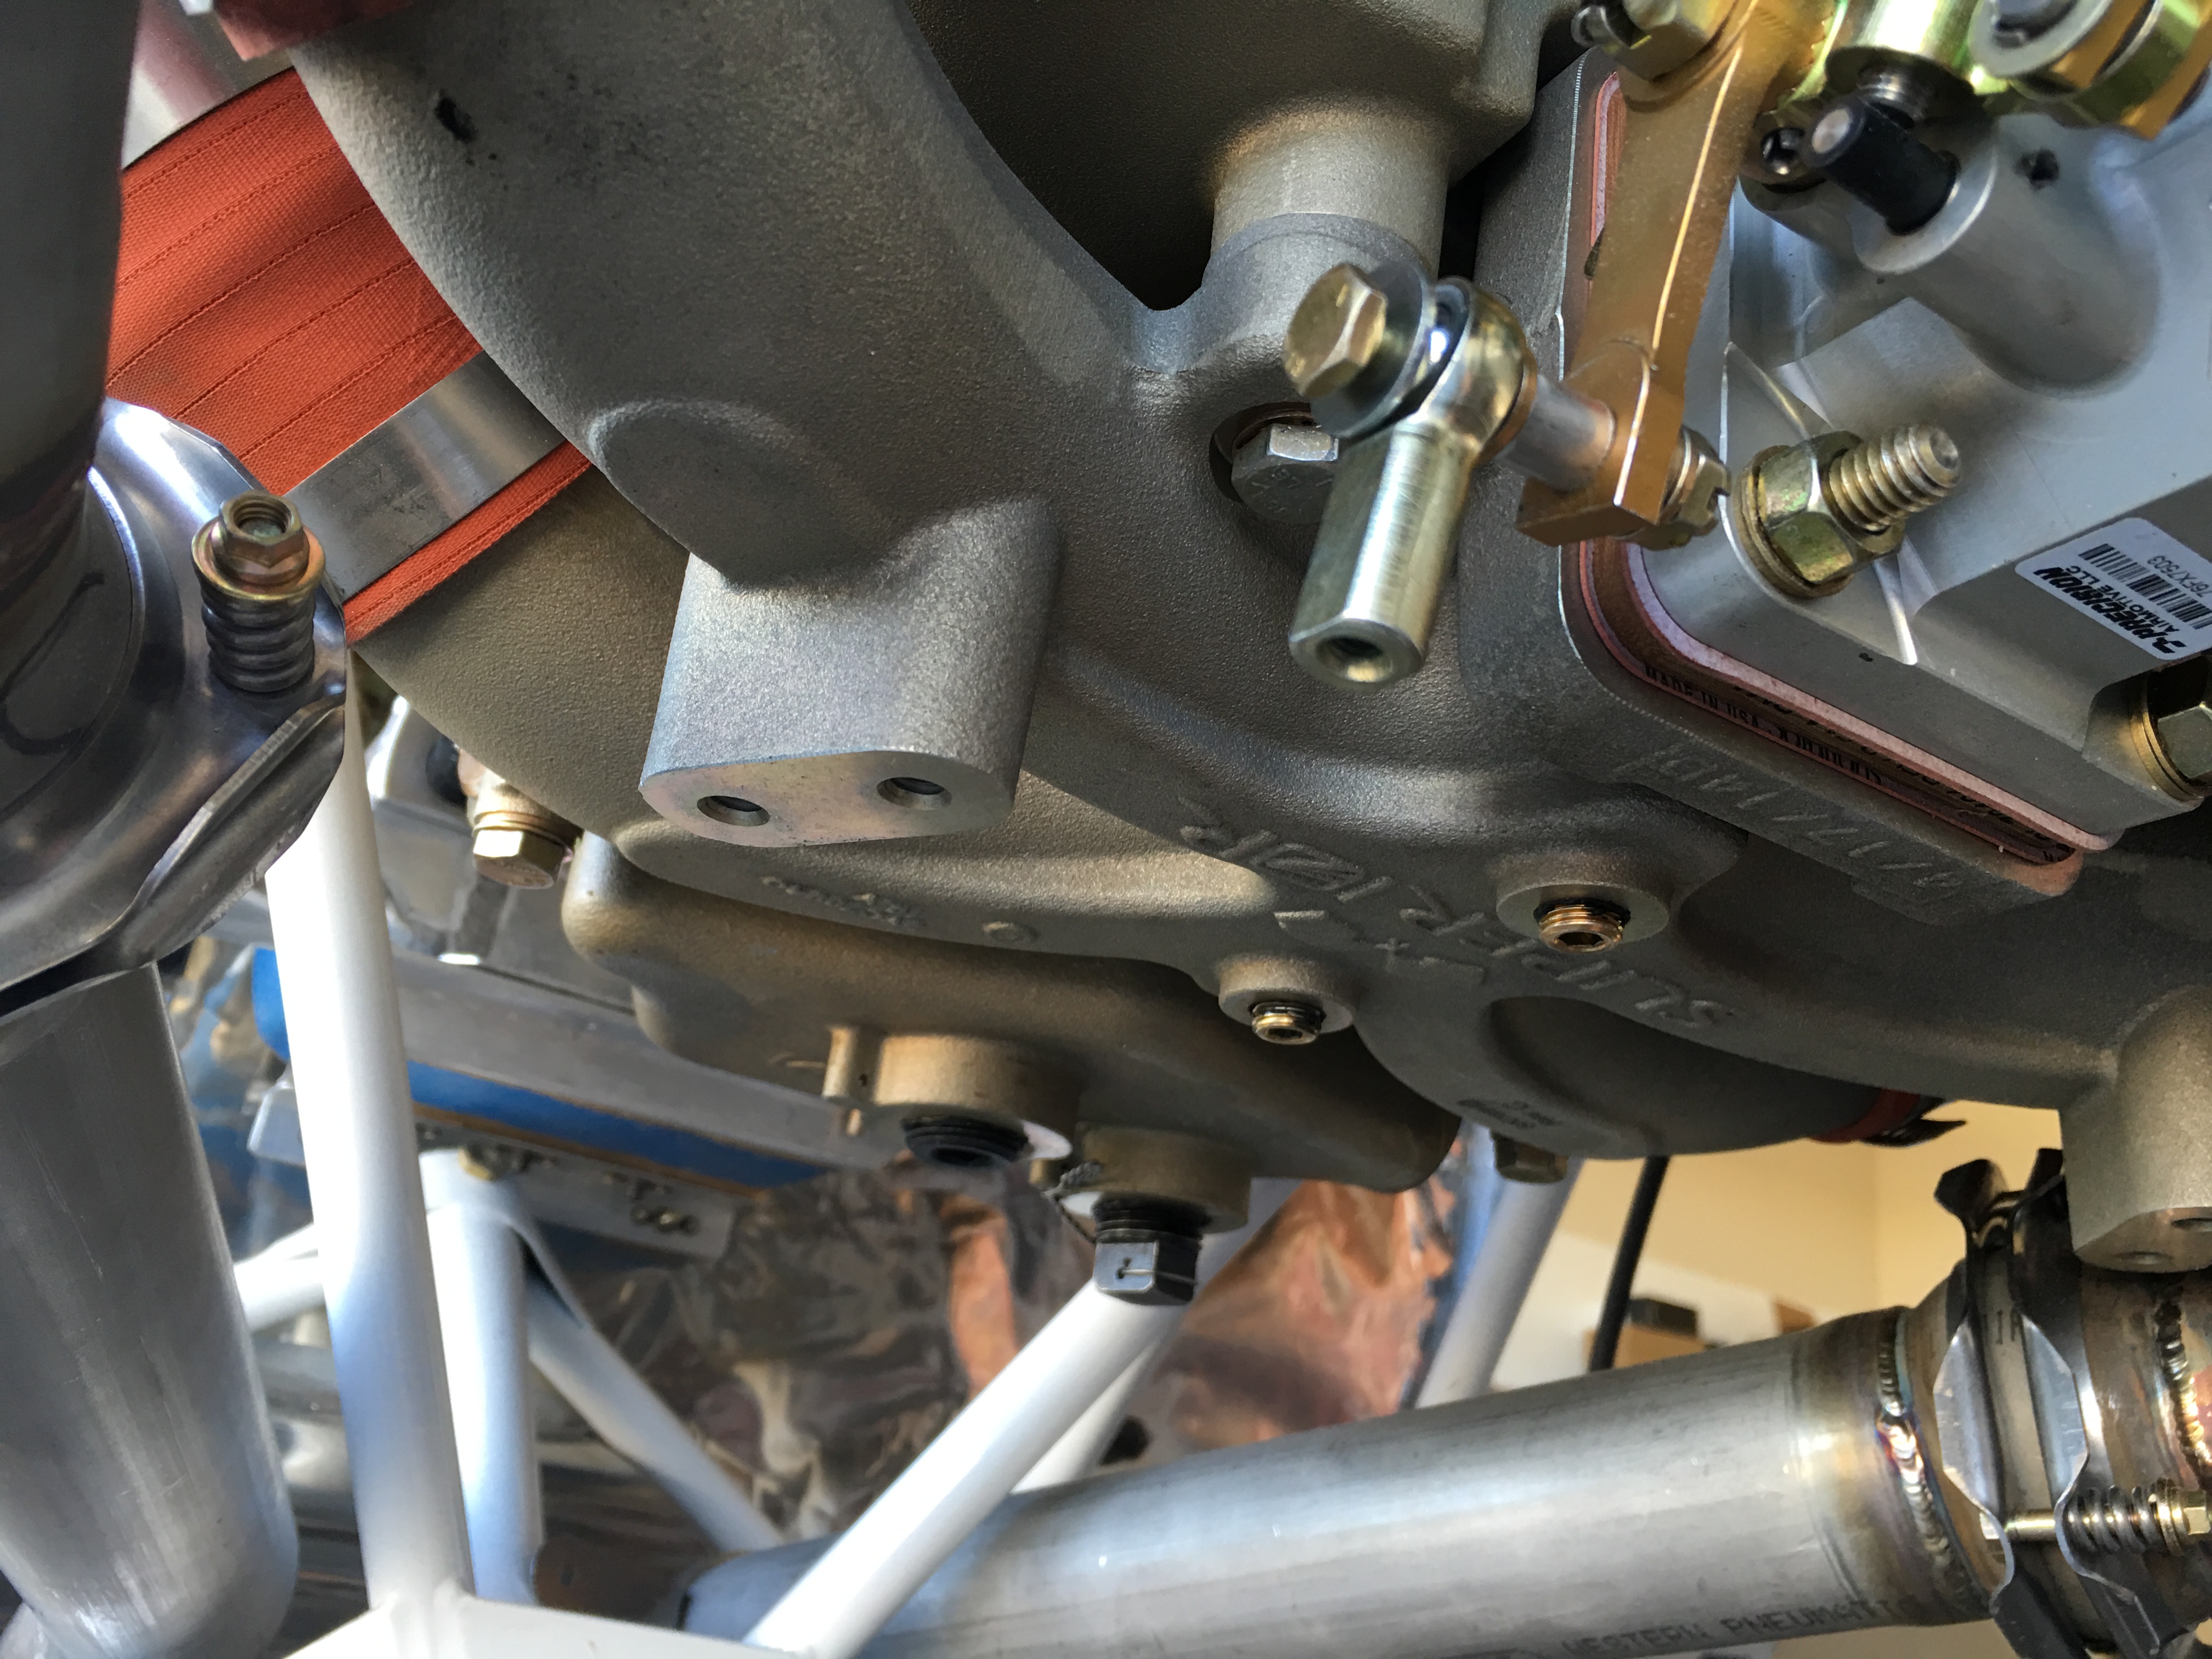
The mixture bracket fits, sort of. It is supposed to hang from the sump but as you can see there is a sump plug (round, black, ominous thing) in the way. So I mounted it on the top. Had to make a slight adjustment by adding washers here and there but it works. I can get *almost* full throw on the mixture, the leg is 1/16″ away from the stop at idle cutoff and goes all the way to the stop on full rich with 1/8″ left to move on the mixture cable.
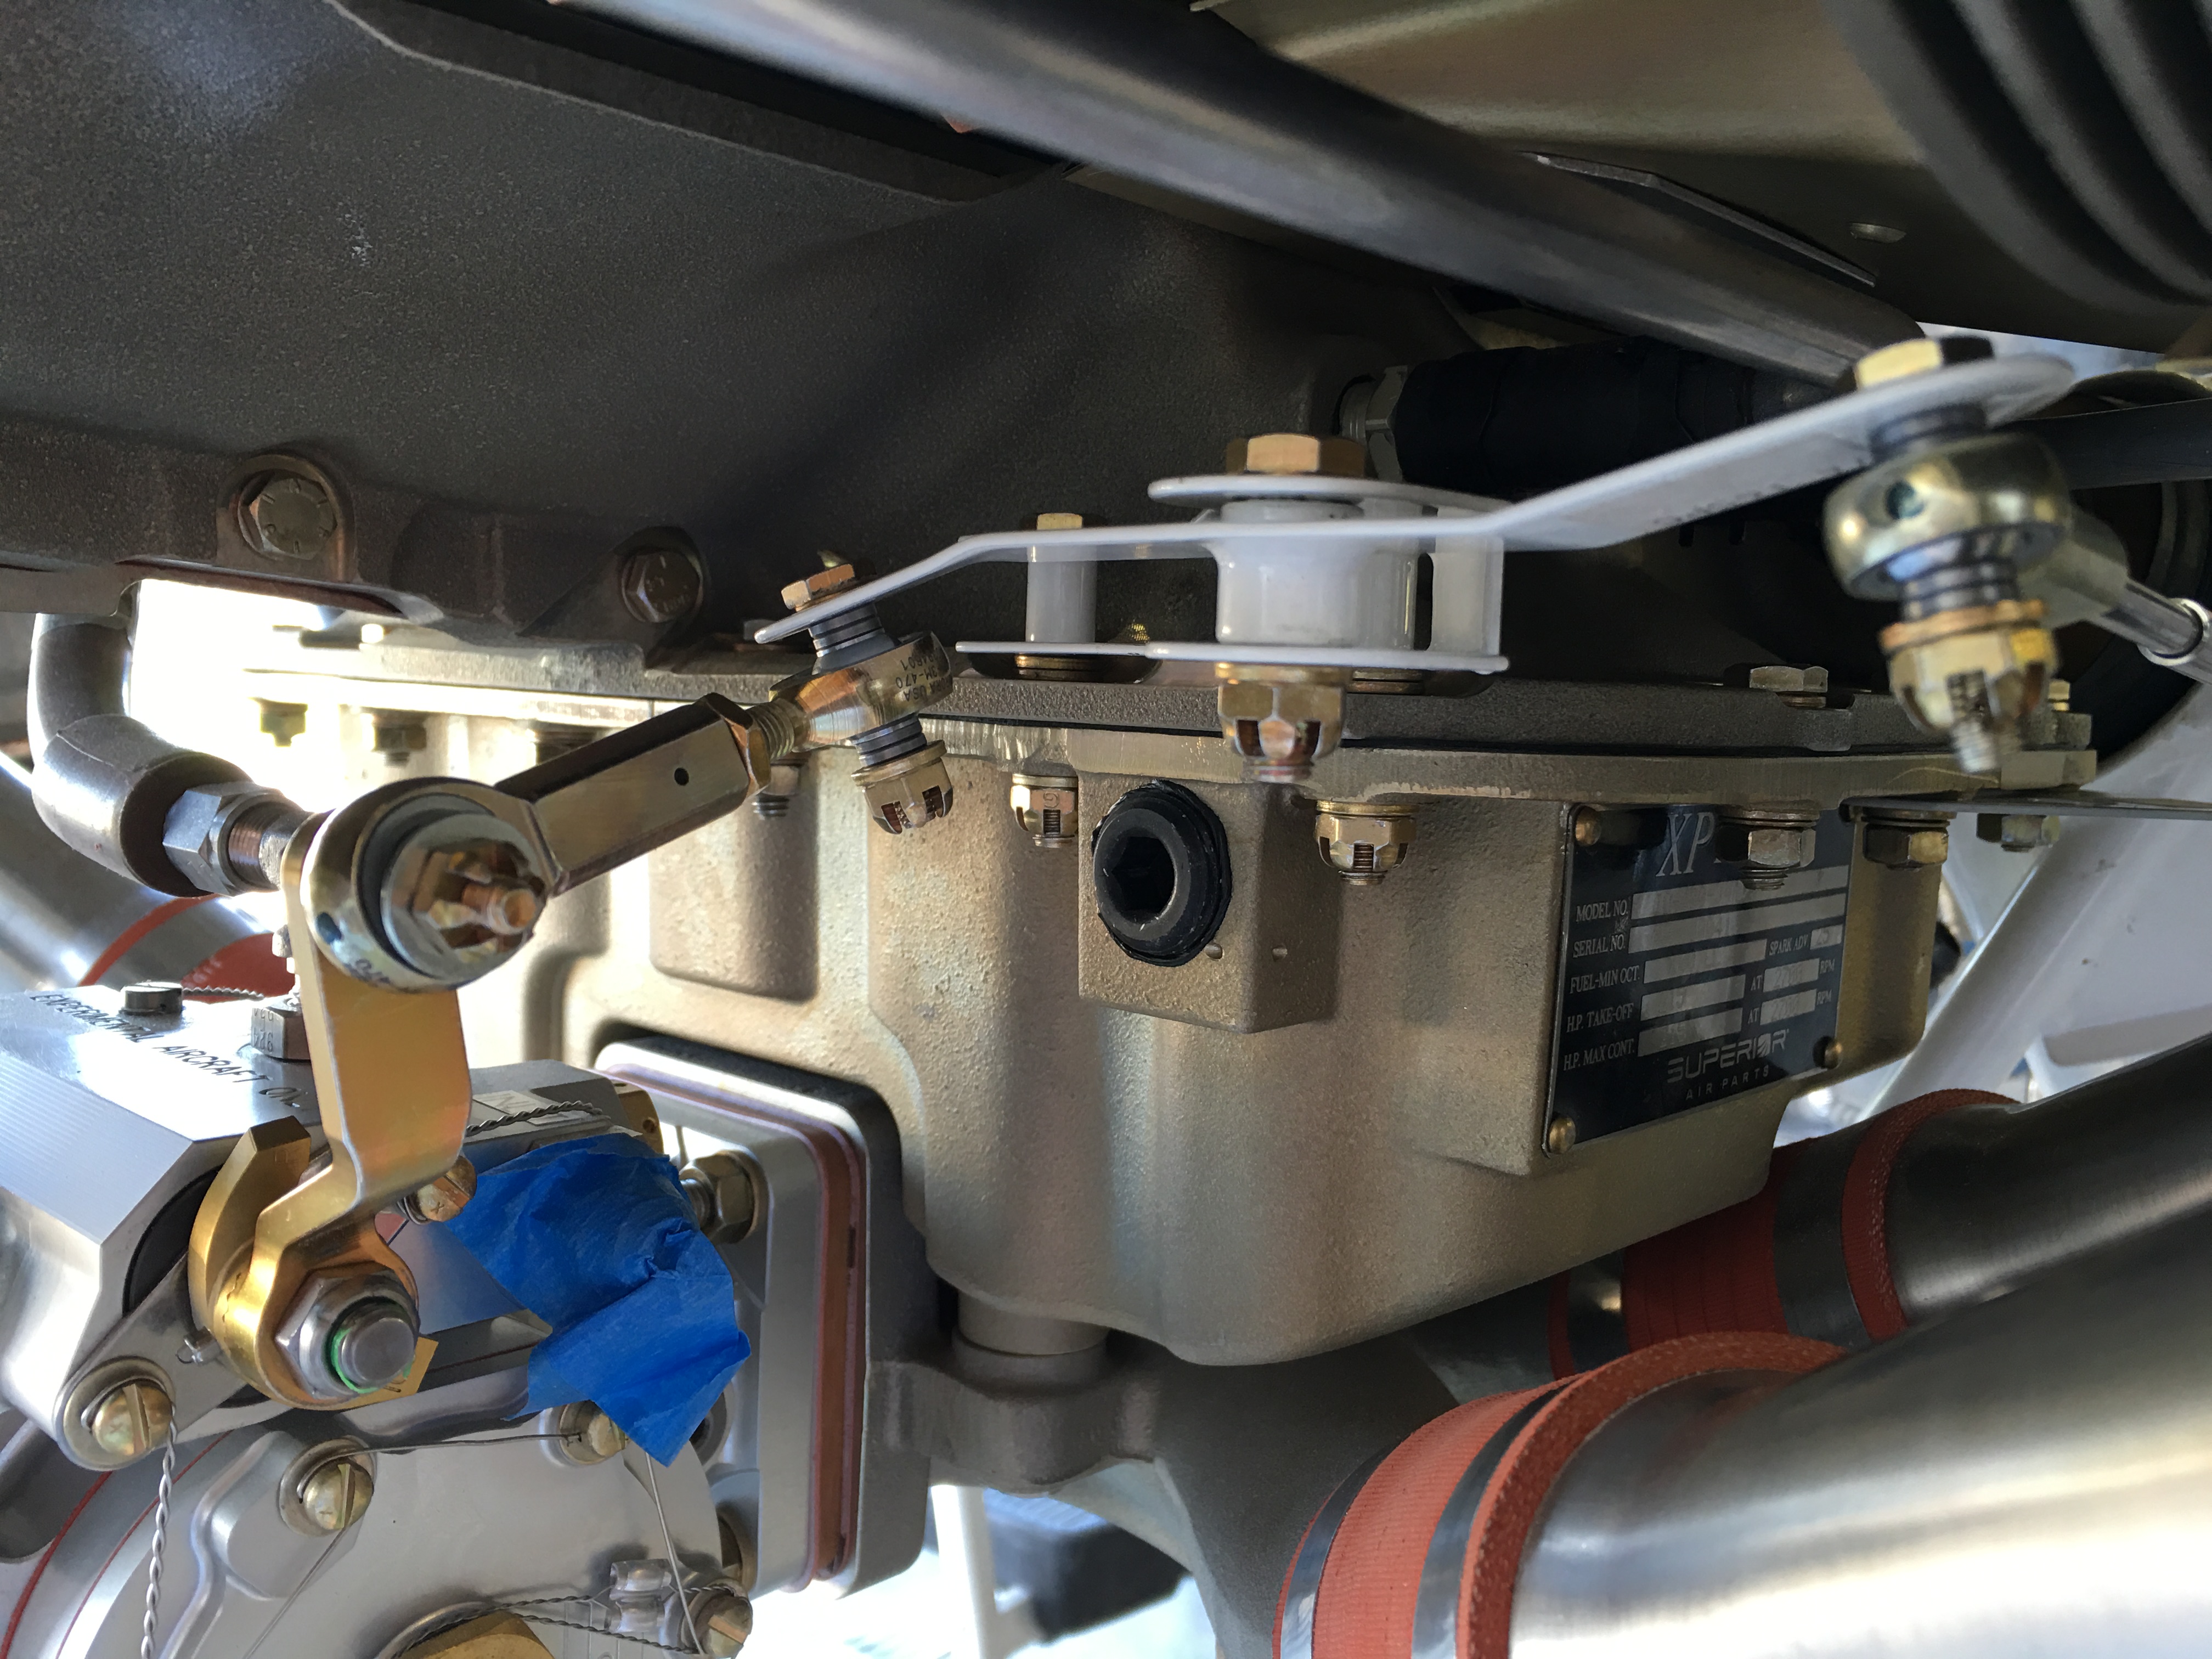
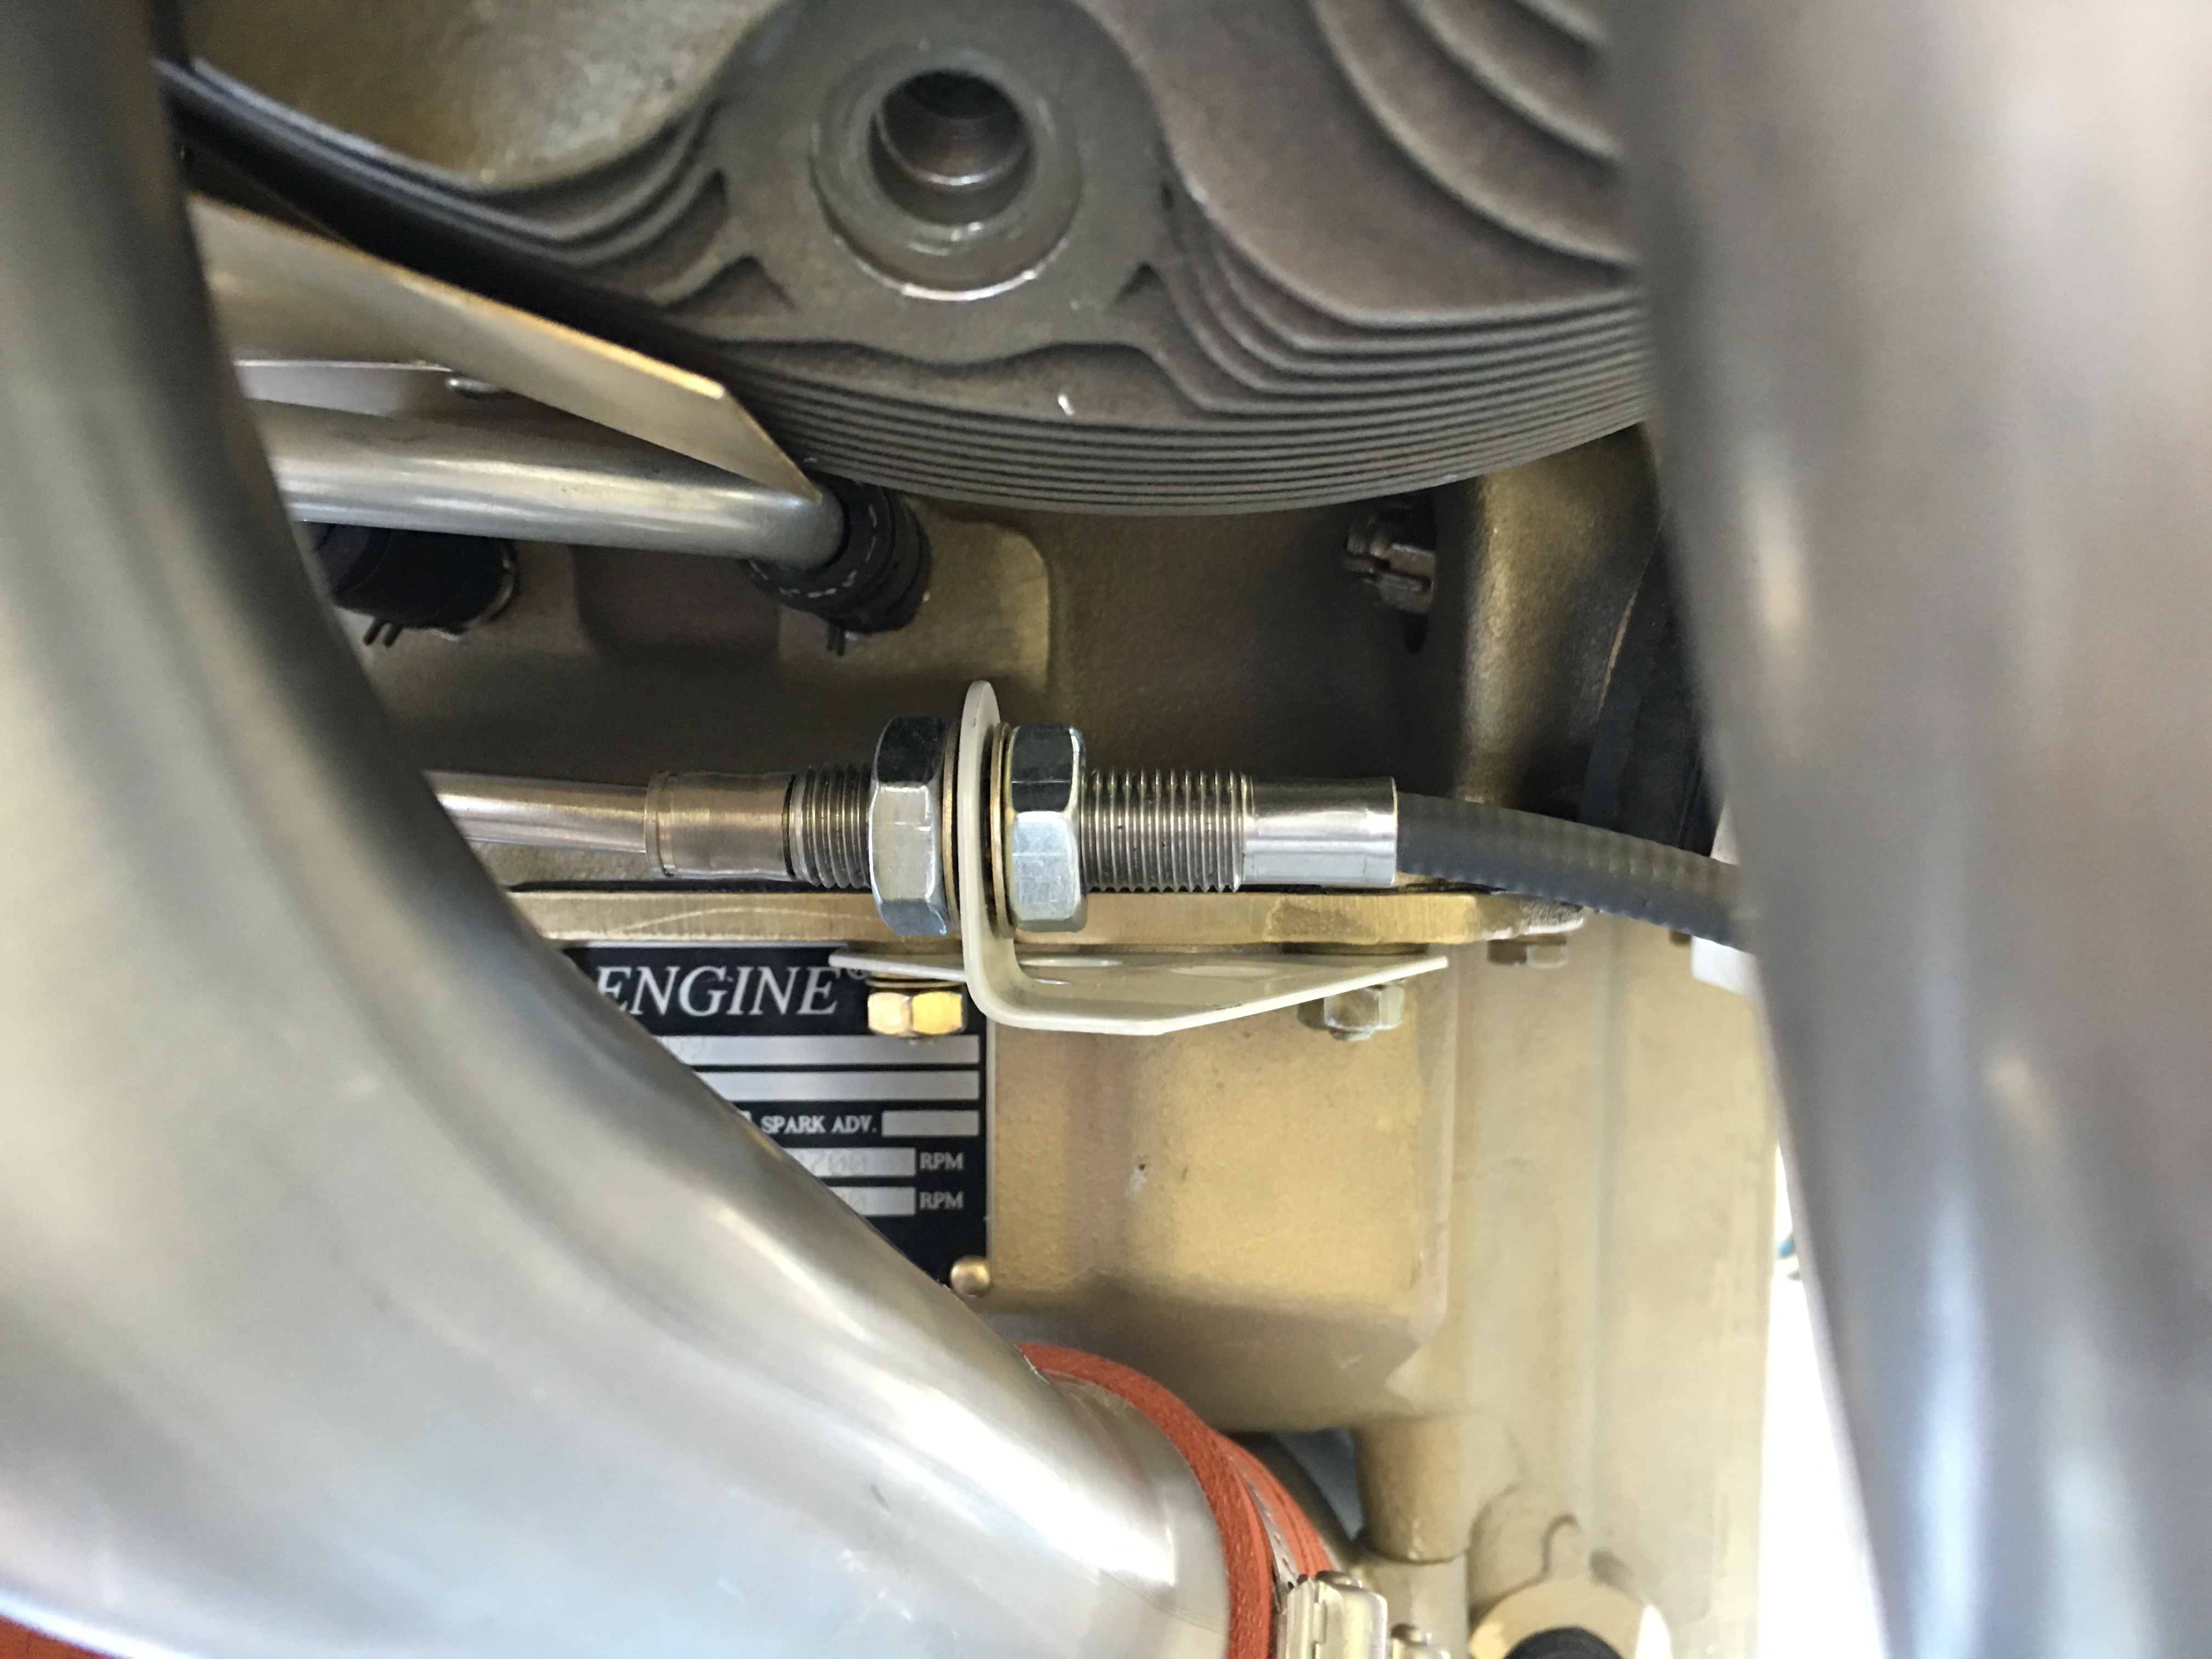
This is the Superior cold air sump. The location of the boss is two inches further forward and at an angle so Vans VA-173-PC fuel line bracket will not fit – not to mention the bolt pattern is different as well. I’ll have to make a bracket. This photo is taken so that you can see the throttle arm and looking straight back, past the sump to the firewall, is where the throttle cable is coming from.