Feb 202016
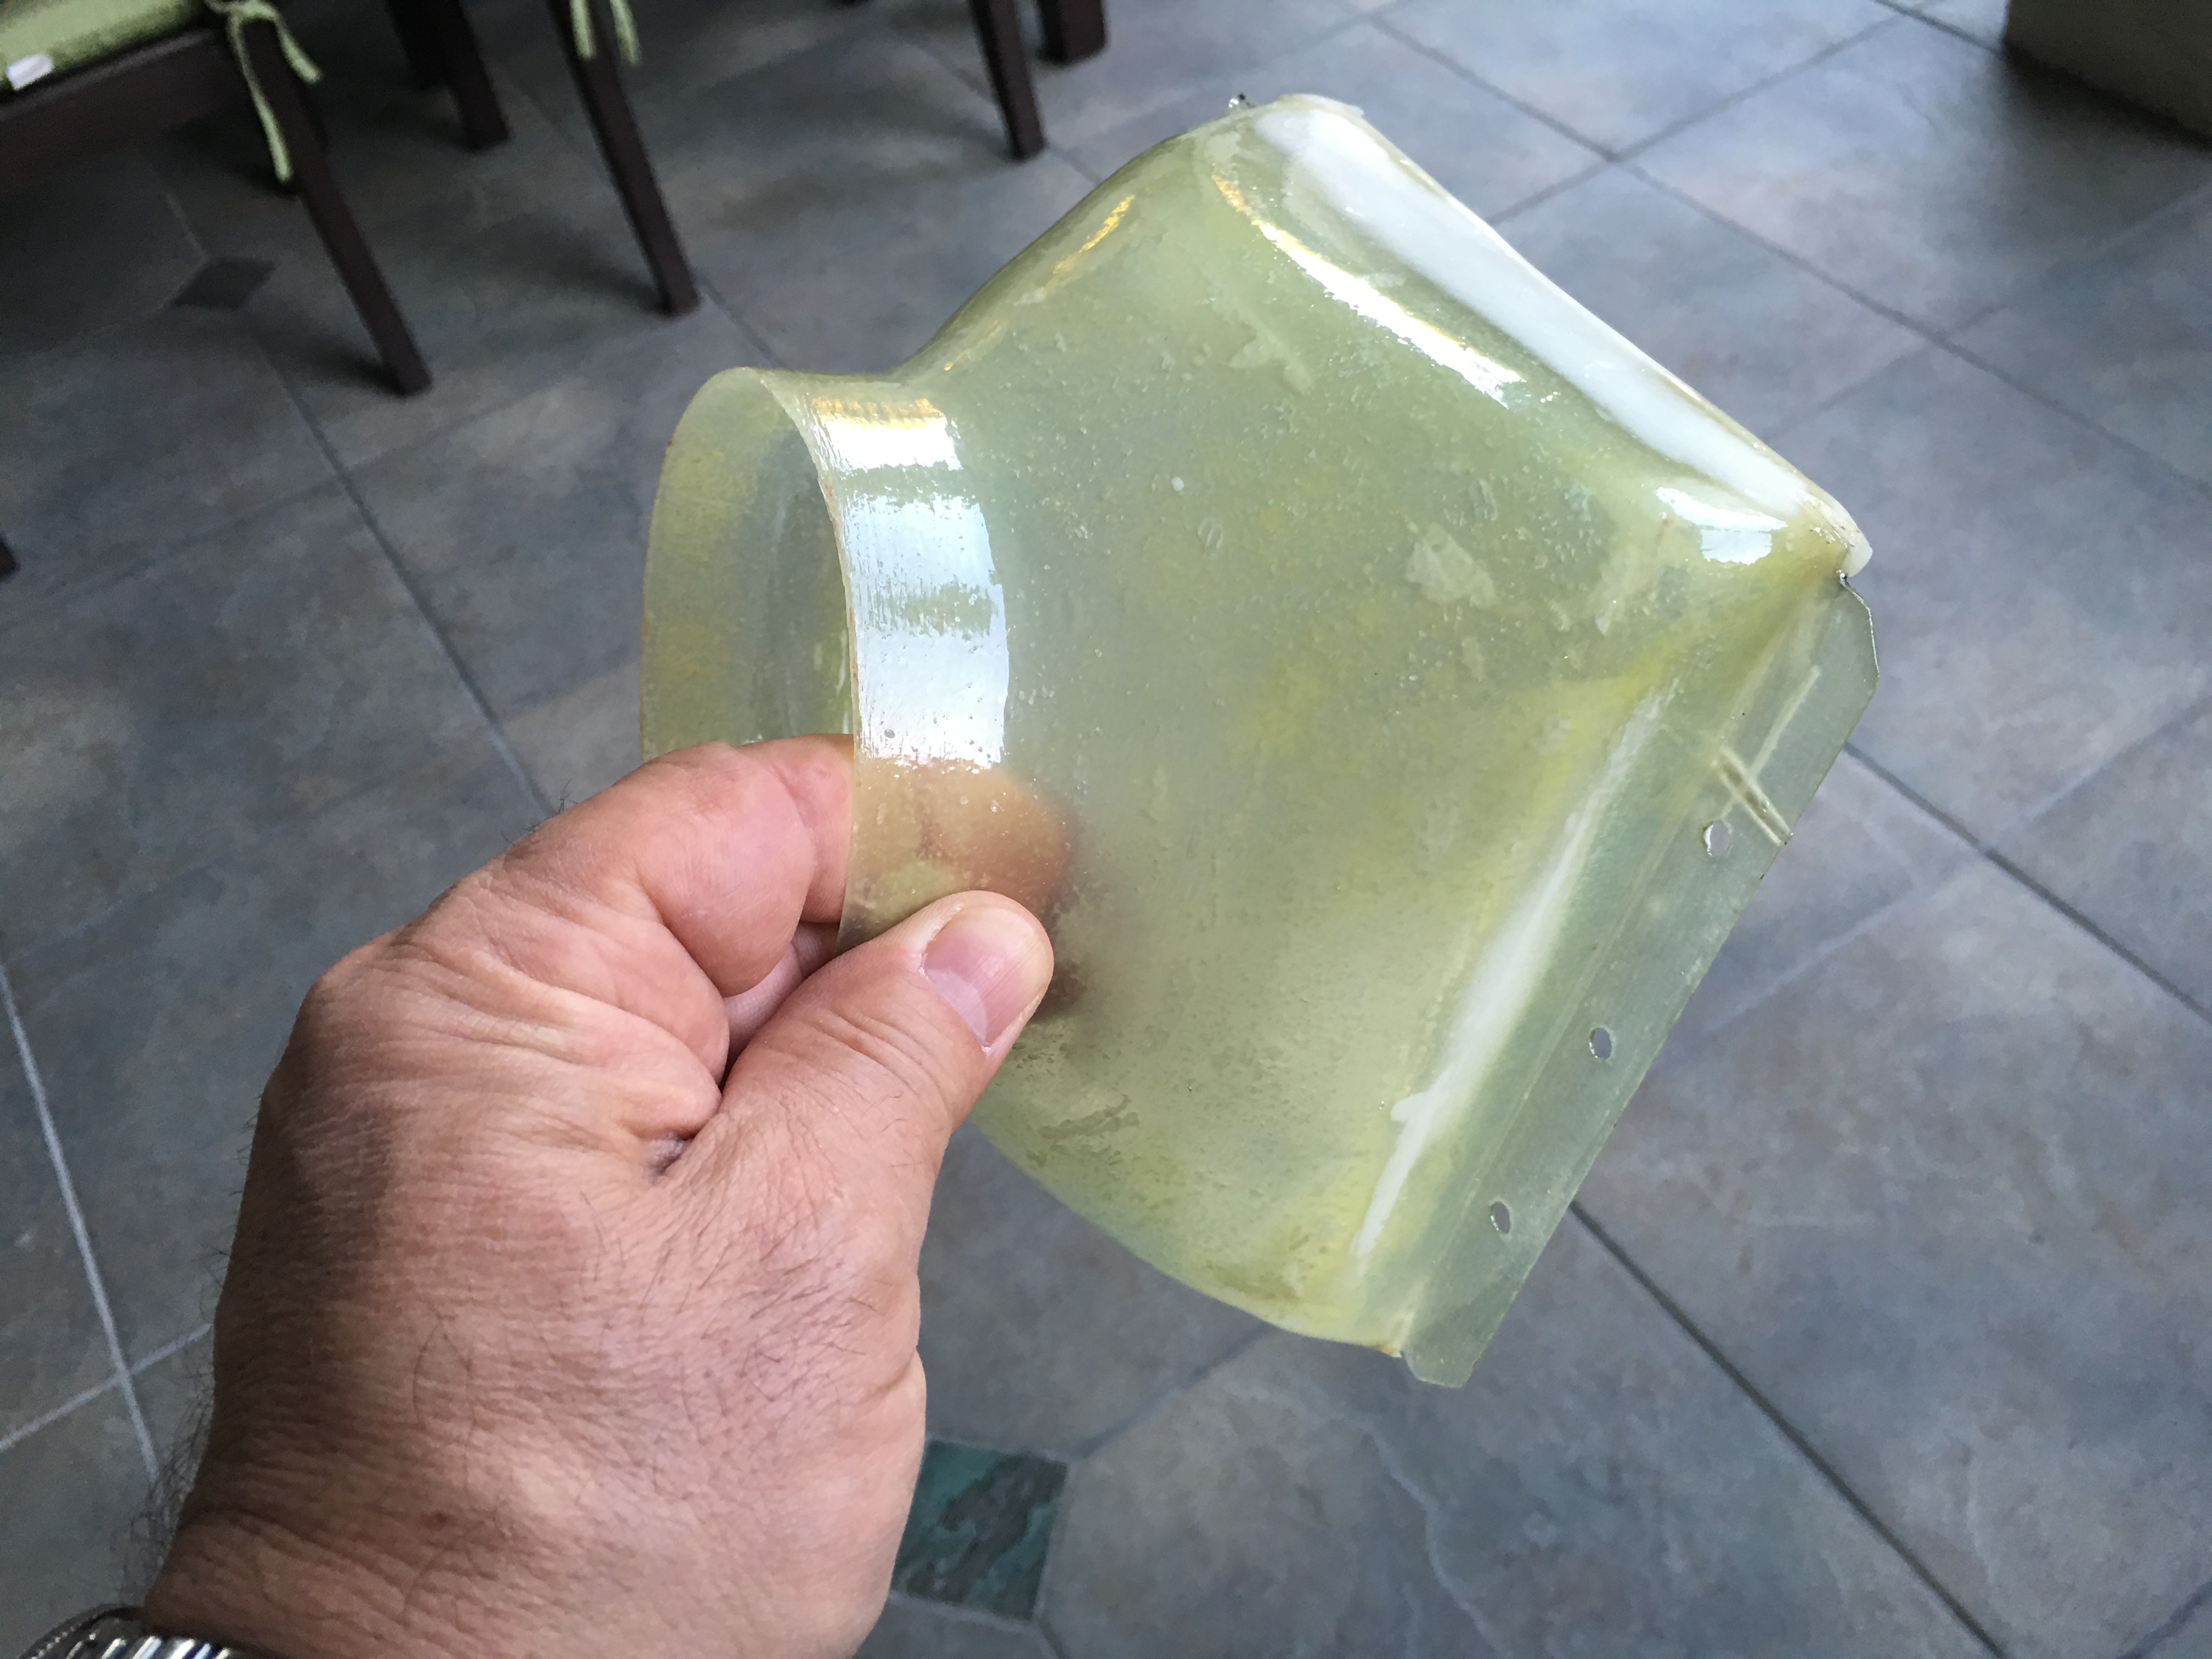
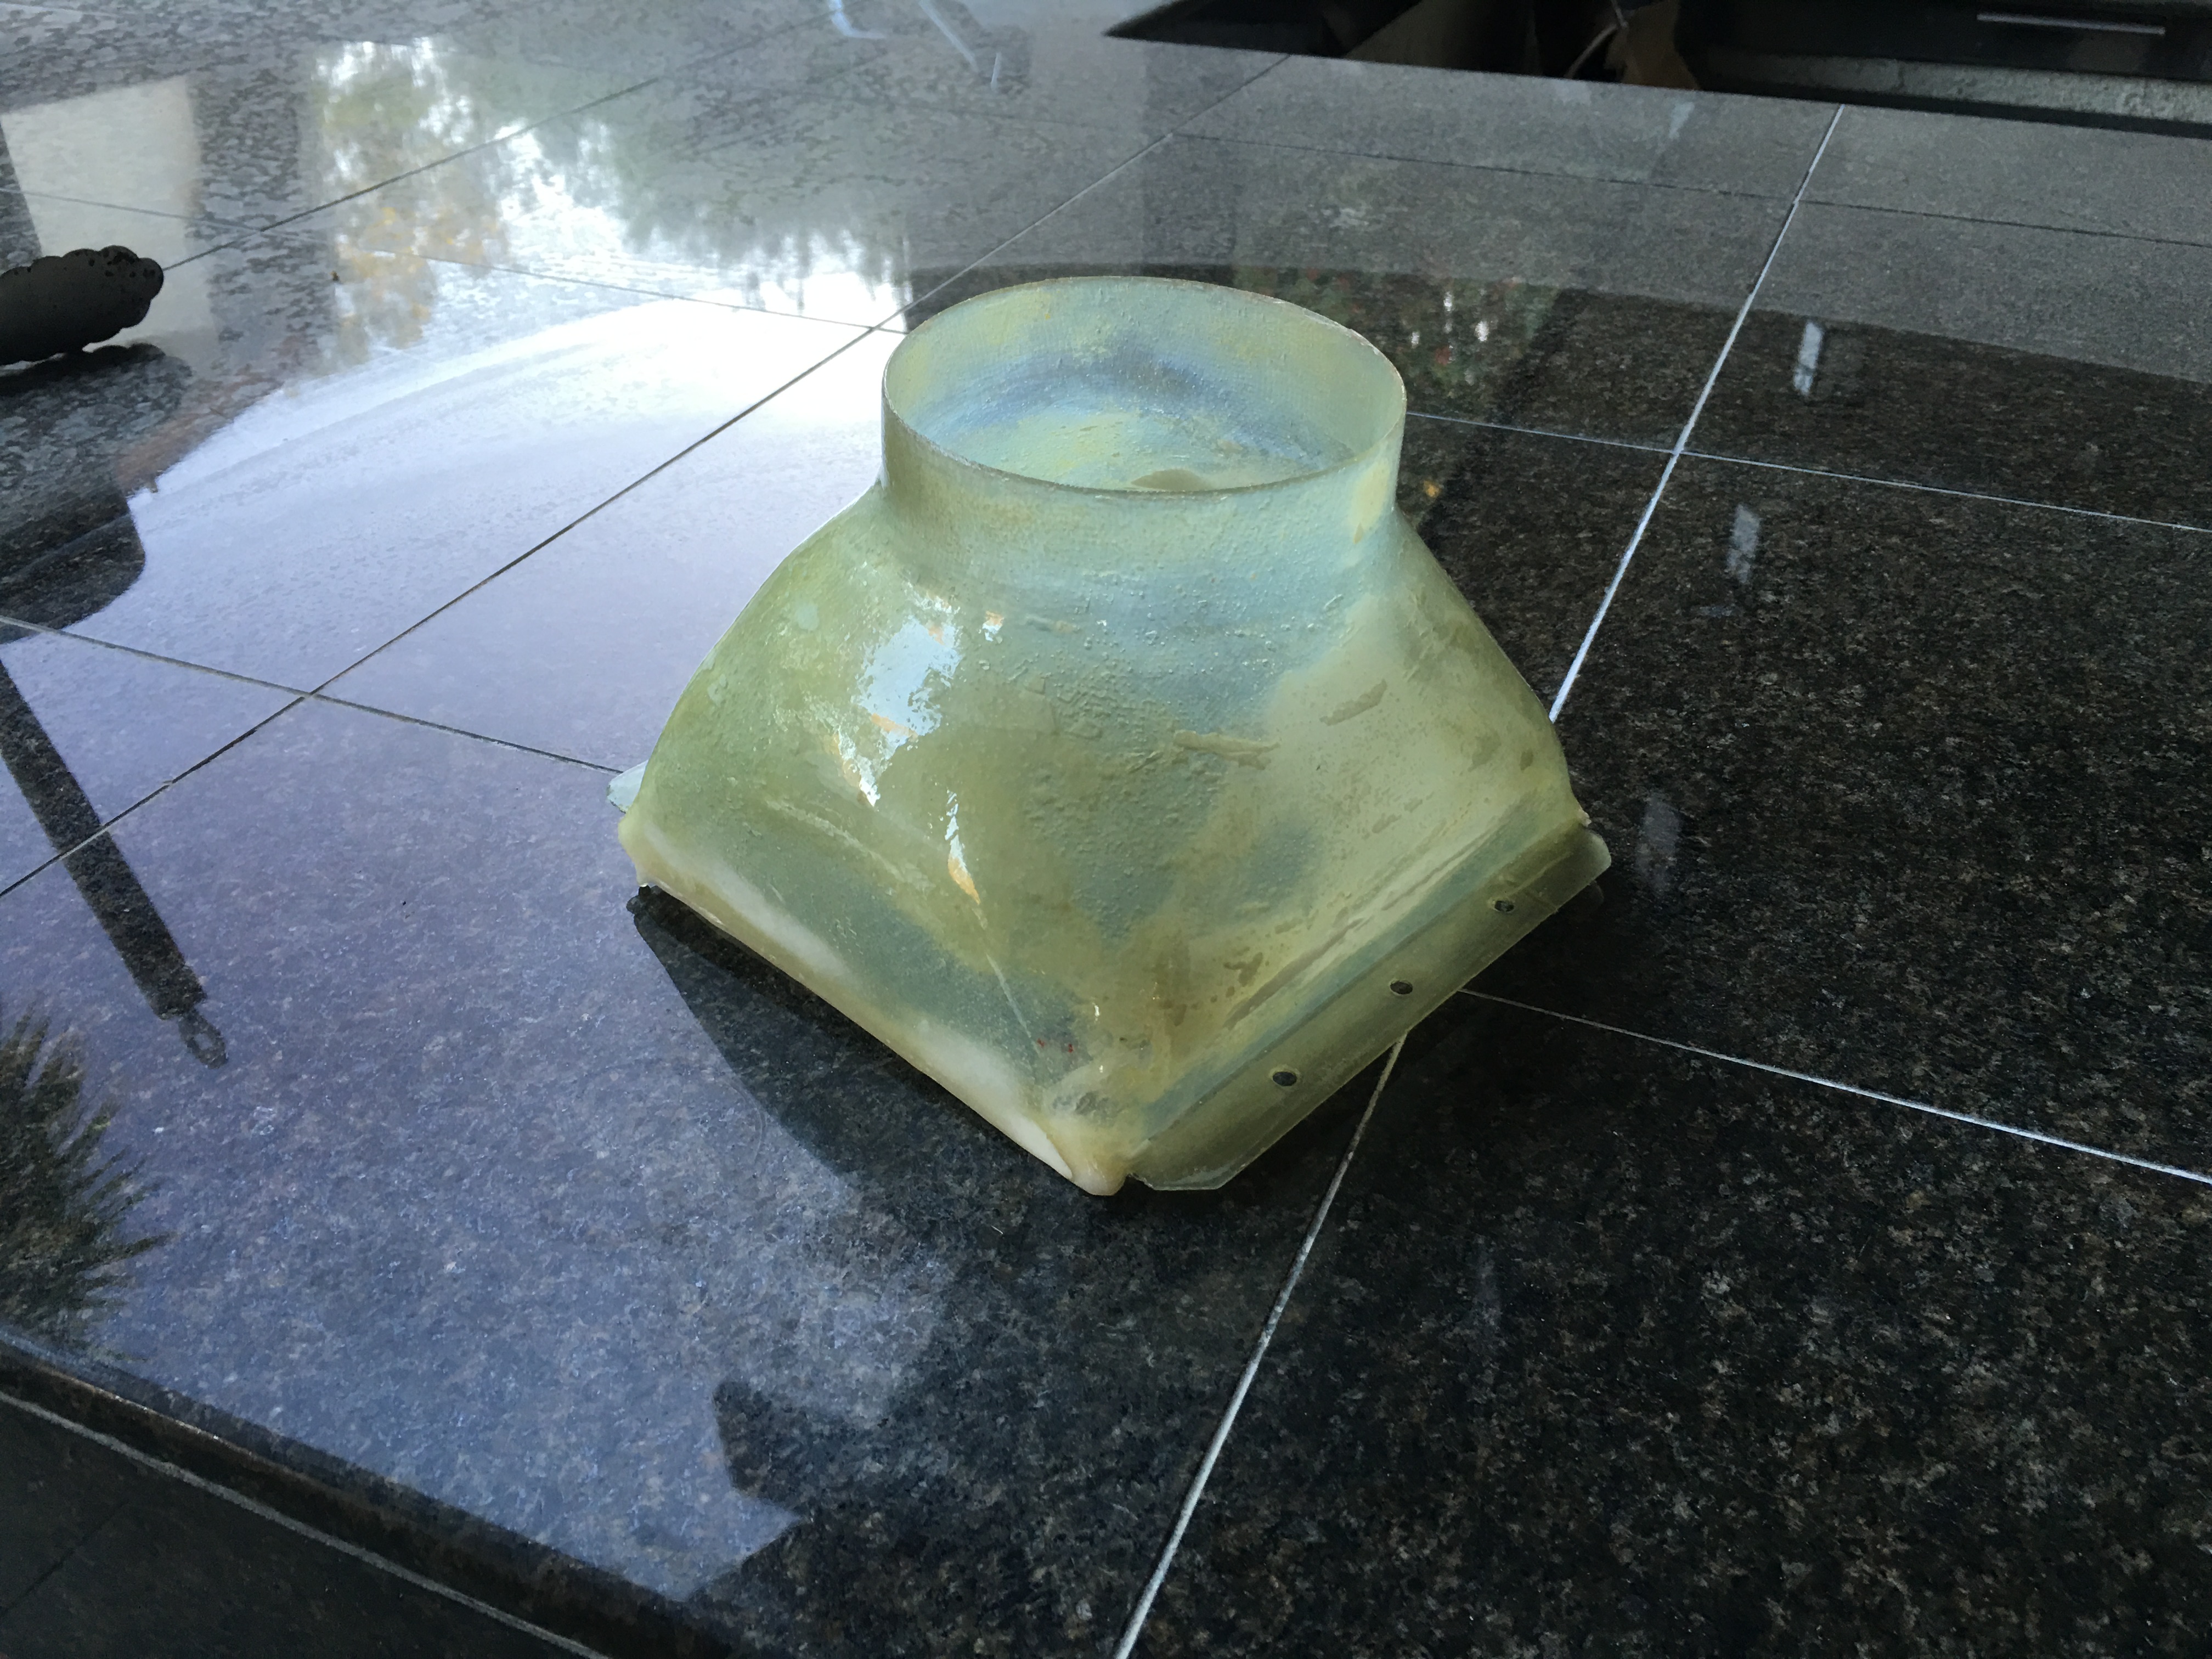
Filled all the small imperfections. Sanded and a single coat of epoxy later it’s ready for sanding, priming, sanding, priming, sanding and finally, paint. Honestly it’s a lot of work but it’s also pretty rewarding. I learned a lot from this small part;
- it’s really important to make sure each layer has all air bubbles between layers stippled out – voids are just more work.
- micro should not be either too runny or too dry. Getting the right thickness is important as runs are just more work and if it’s too dry it just clumps.
- take the time to make an excellent form. That saves you time later.
- slow cure epoxy becomes fast cure if placed in an oven at very low temps.
- My Process: lay out and wet your fiberglass on one thin sheet of plastic on top of a large smooth plastic cutting board. Place another layer of plastic on top and squeegee the excess resin out. Cut with a rotary cutter into whatever shapes you need. Peel one side of the plastic off. Lay up piece. Peel remaining plastic backer off. Stipple out air bubbles. Repeat. Cover with Dacron or peel-ply if you intend to add more fiberglass later.