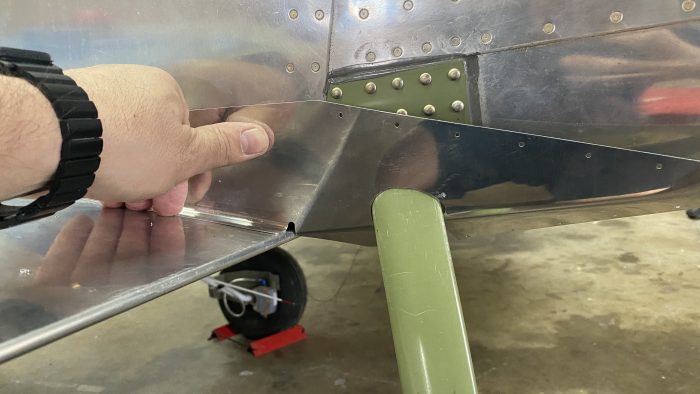
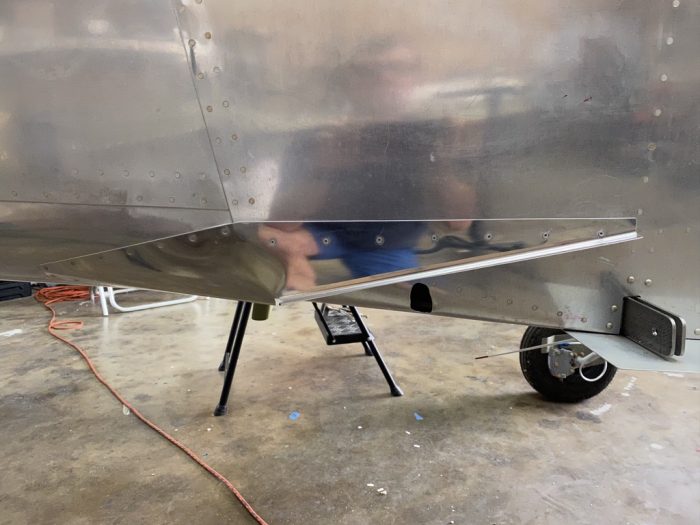
Lots of pictures here because the plans don’t show much and while these are really simple to install, if you screw it up you are not going to be happy because they are very visible. First thing I did was order a second piece from Vans for the left side. That way I would have one to screw up and one that works. The photo above shows the second one. There is a slice behind the step and a small gap in order to slide it over the step.
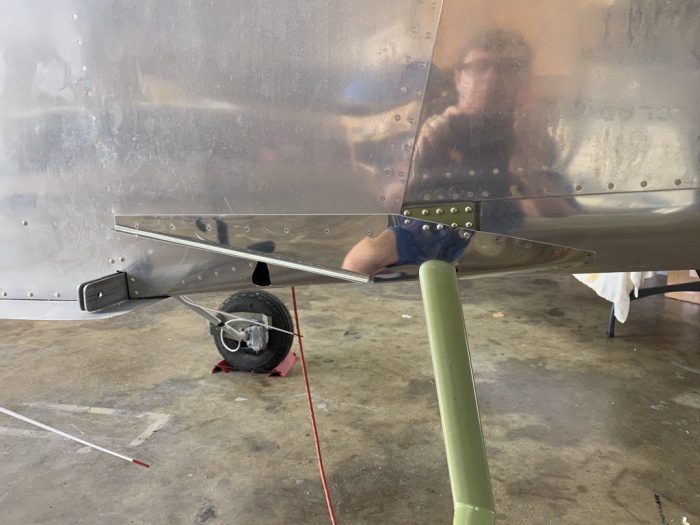
The right side is straight forward since there is no step. Just make sure you get the flaps exactly where you want them in the up position.
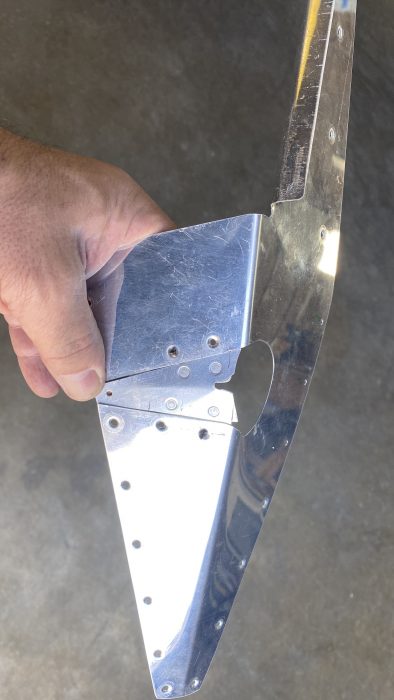
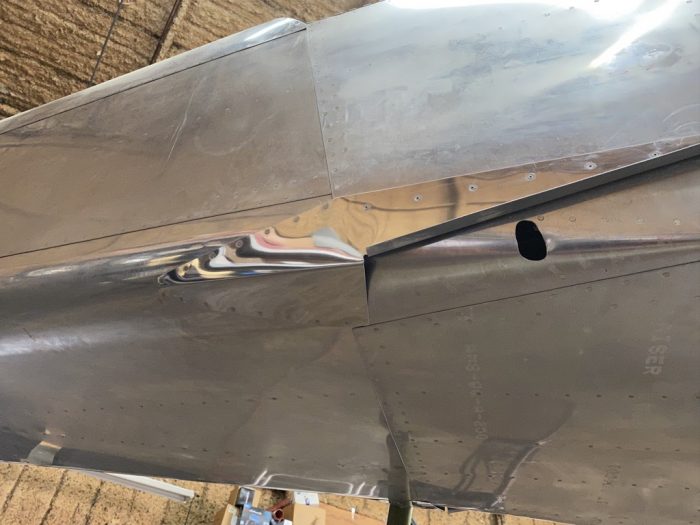
This is the right side looking at the aft portion. The part doesn’t come forward all the way to the flap so there is a small gap. I could not find a way to eliminate the gap using just this piece.
The left side with the step cutout and the filler piece I made. The filler part is relieved to allow the weldment support to fit.
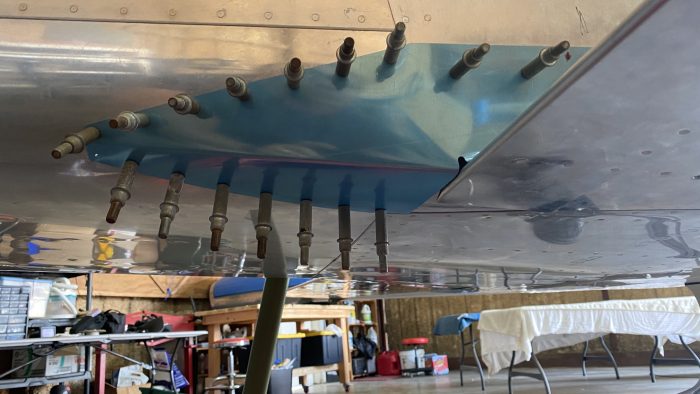
Right side riveted in place. I mistakenly installed both the baggage floor and aft floor before completing this step. I removed the baggage floor and used standard rivets there but I used blind rivets on the forward portion.

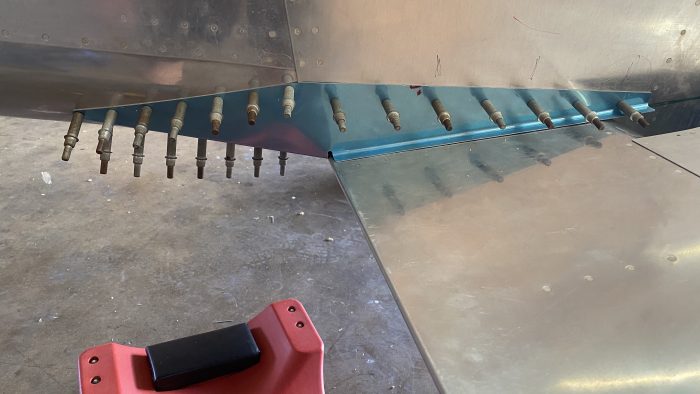
I used blind CCC-32 Cherry rivets for the forward portion. My neighbor Randy was kind to lend me some of these. Thanks Randy!
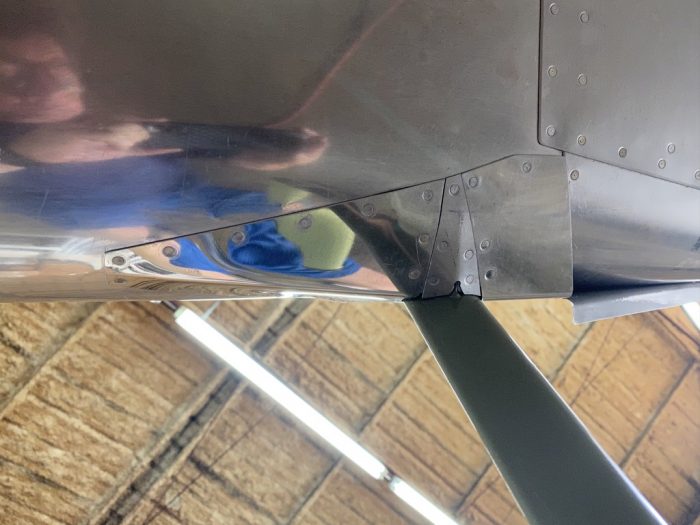
Right side from underneath. Nice and flush.
Same rivet situation with this side. You can see where I relieved one rivet and drilled out and re-installed rivets through the step plate.
And finally the left side. I think it turned out well.