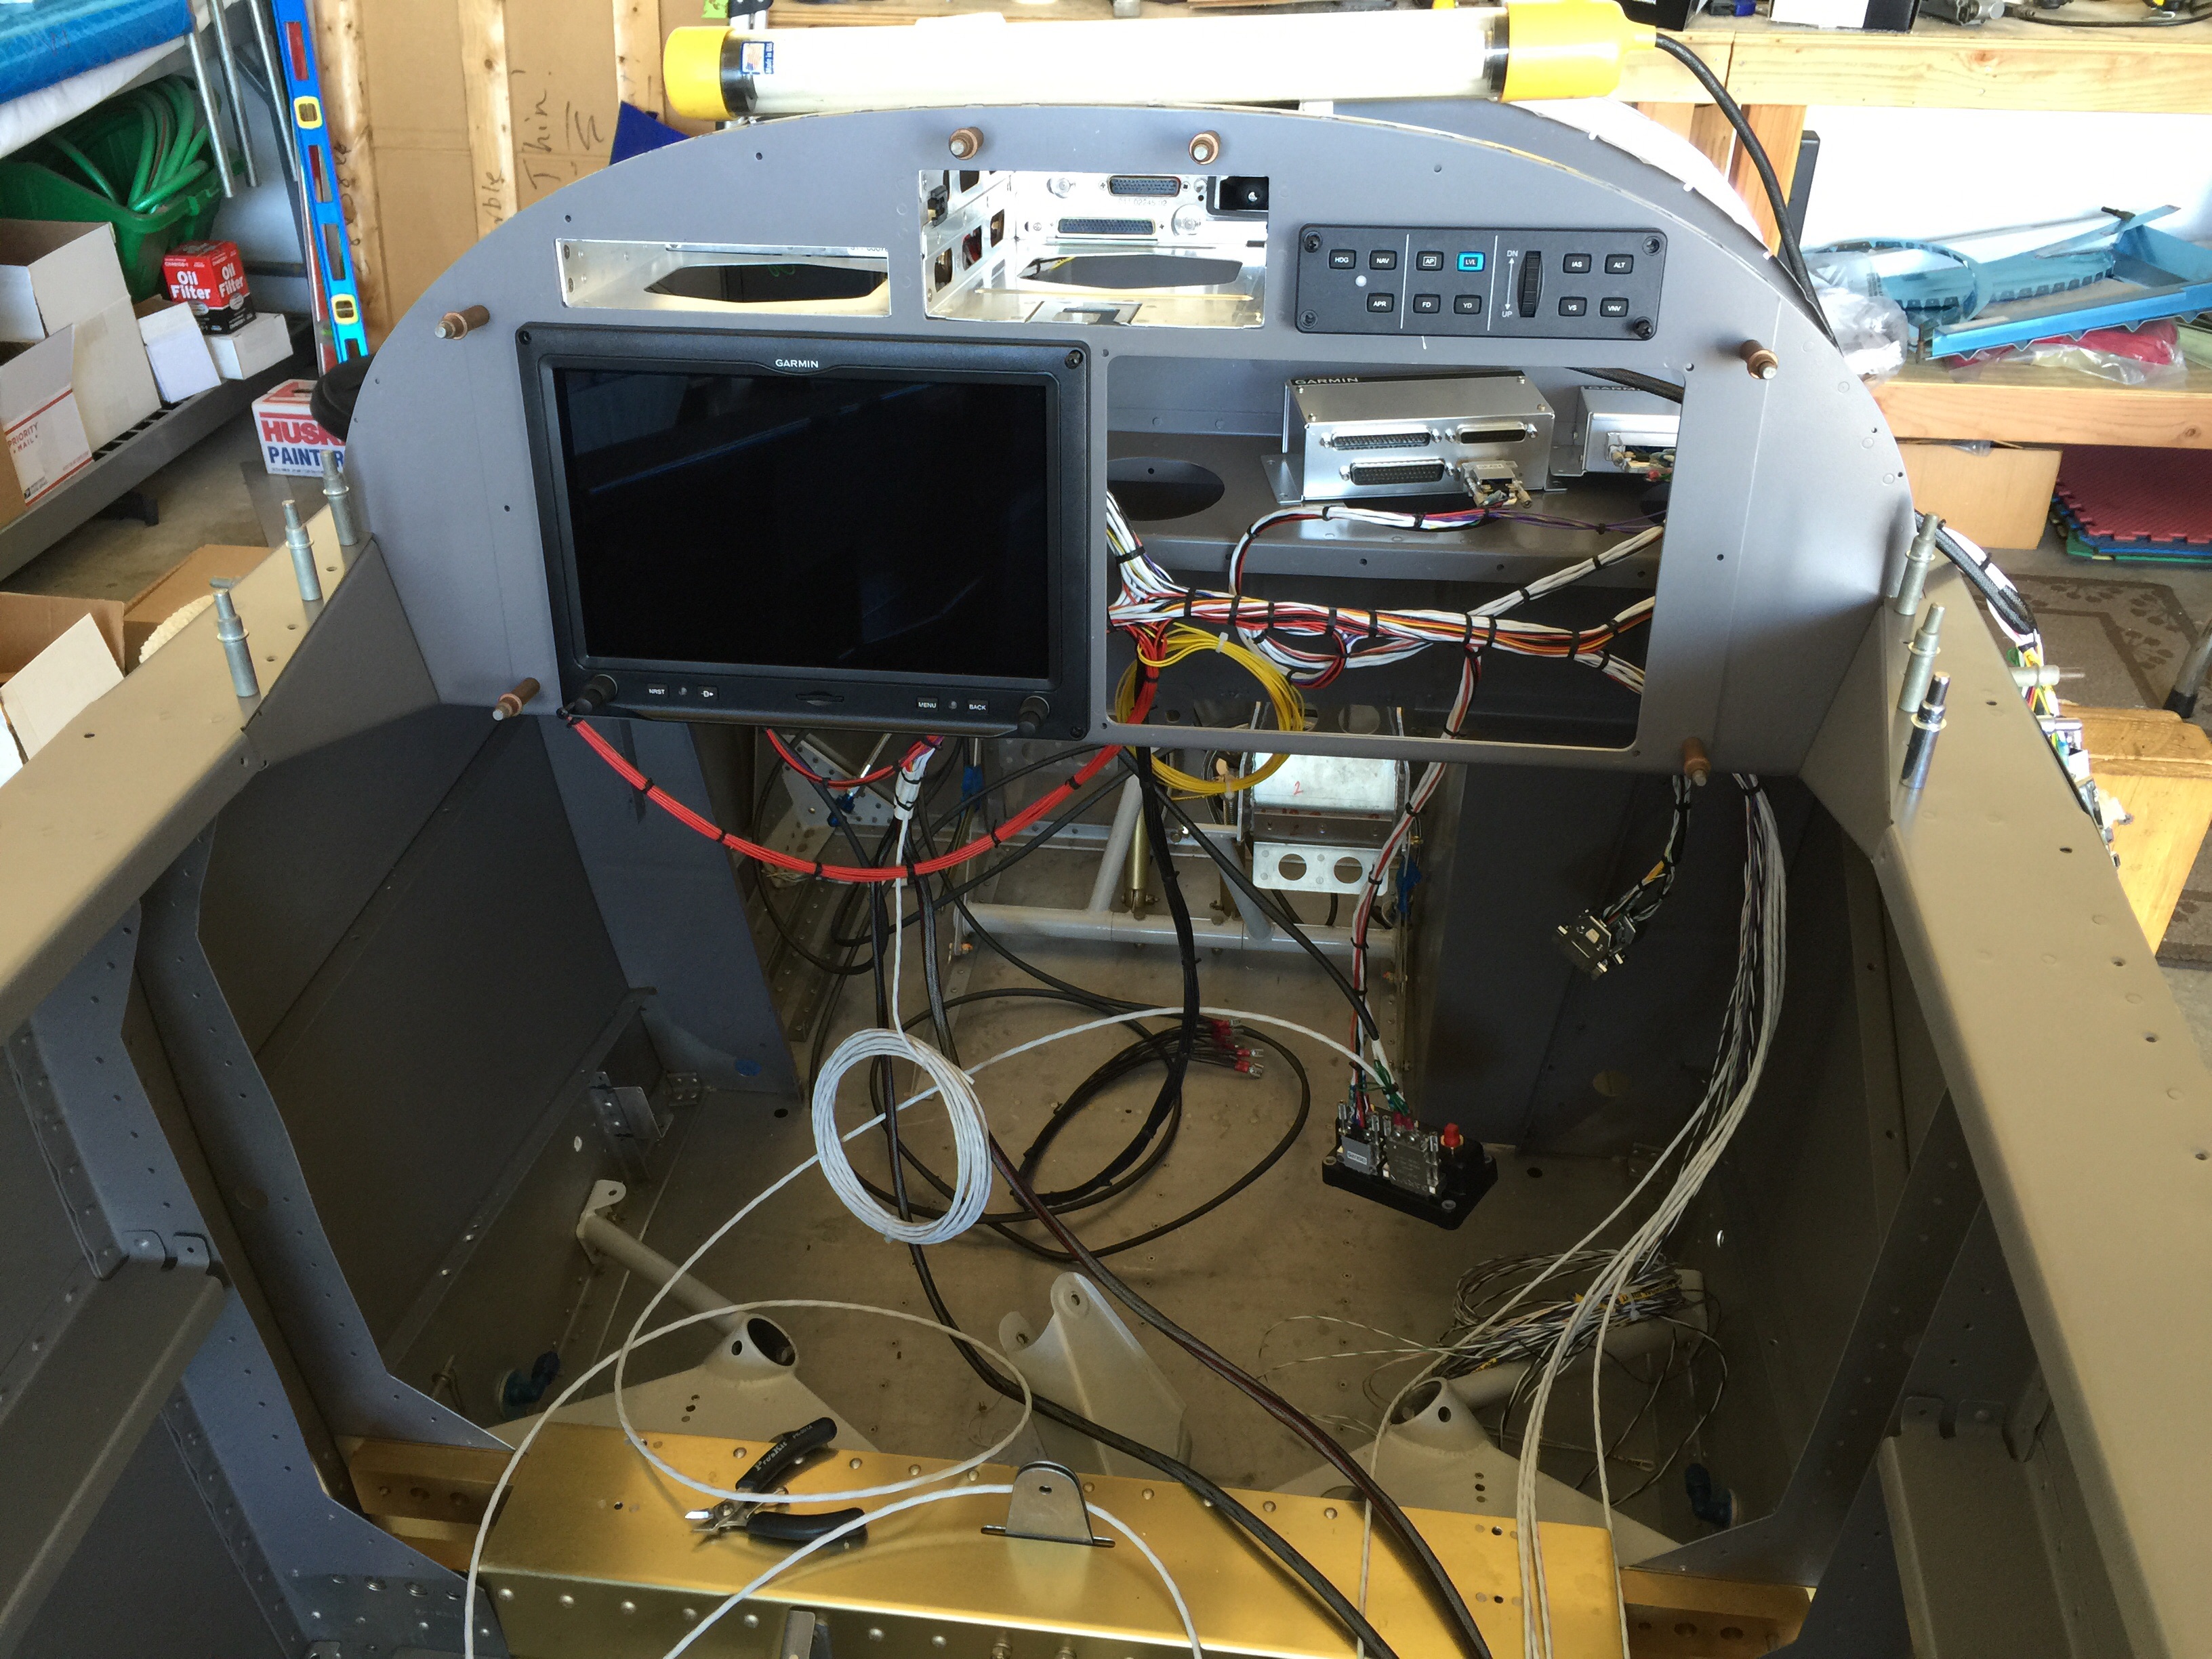
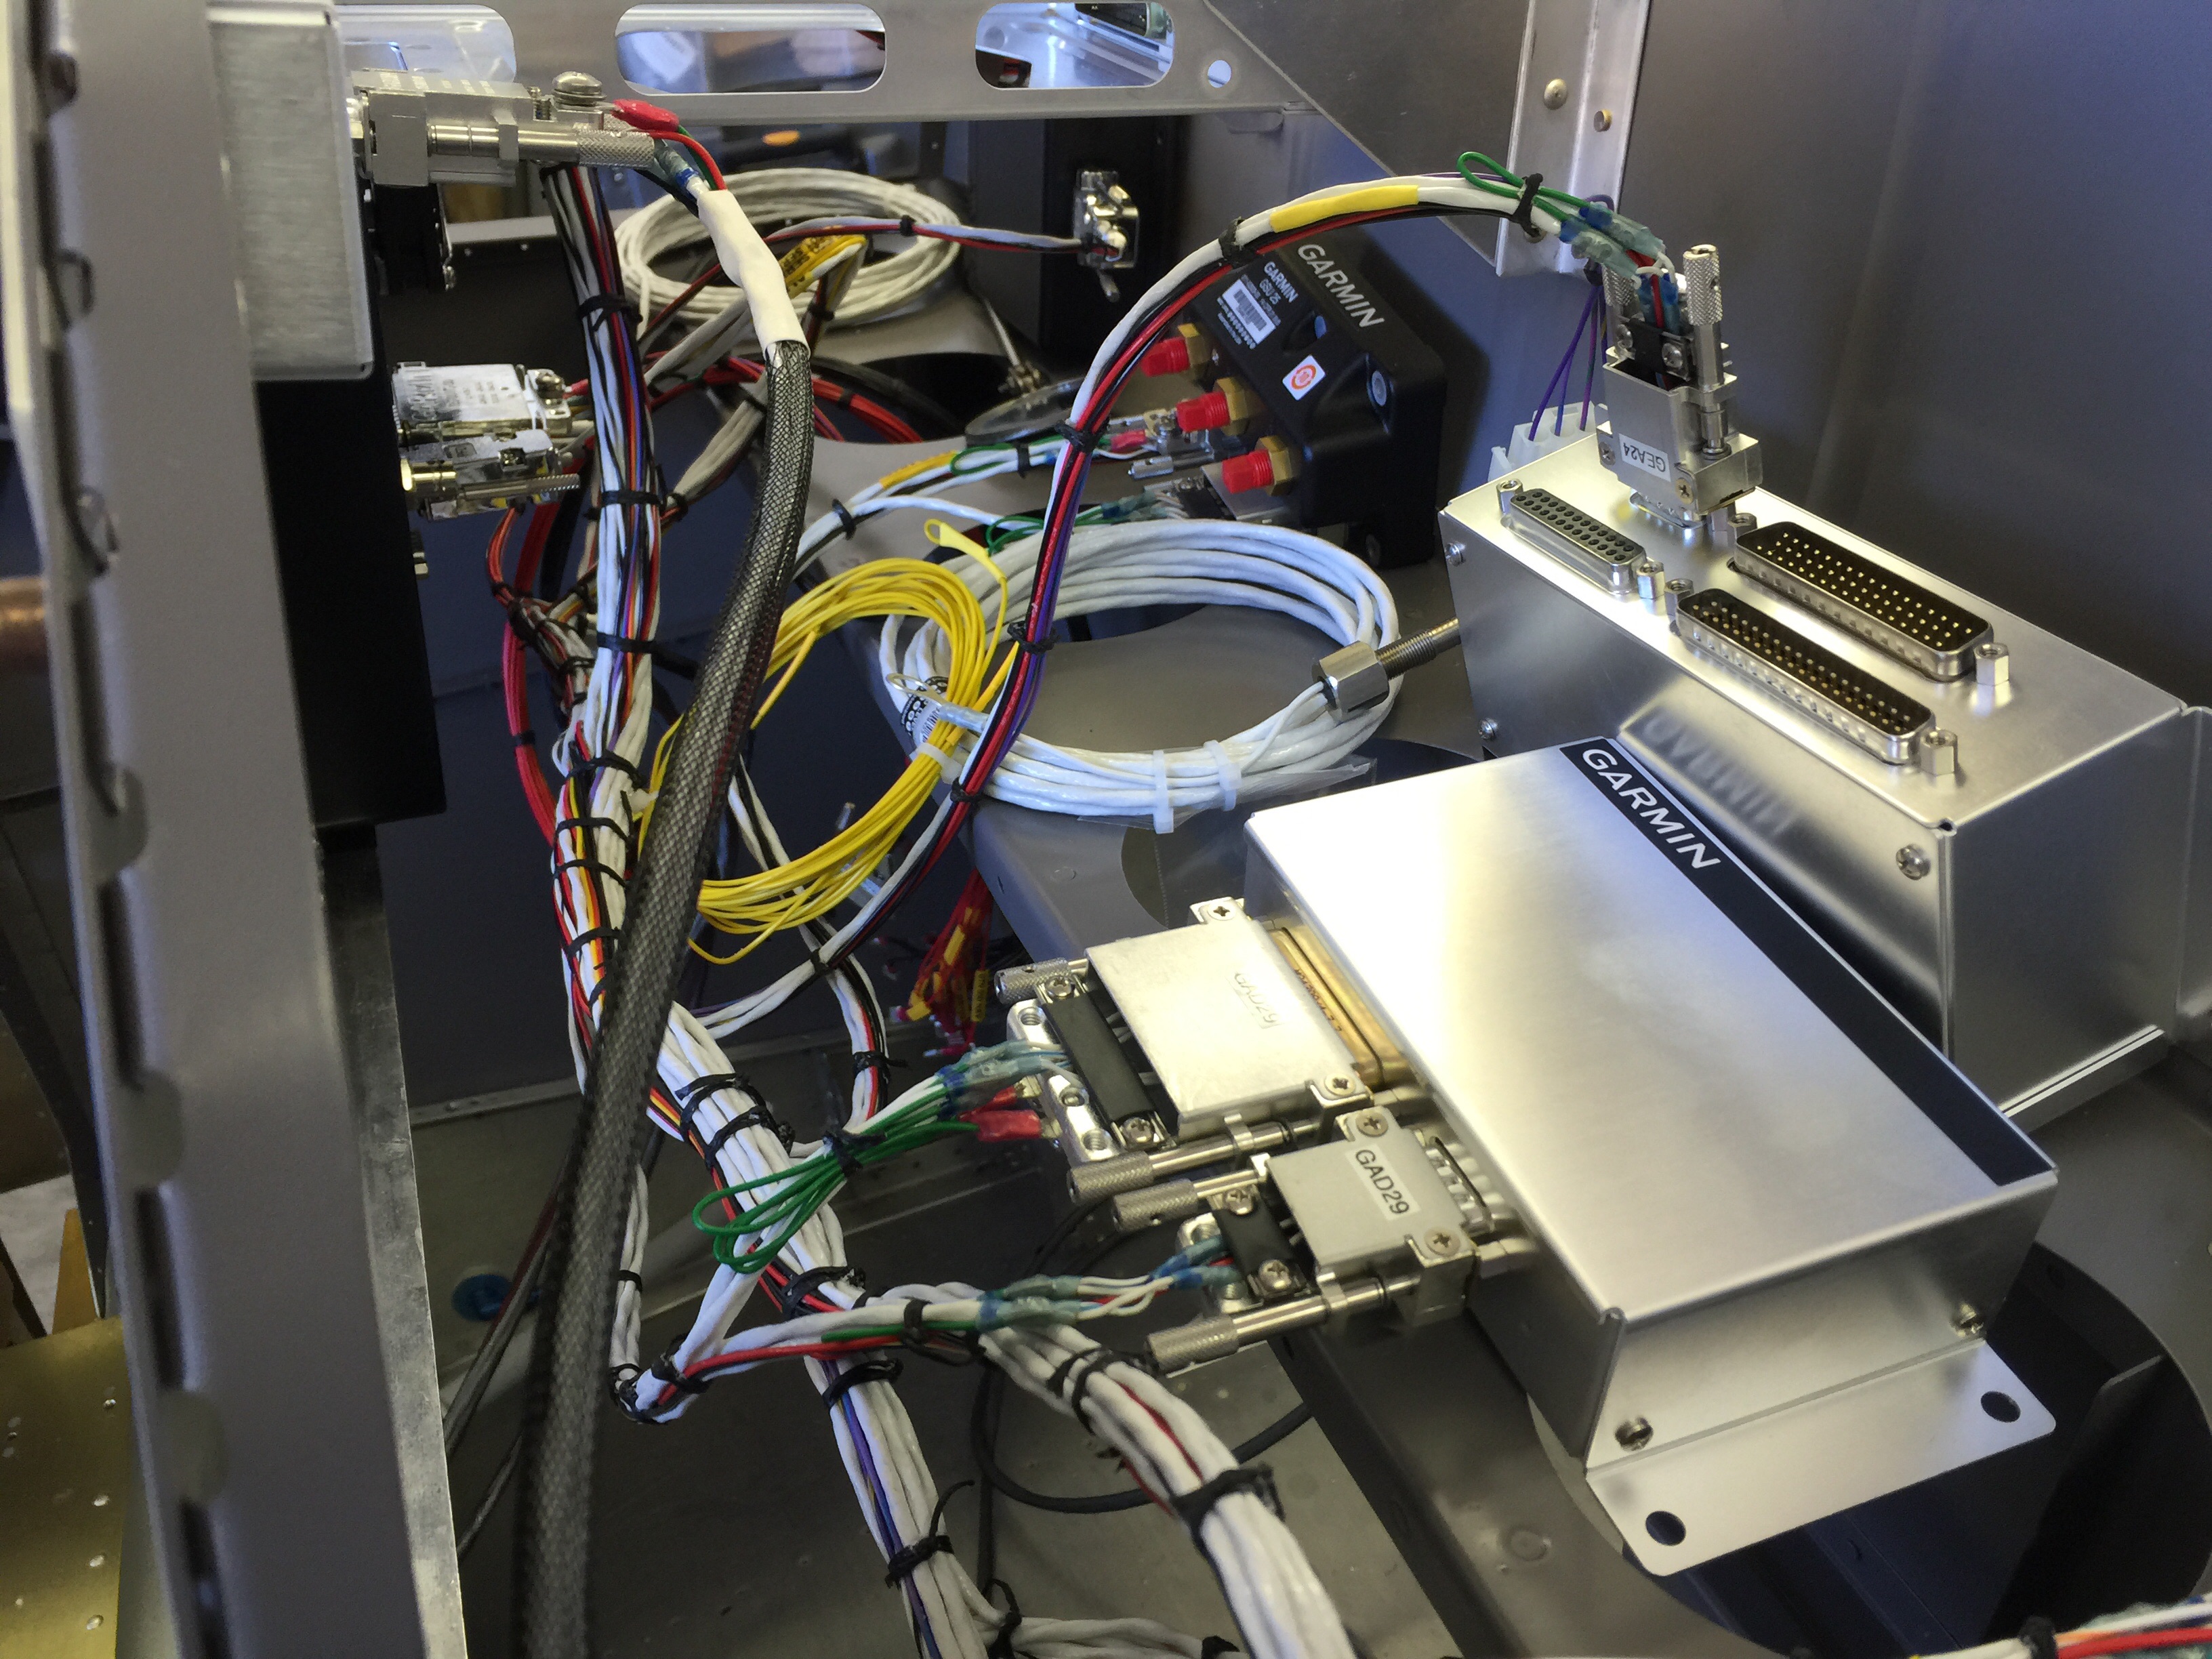
After the interior gets painted you are free to install things in a more permanent sense. First item pops and I wanted to tackle was to get the Stein harness in place and see where things go. You are limited to installing items where the wiring run will reach. Fortunately Stein does a great job of this and all the runs are perfect and almost all the items were on the right side of the fuselage too.
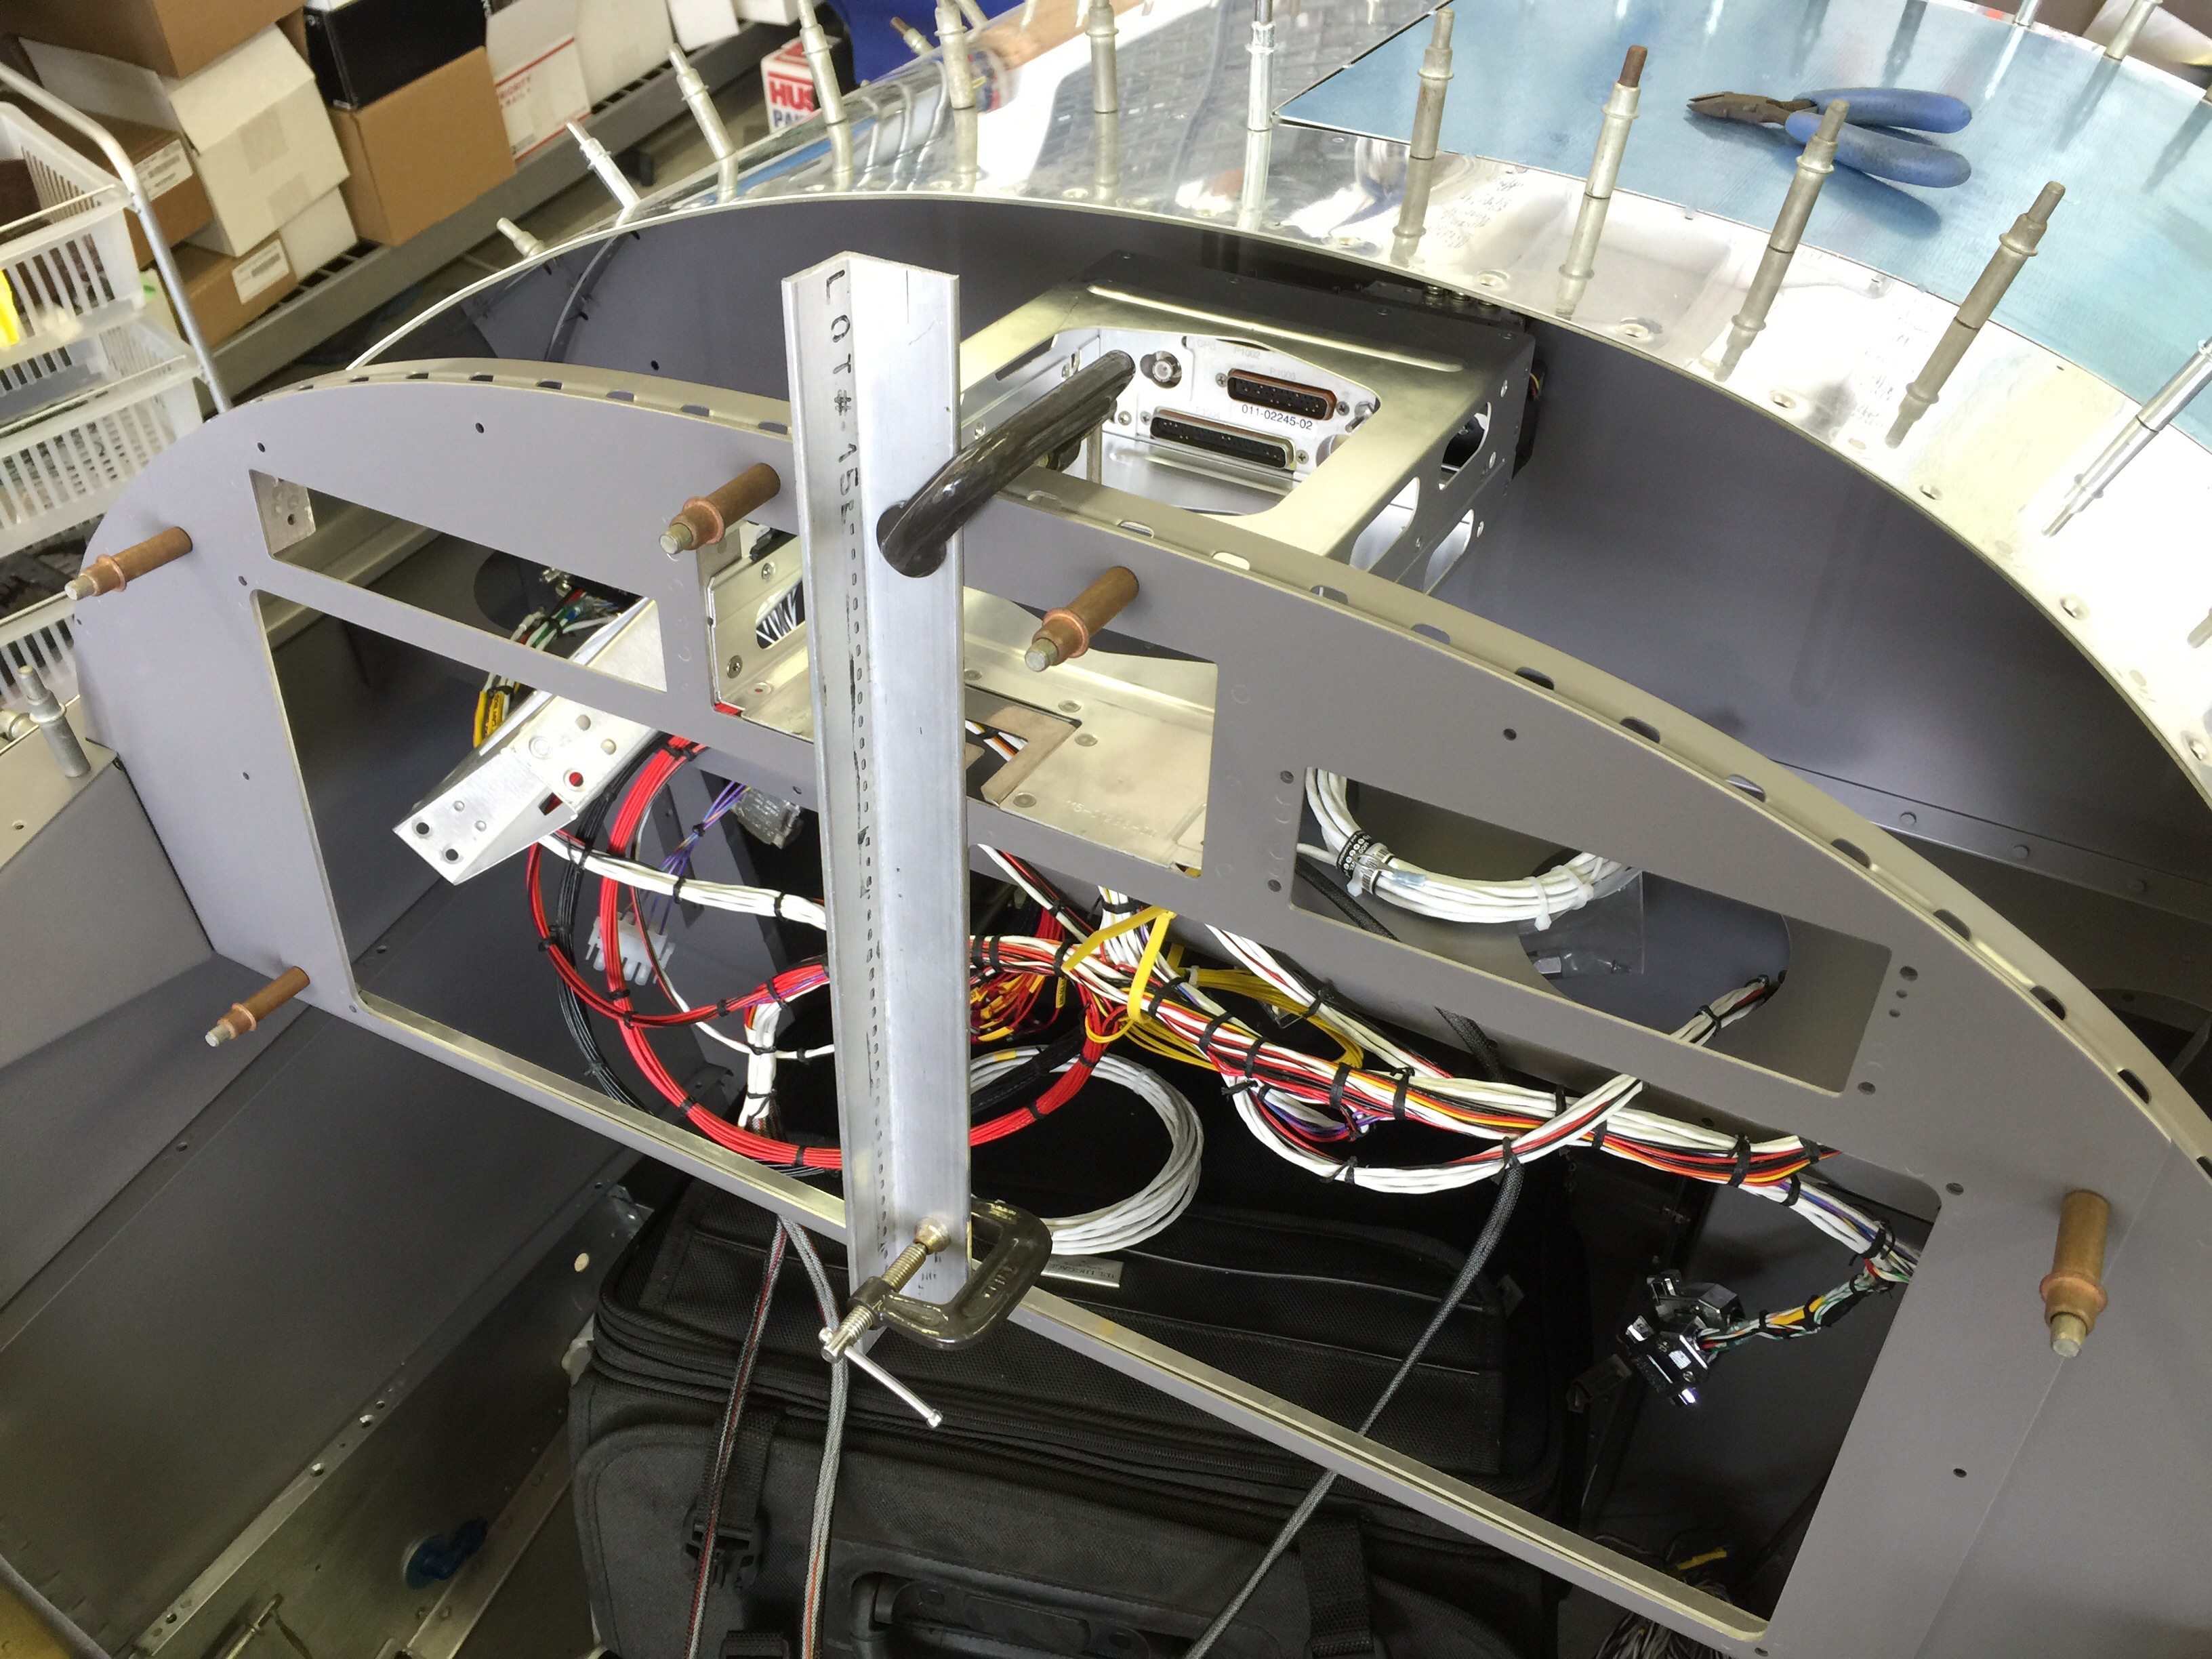
First item to get installed is the avionics tray we built. I should have shortened it one inch on each side so I can get to the rivets along the longeron. No worries, I don’t have an issue using pop rivets where necessary due to my “errors”.
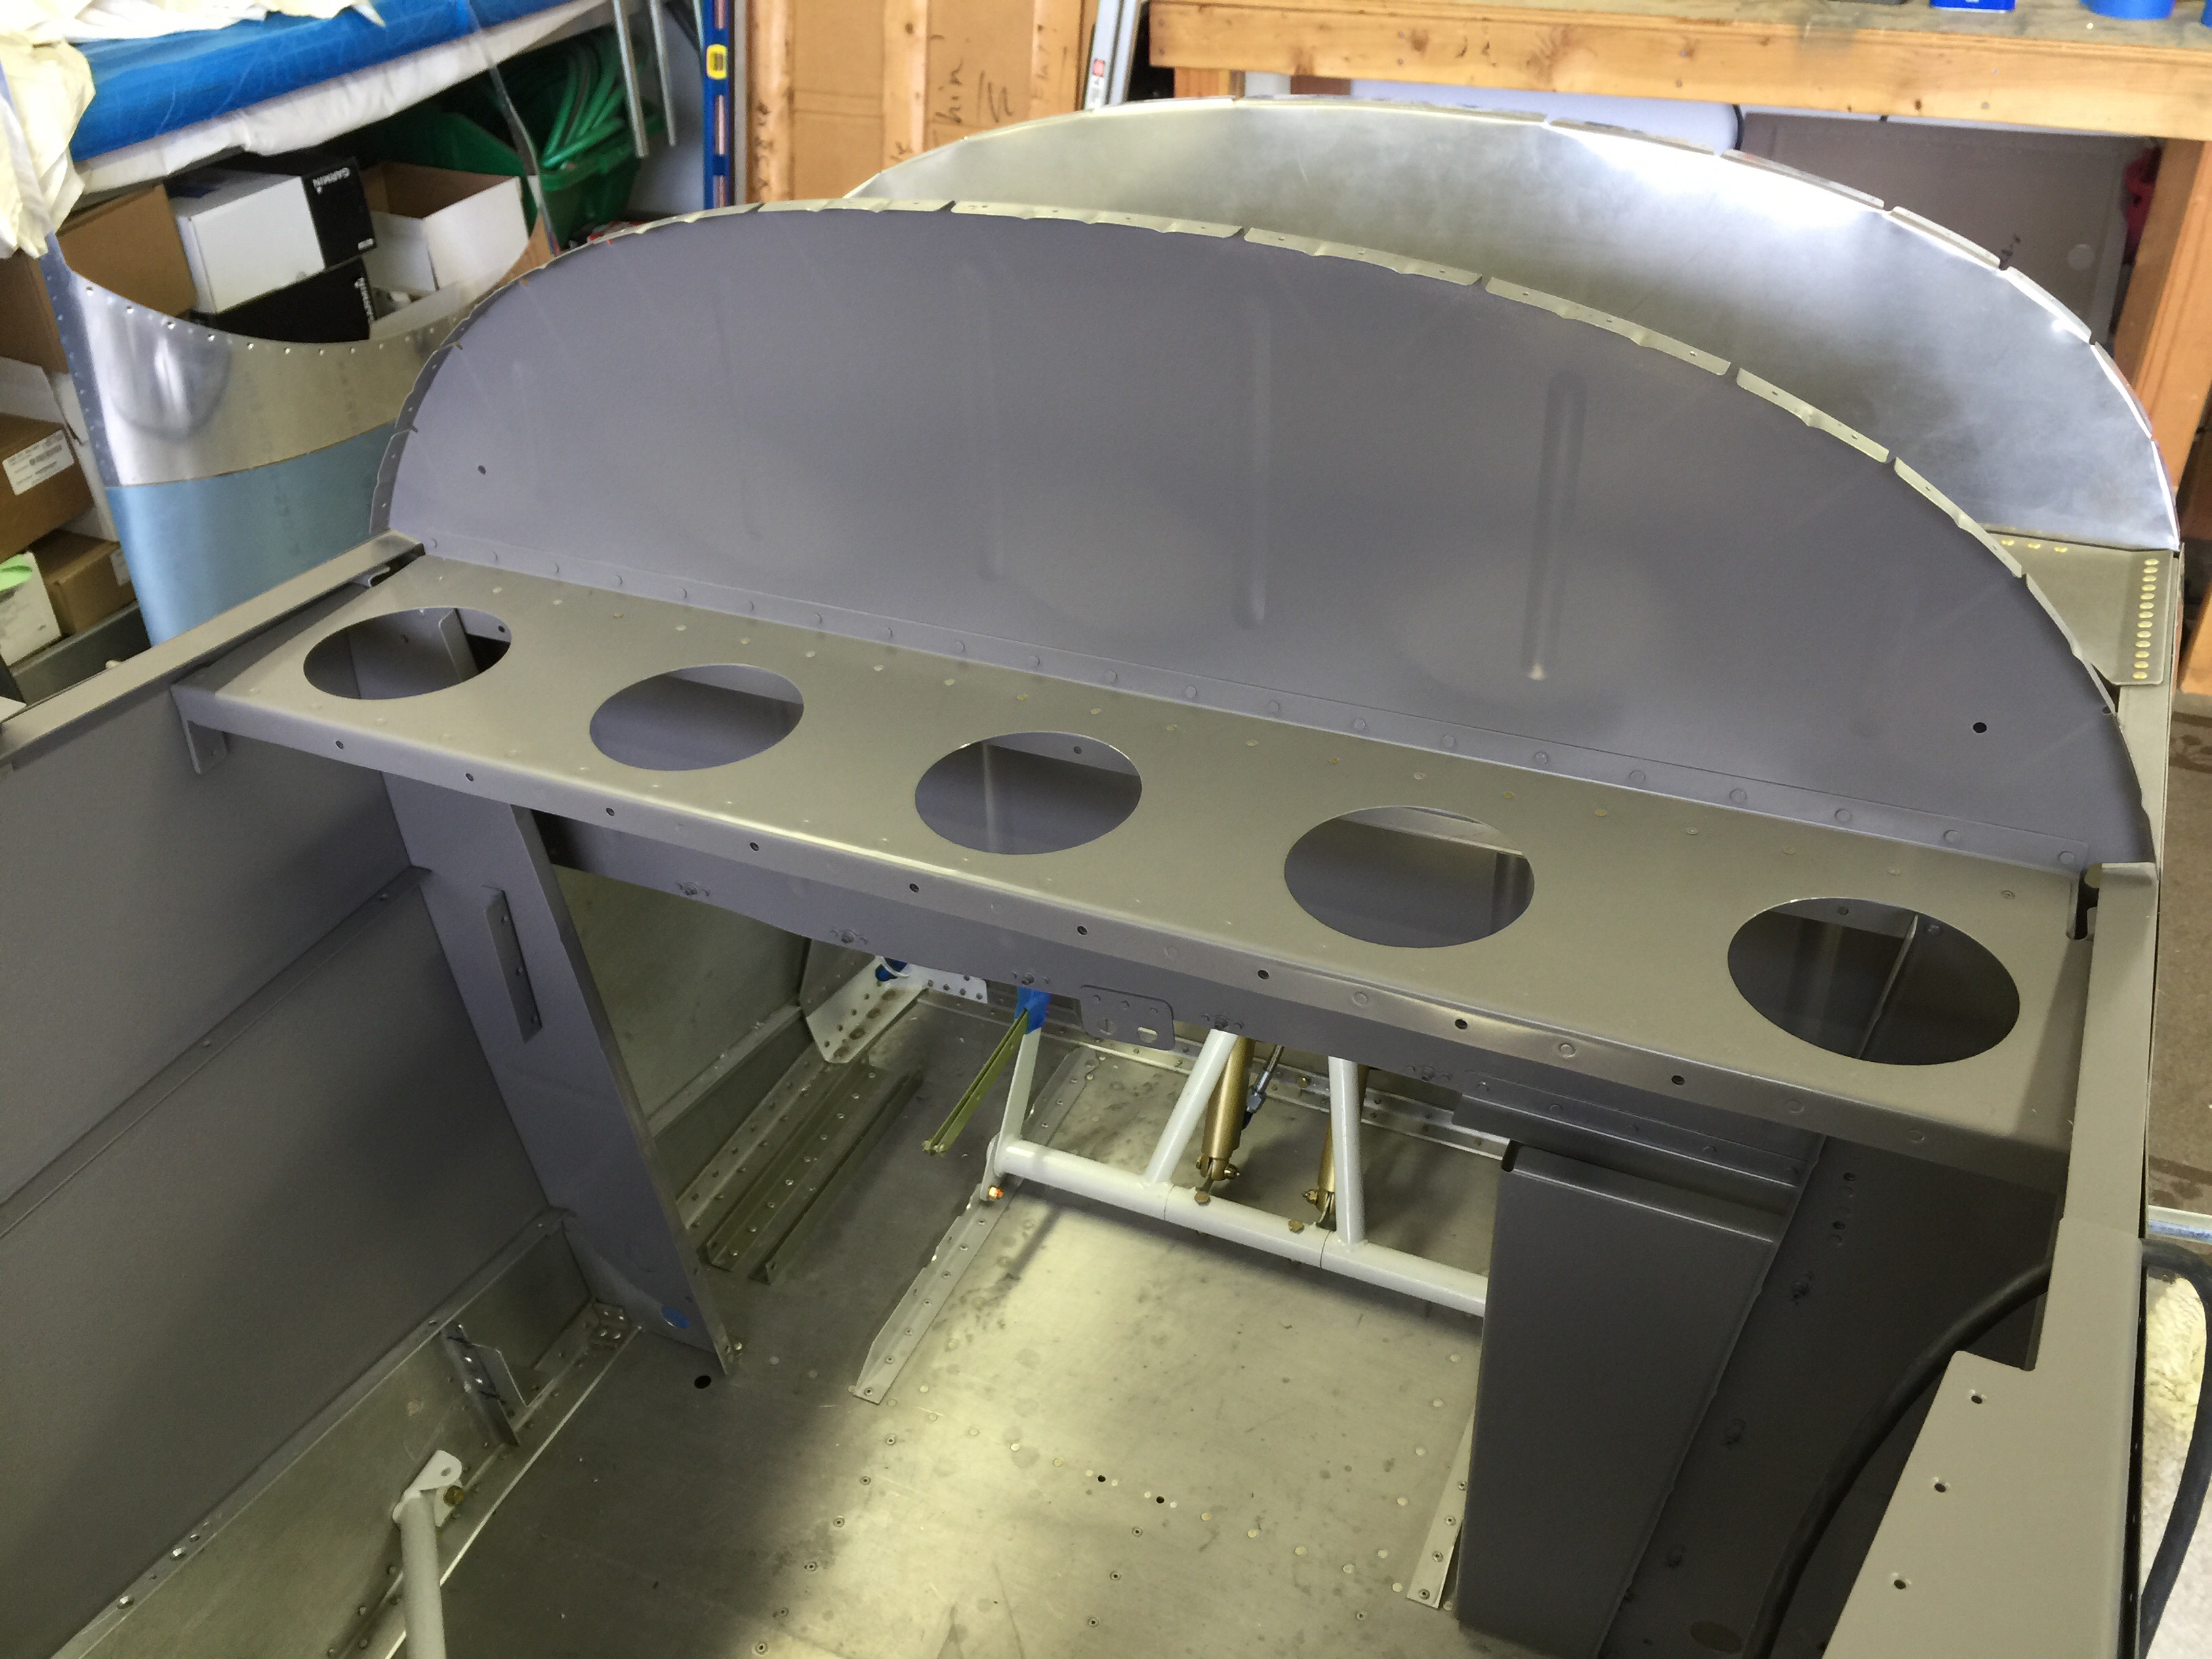
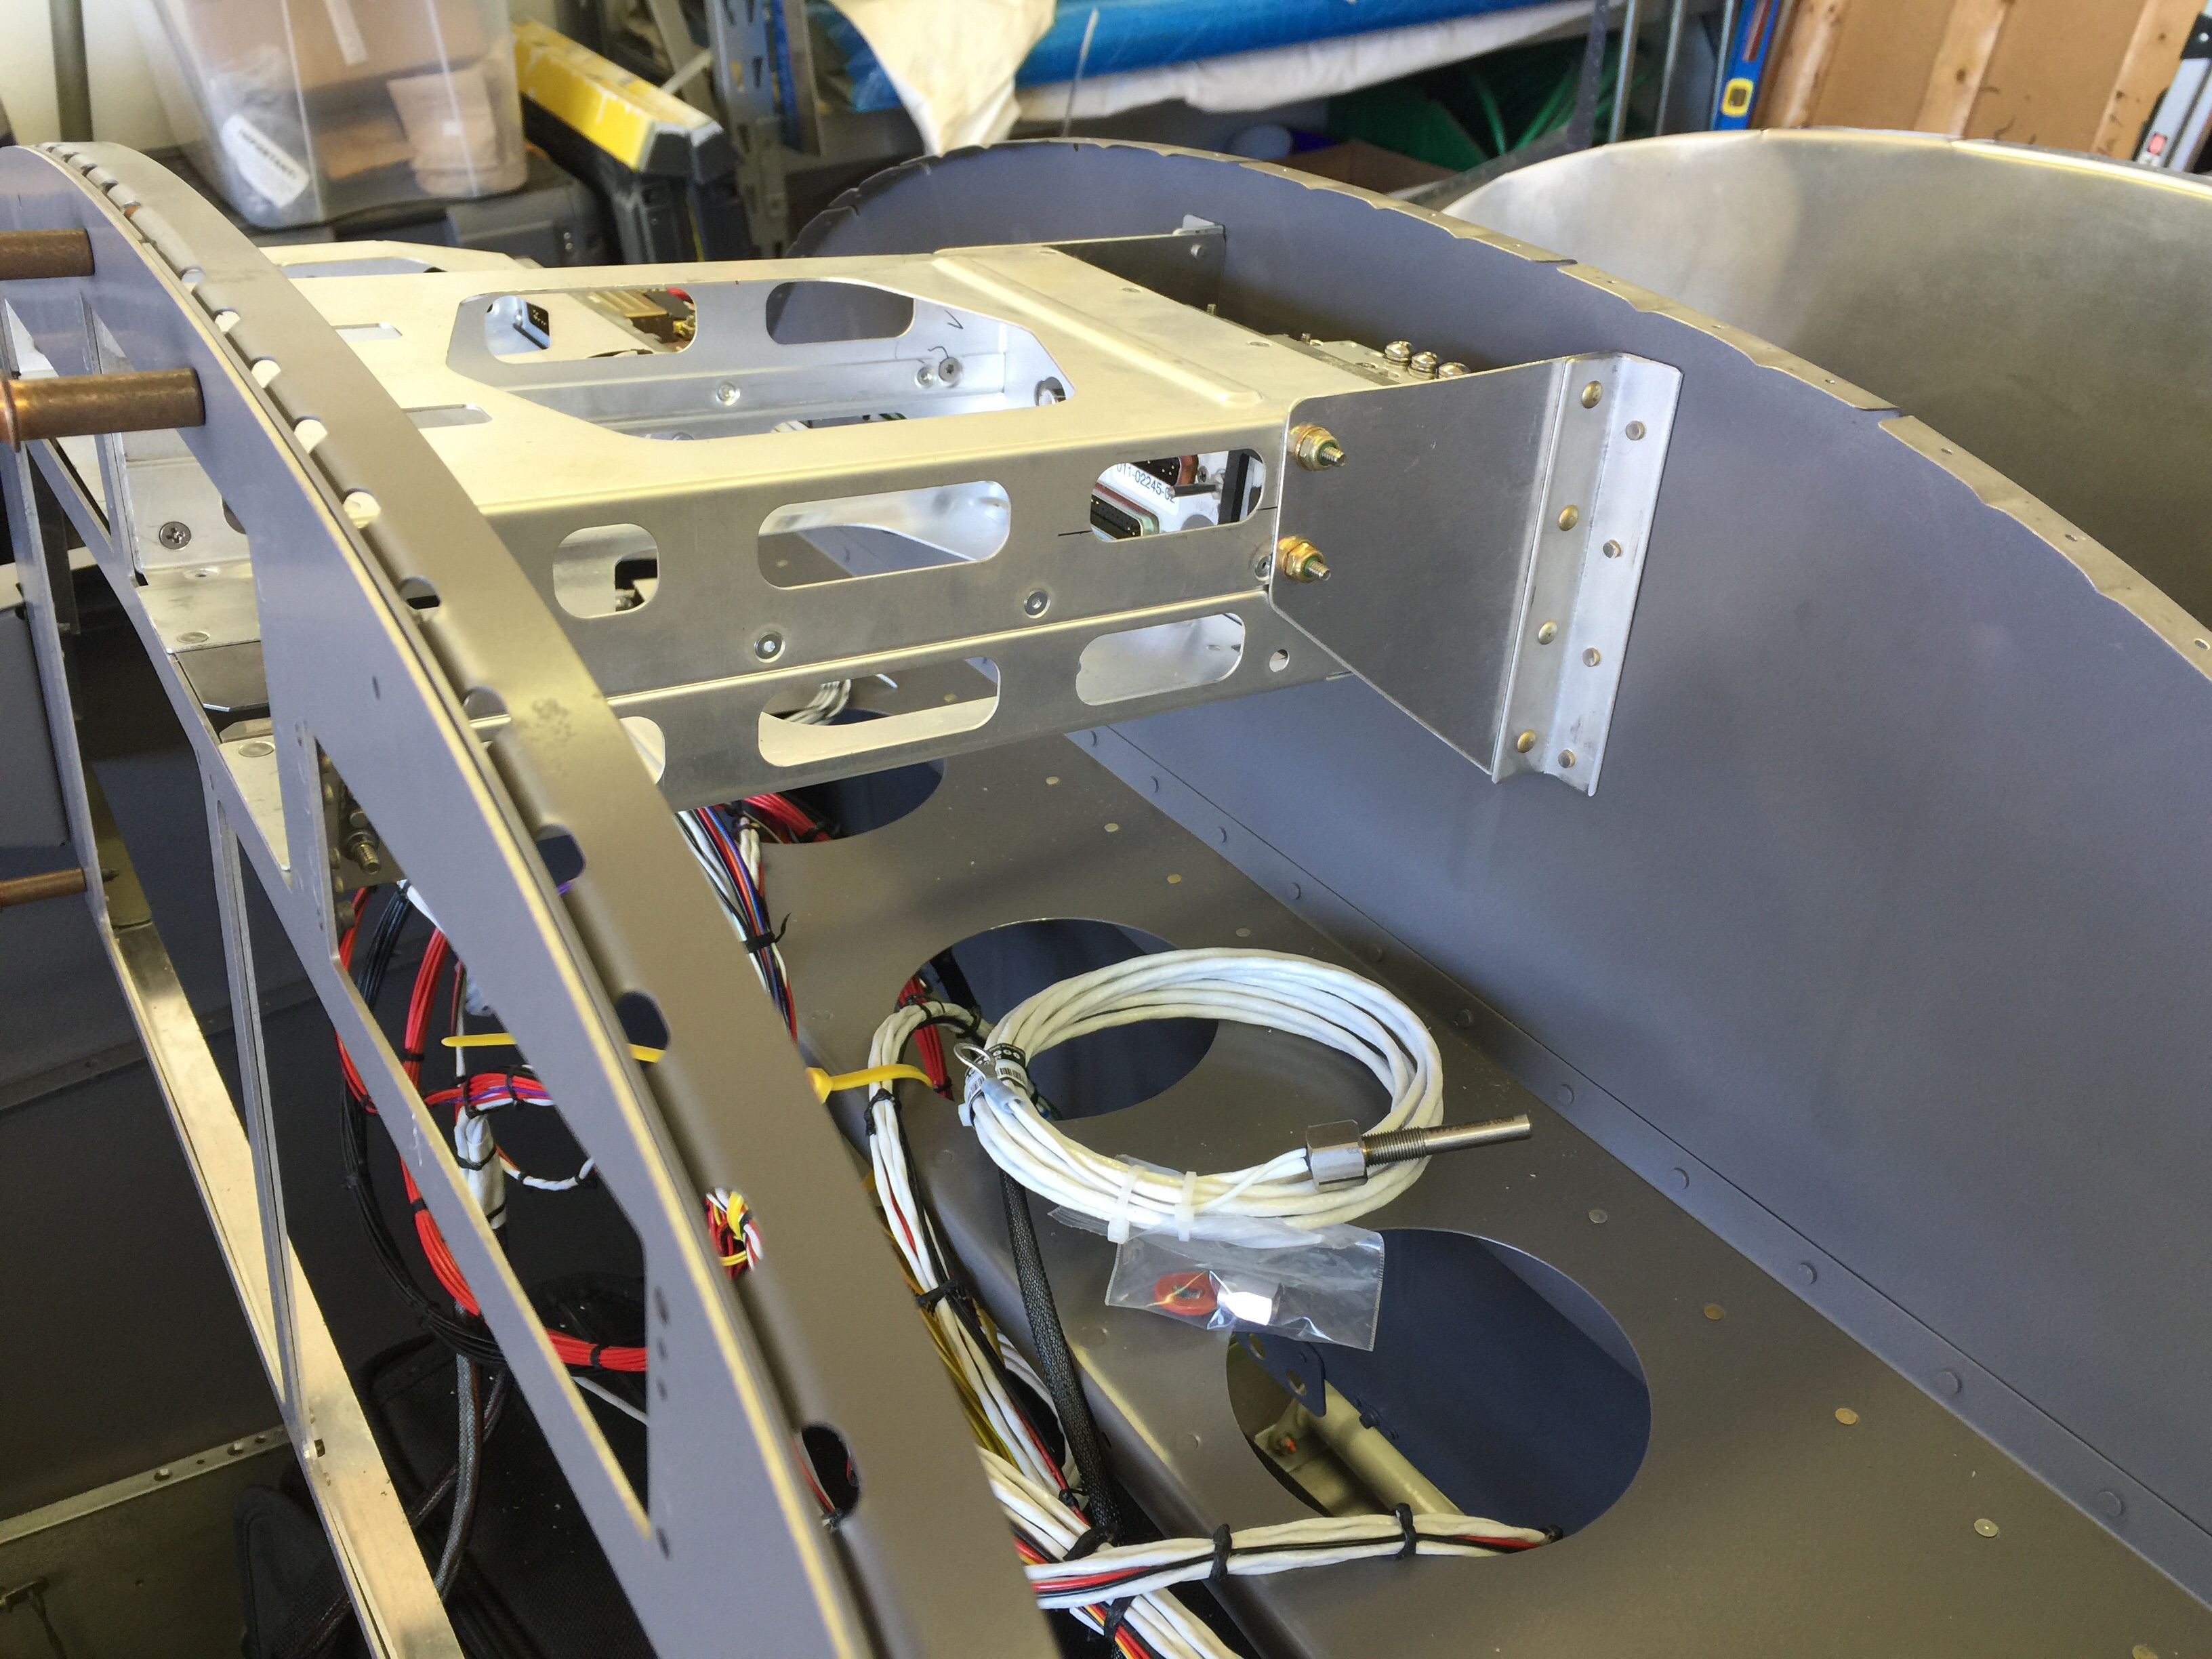
Next was to get the forward top skin in place to lock the position of the baggage wall and get the support structure installed for the GTN 650 as it is the only item that spans from the panel to the baggage wall. Fabricated a couple of mounts consisting of .040 and some angle. We clamped an angle to the front to keep the panel from bending. A lot of material is missing because I opted to go for a dual display. This effectively “sets” the position of the GTN 650.
Support angles installed. They are flush rivets in the baggage compartment. I don’t want to snag on anything in the baggage compartment so everything will be flush on that side.
There is a lot of stuff that needs to find a home back there.
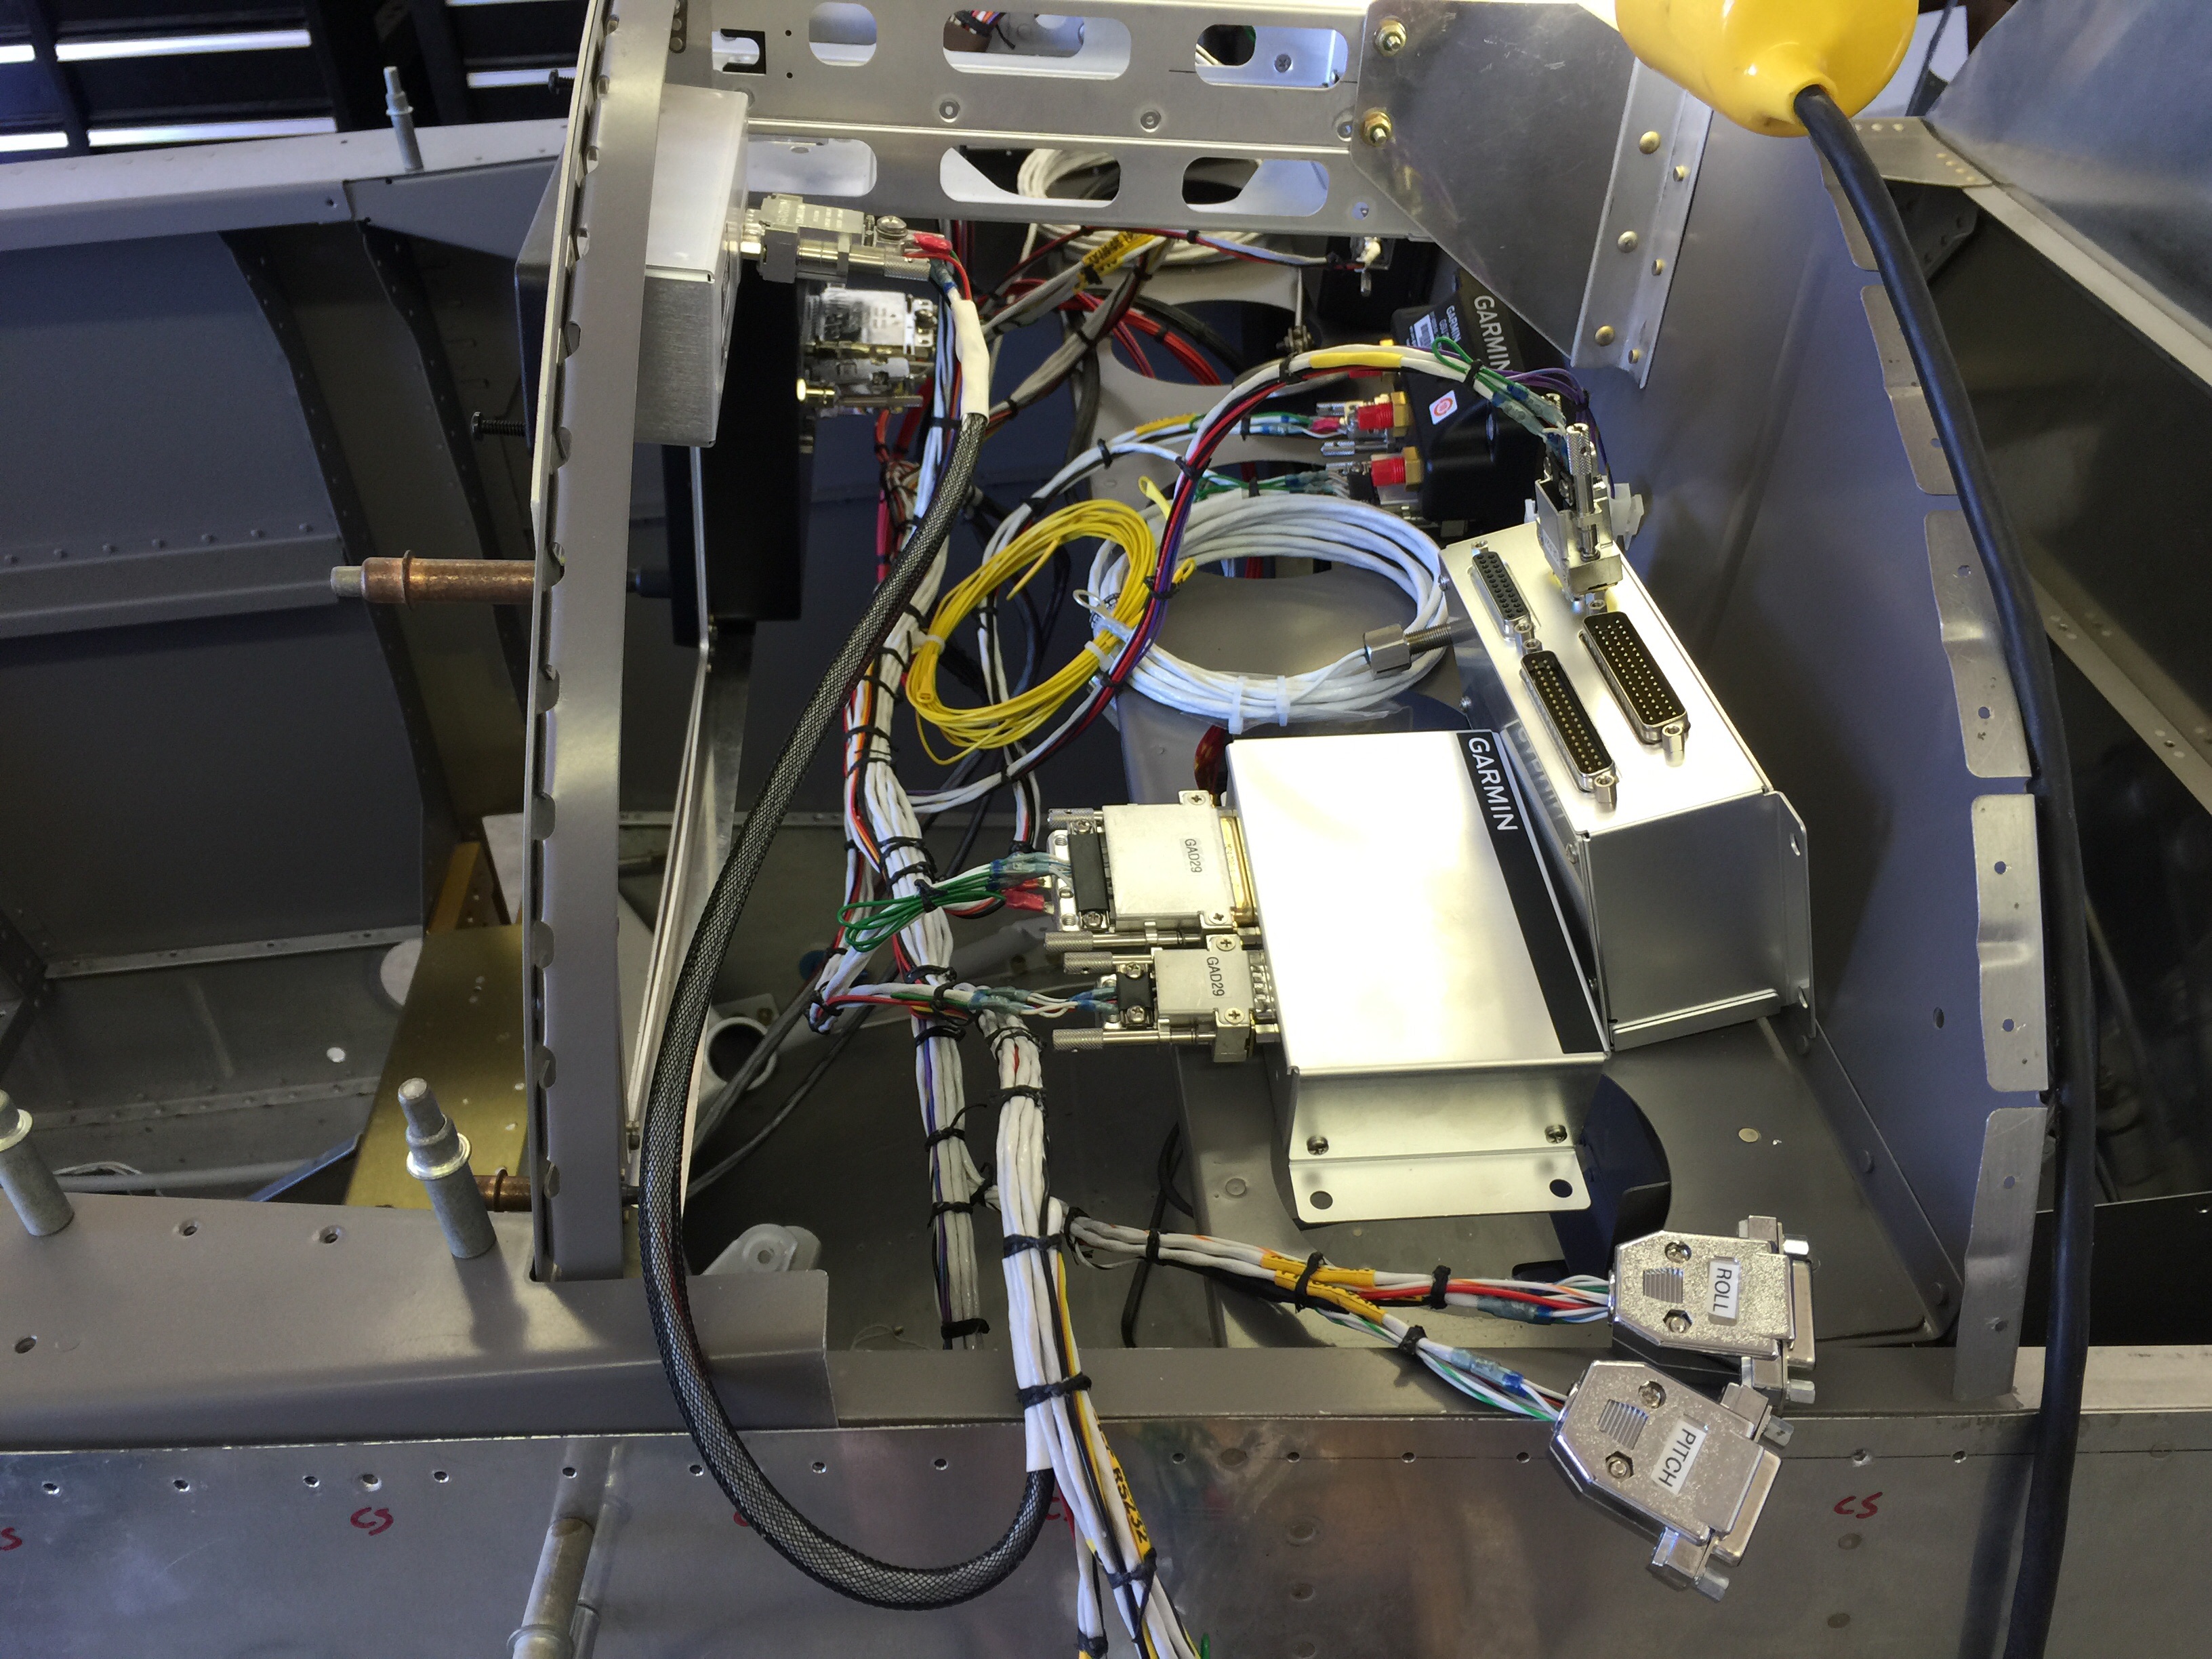
And a shot from the front.